Oh, my goodness…how can Christmas be coming so quickly. I don’t know about you but I’m far from organised. I’m trying, but the days seem to whizz by and before we now it Santa will have been.
The theme for this months bloghop is Festive Season.
I don’t know if you’ve looked at the September to December mini catalogue, but along with online specials, I think this is one of the best ranges of Christmas products available this year from Stampin’ Up!
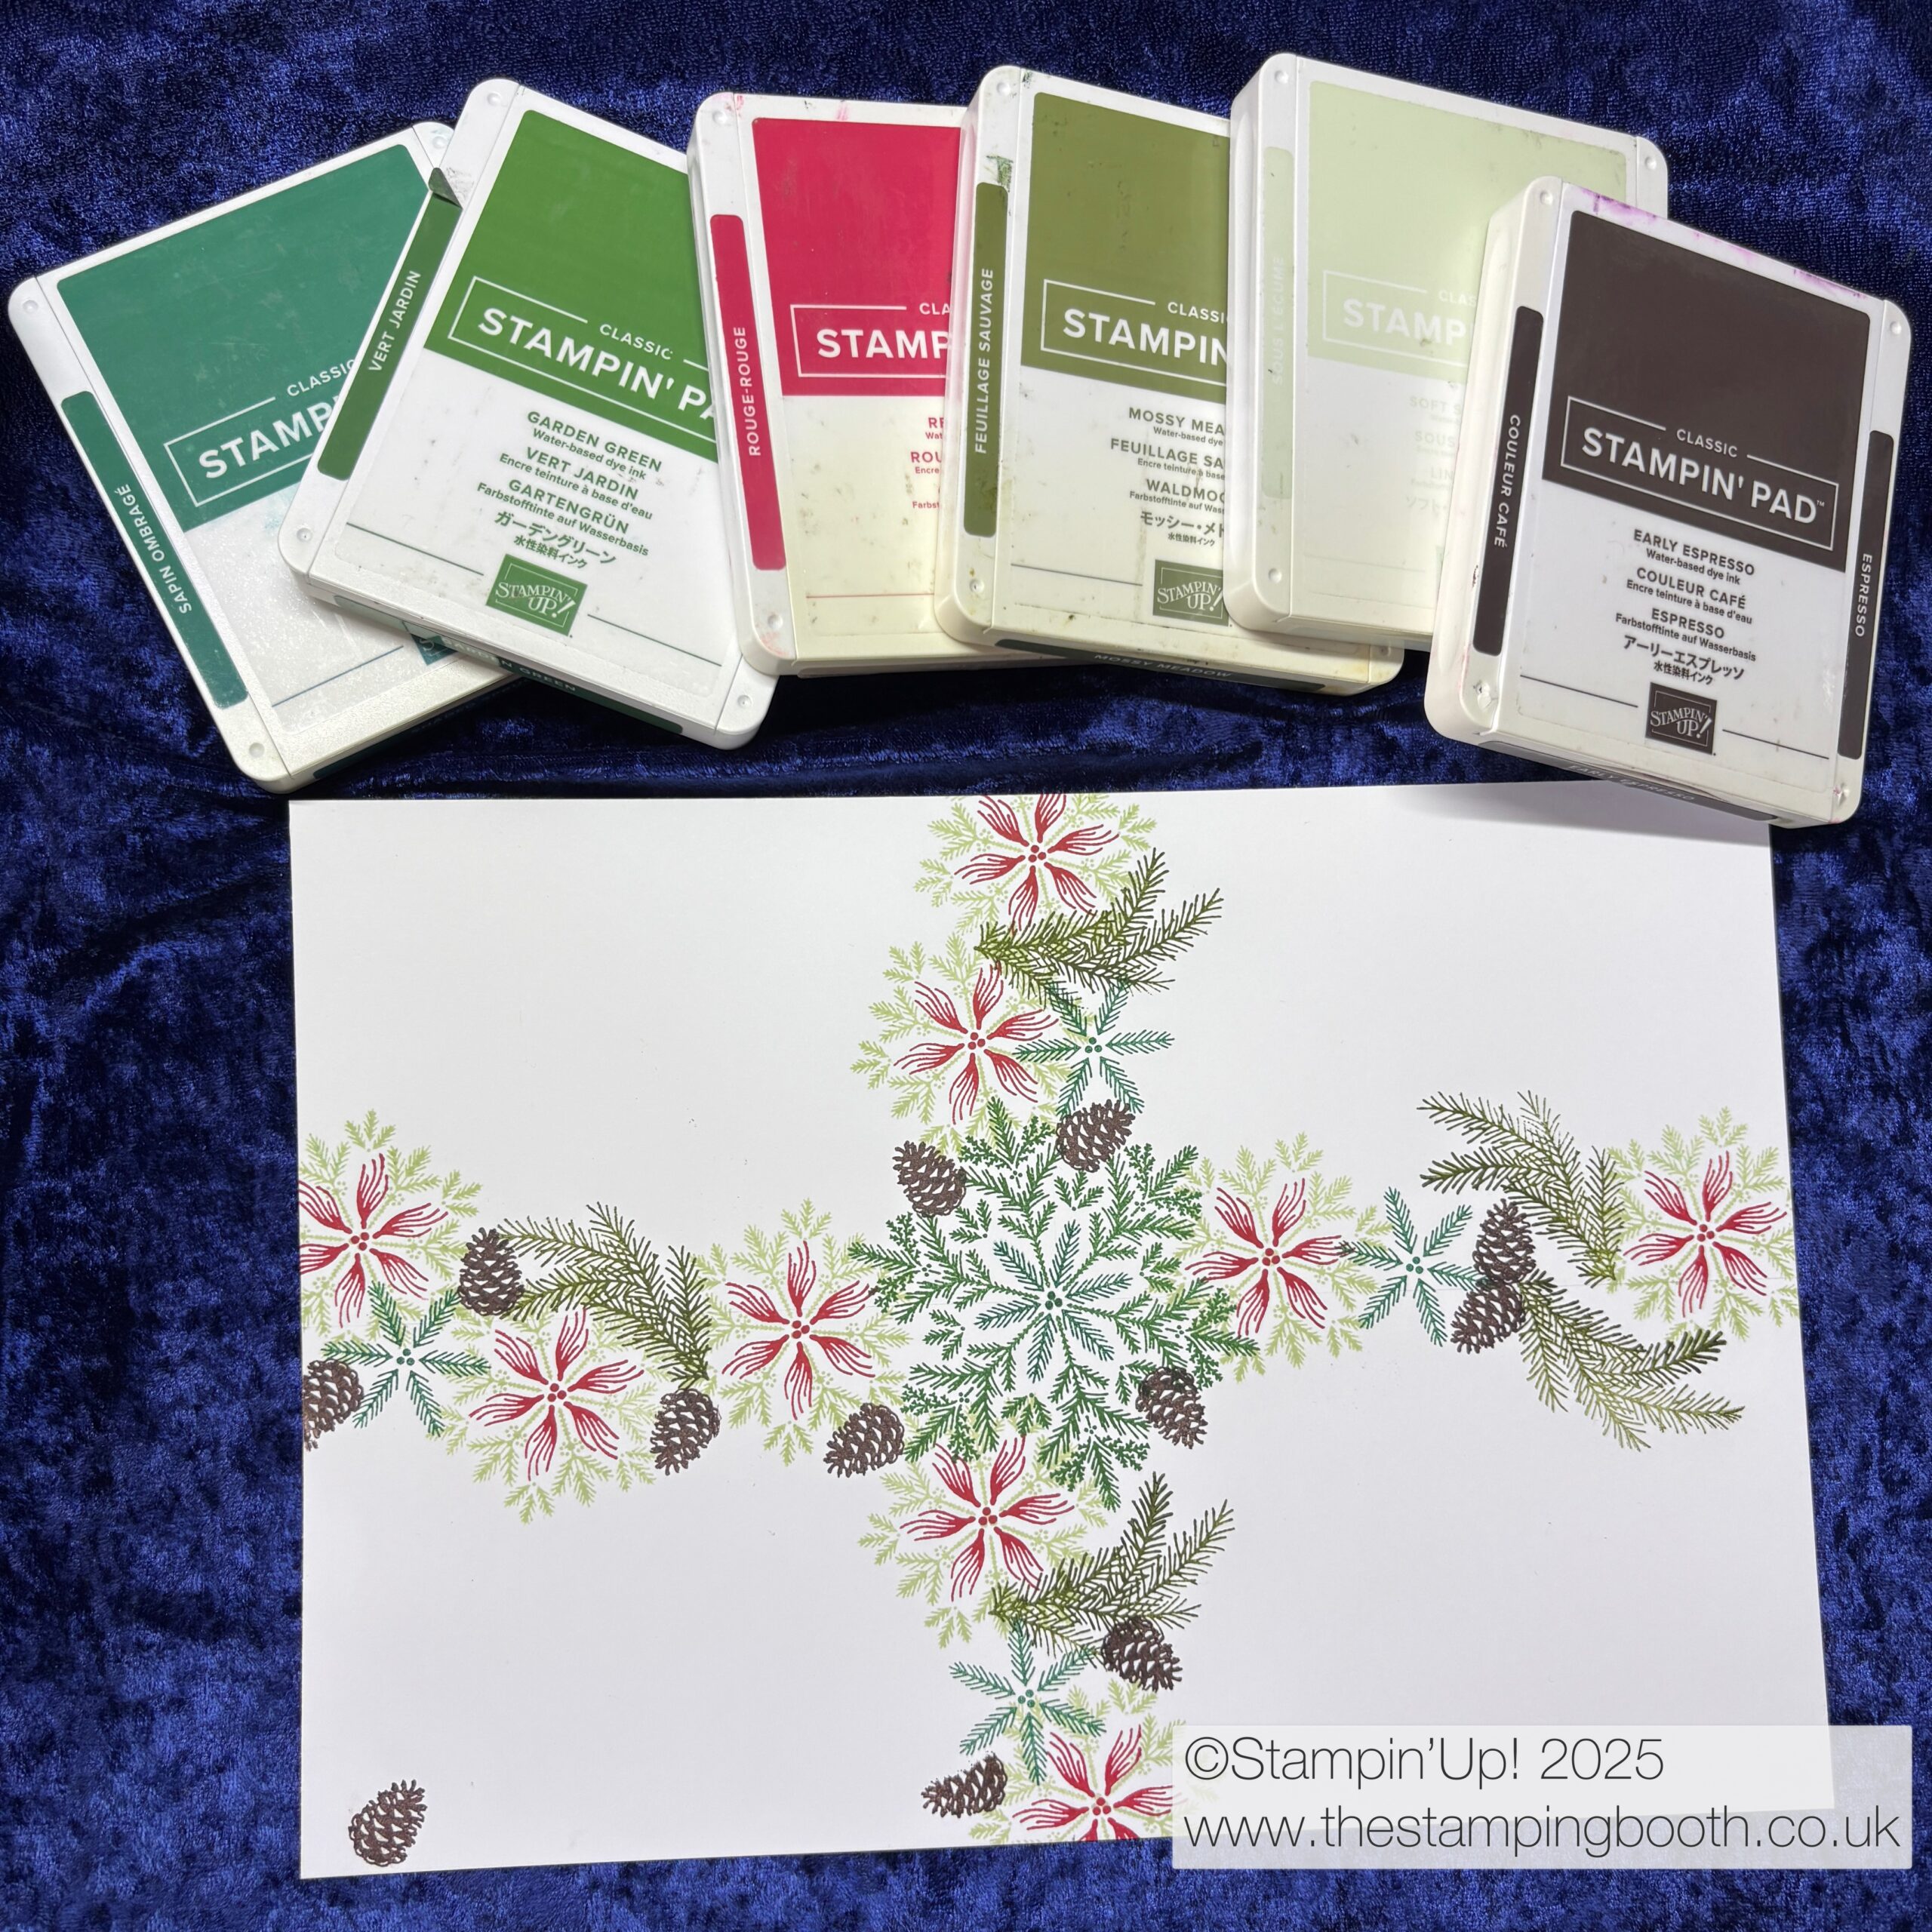
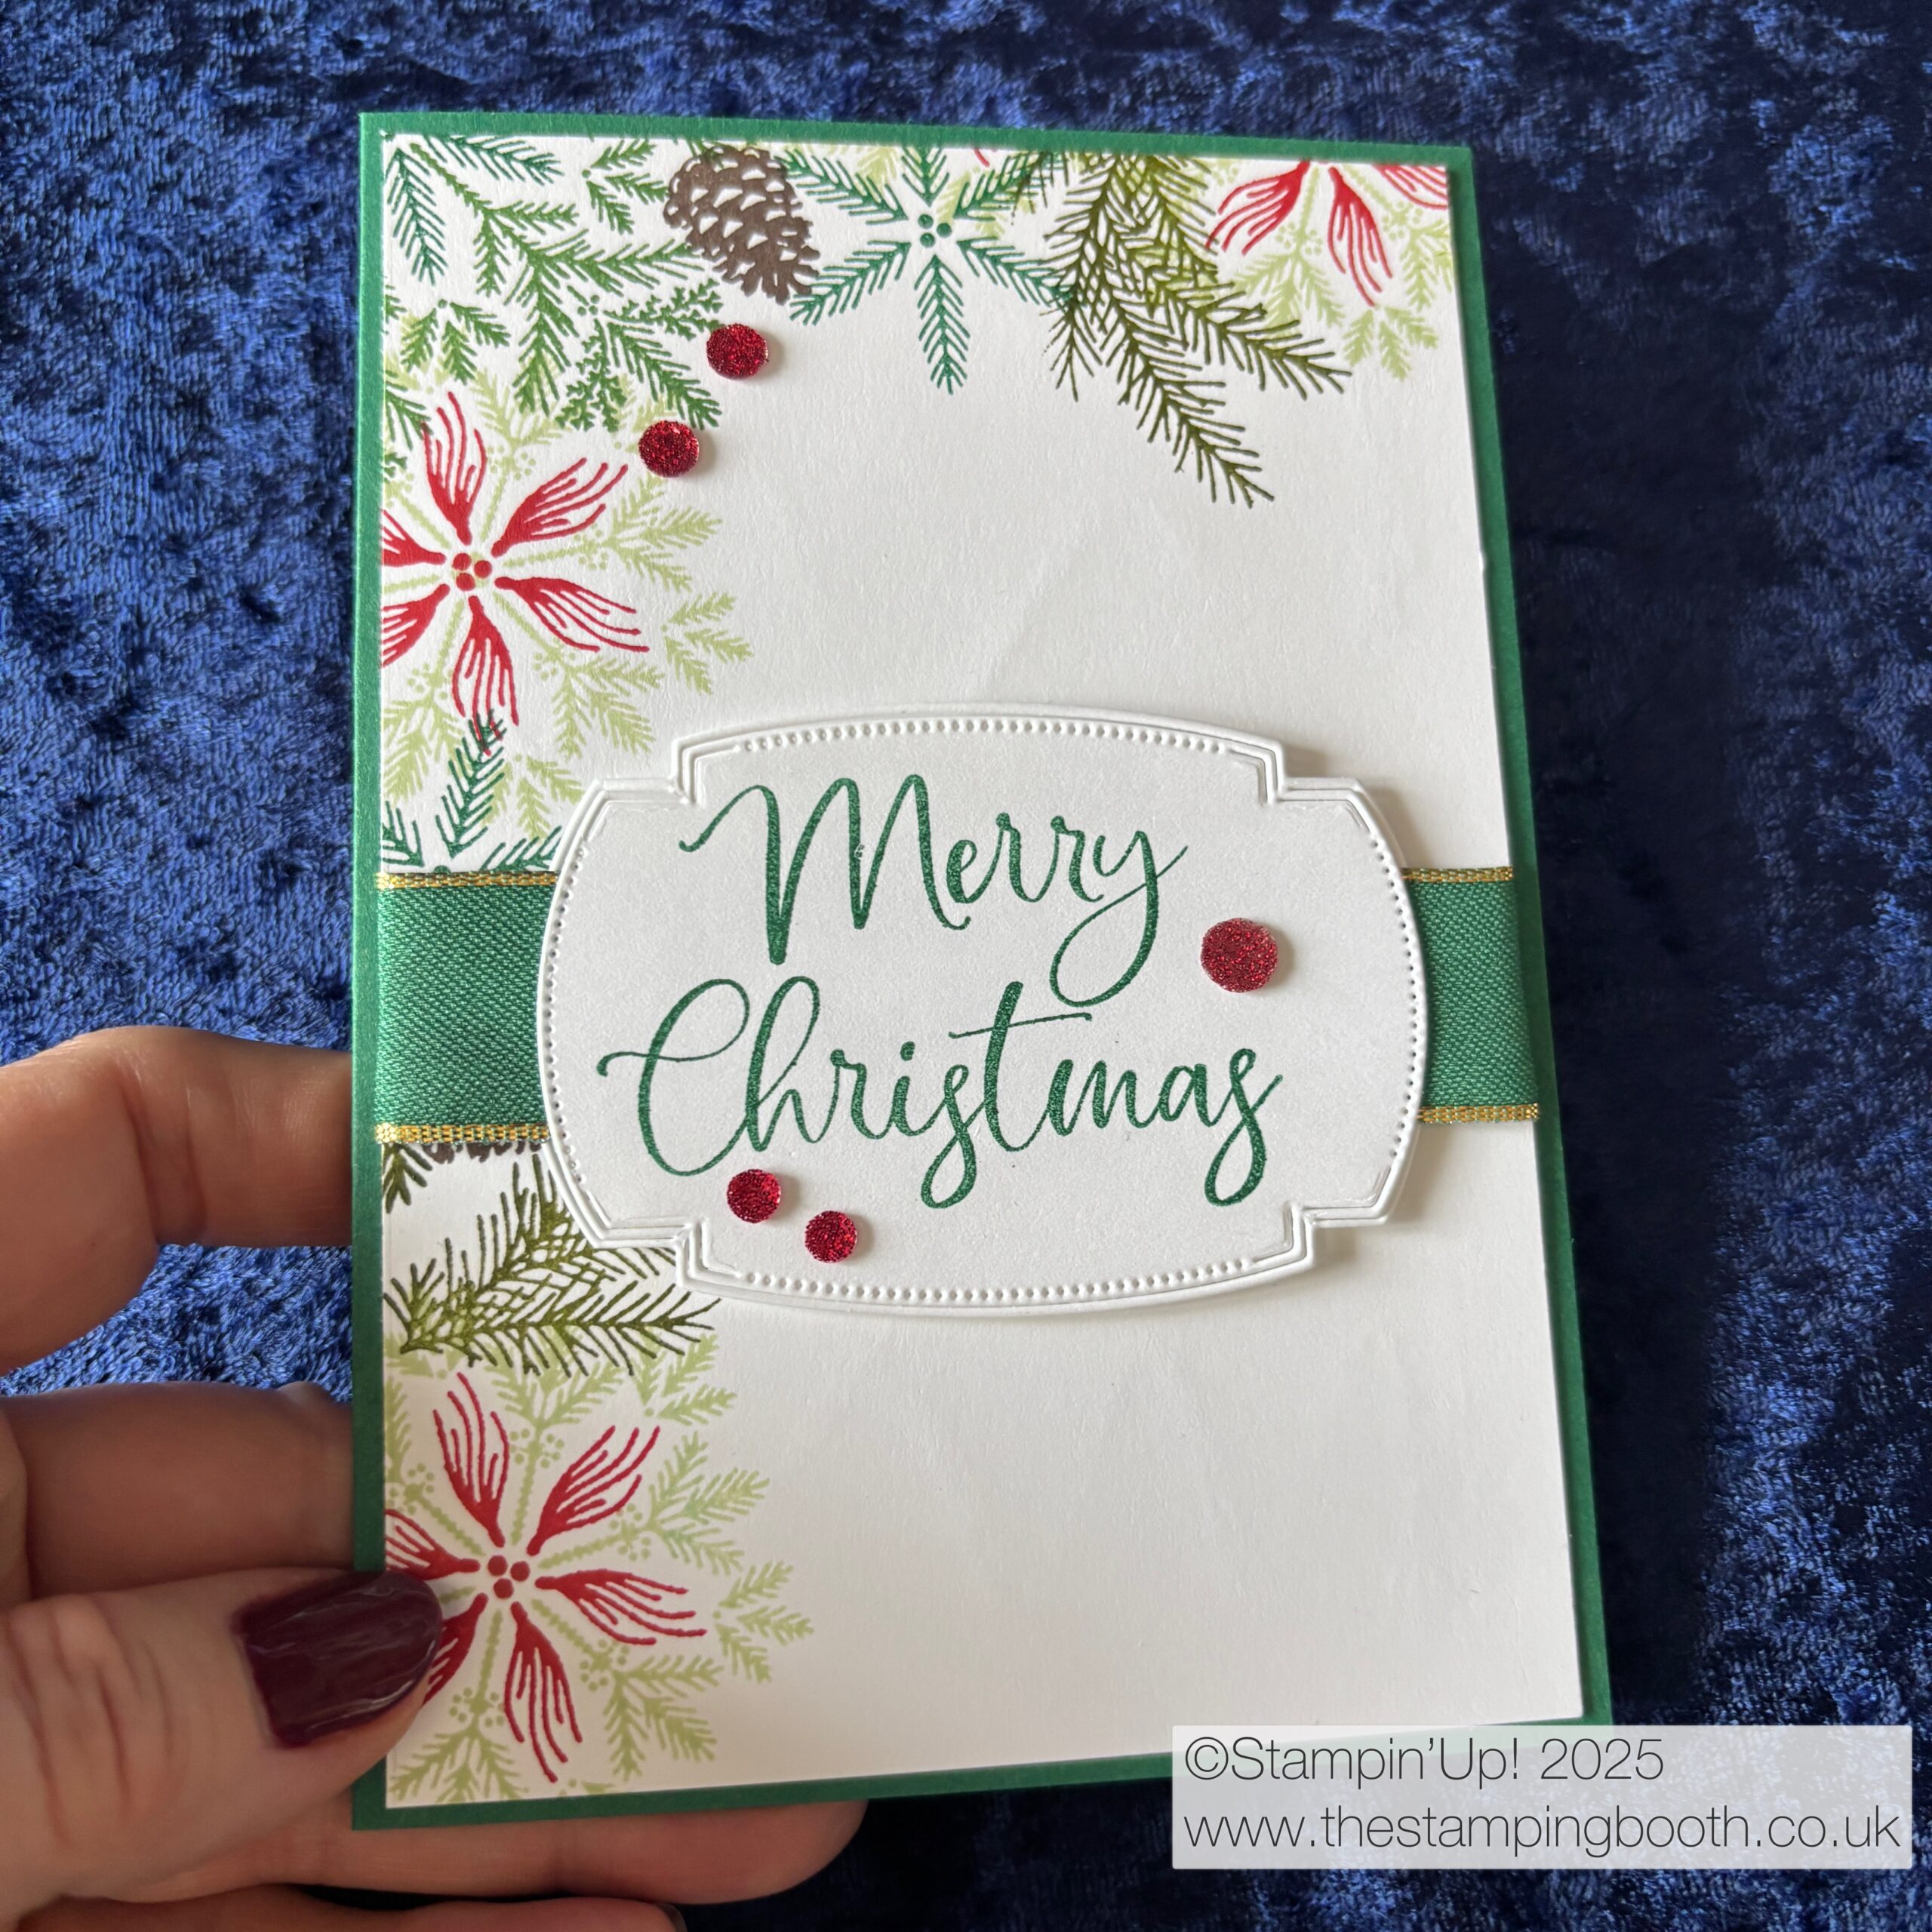
So, for this bloghop I’ve used the Delicate Pines photopolymer stamp set, the Traditional Labels stamps and dies and the Merry Christmas stamp set.
Using a single sheet of A4 card, I trimmed 1cm off the top and side of the card and then measured and drew a cross in pencil, making sure not to press too hard, through the centre of the card (lines from top to bottom and side to side).
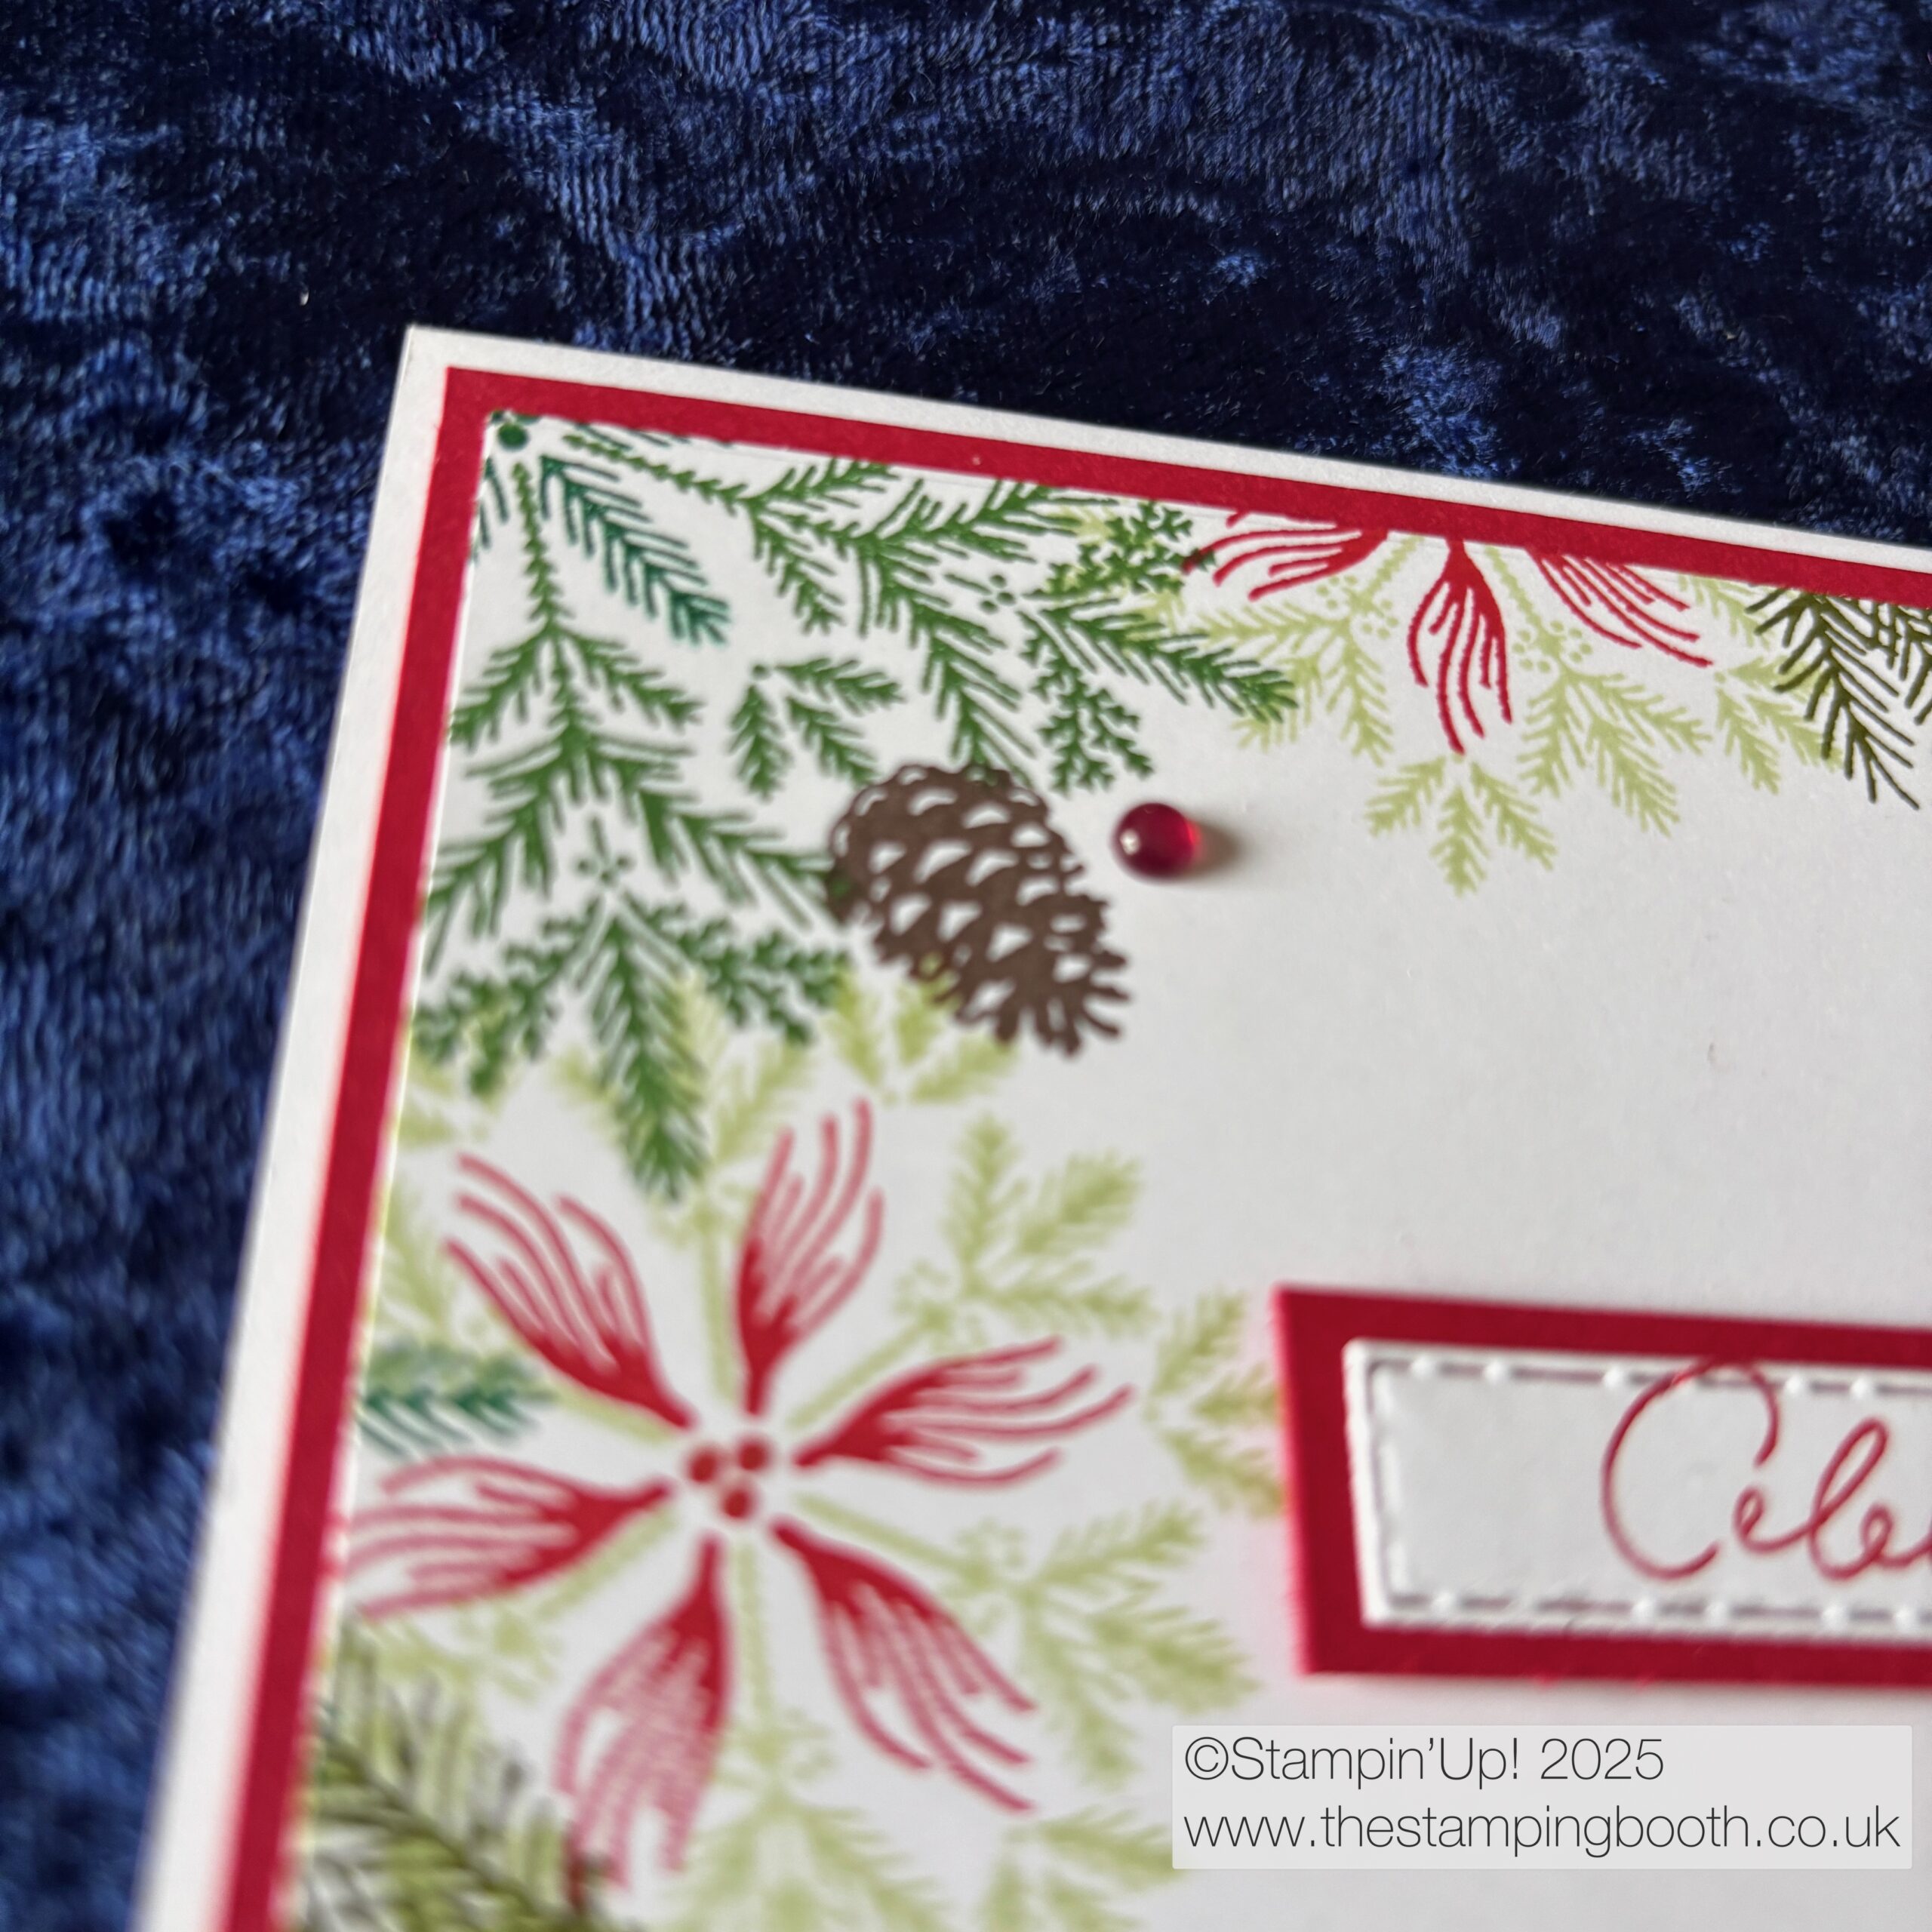
Starting with the largest snowflake from the Delicate Pines set, I stamped in the centre of the card where the two lines crossed.
I continued to stamp the other images from the stamp set in different colours along the horizontal and vertical lines, ensuring that I went above, below and either side.
The colours I used were Real Red, Shaded Spruce, Garden Green, Mossy Meadow, Soft Seafoam and Early Espresso for the pine cones.
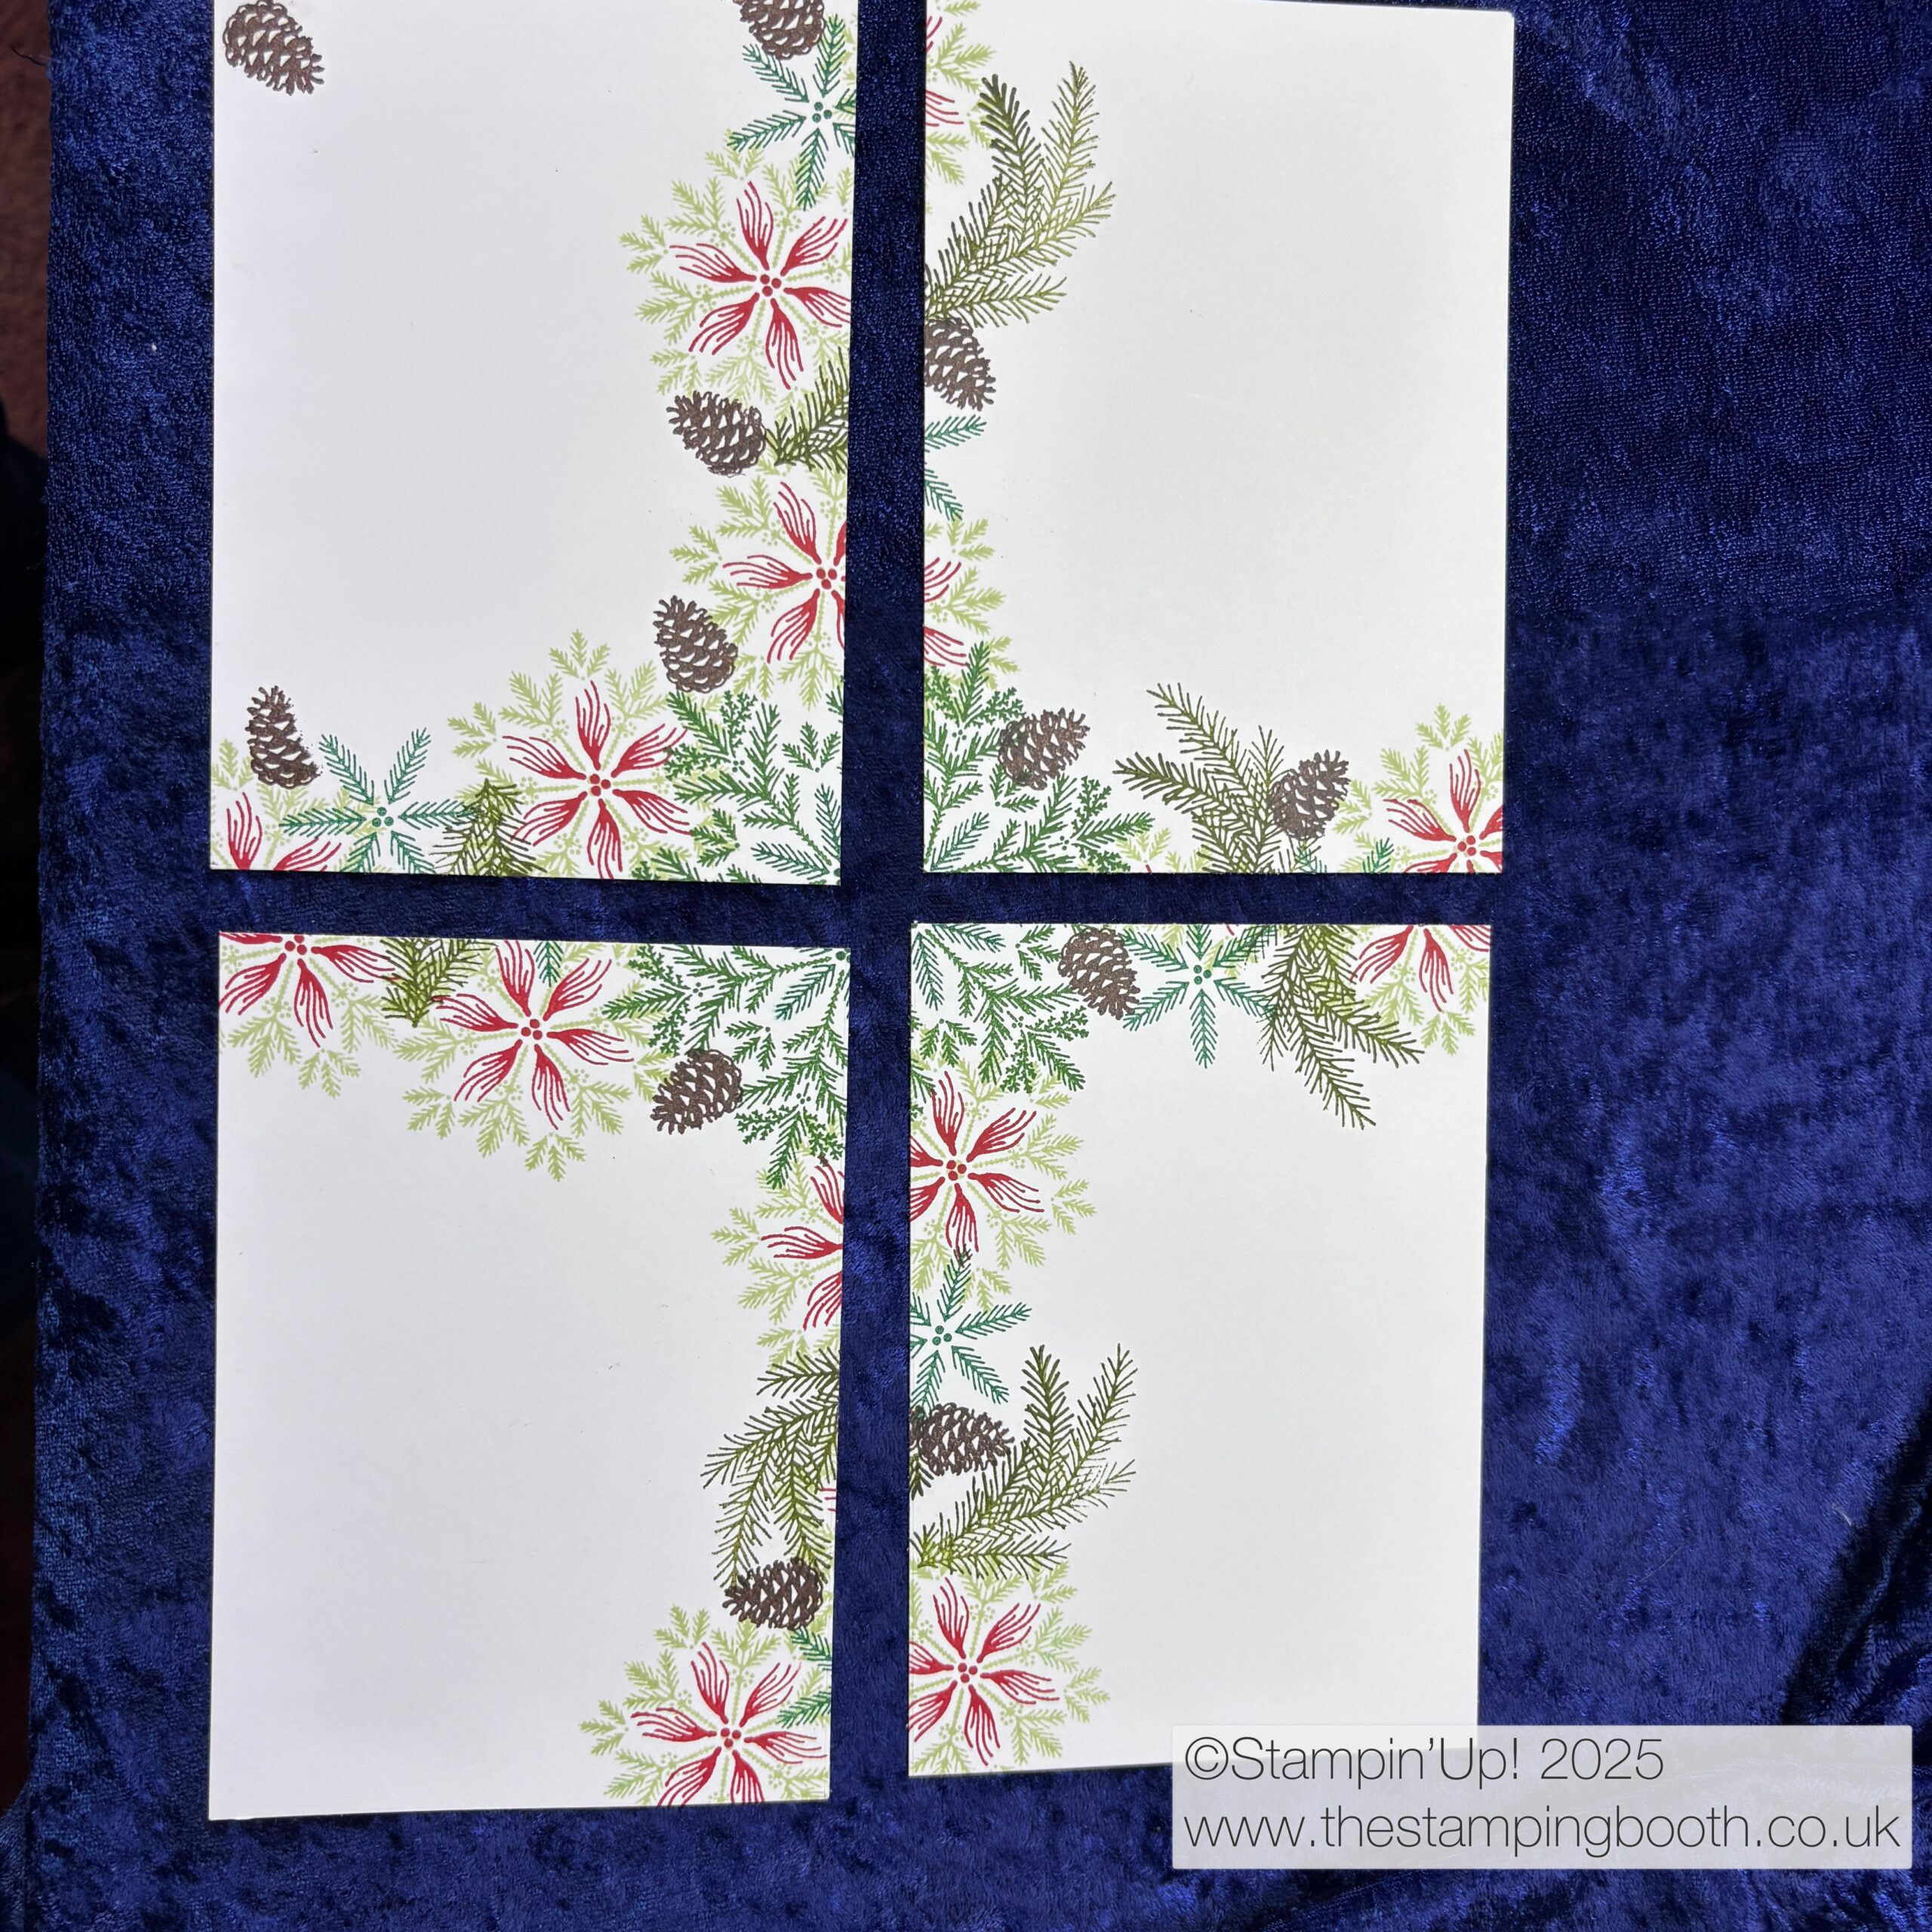
Once I was happy that I hadn’t got gaps and it all looked nice and even, I cut the card into 4 equal layers.
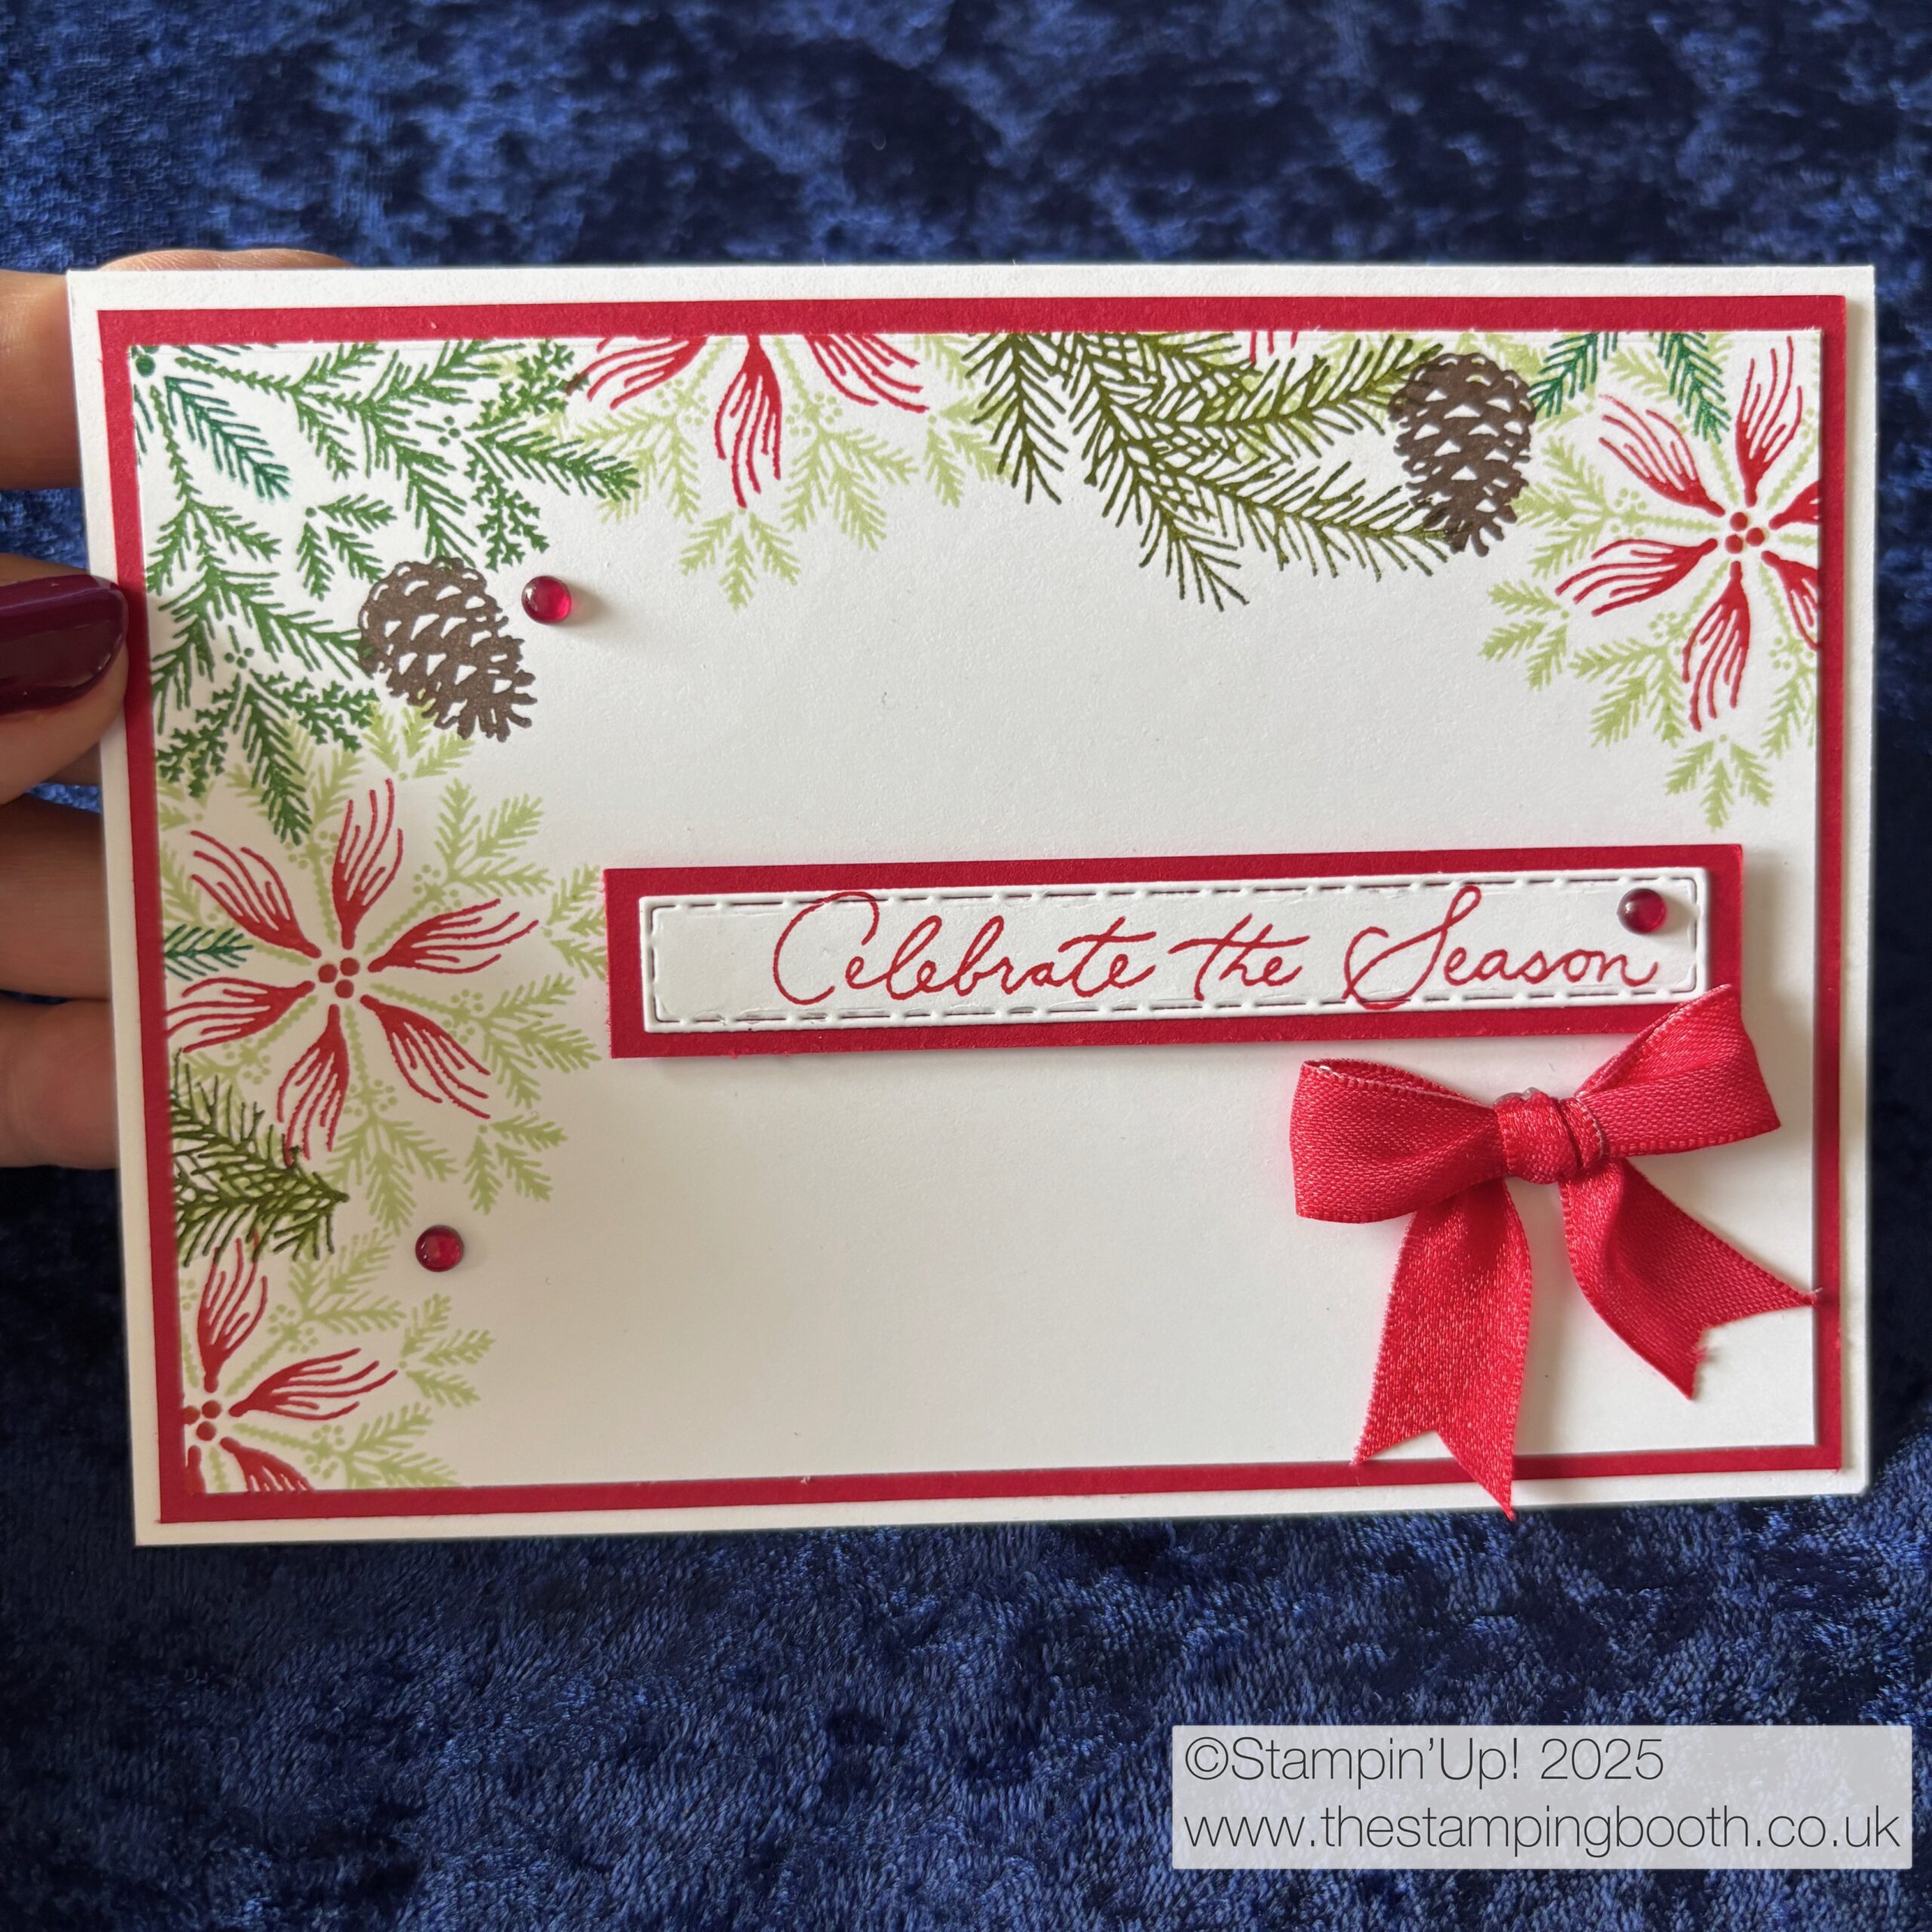
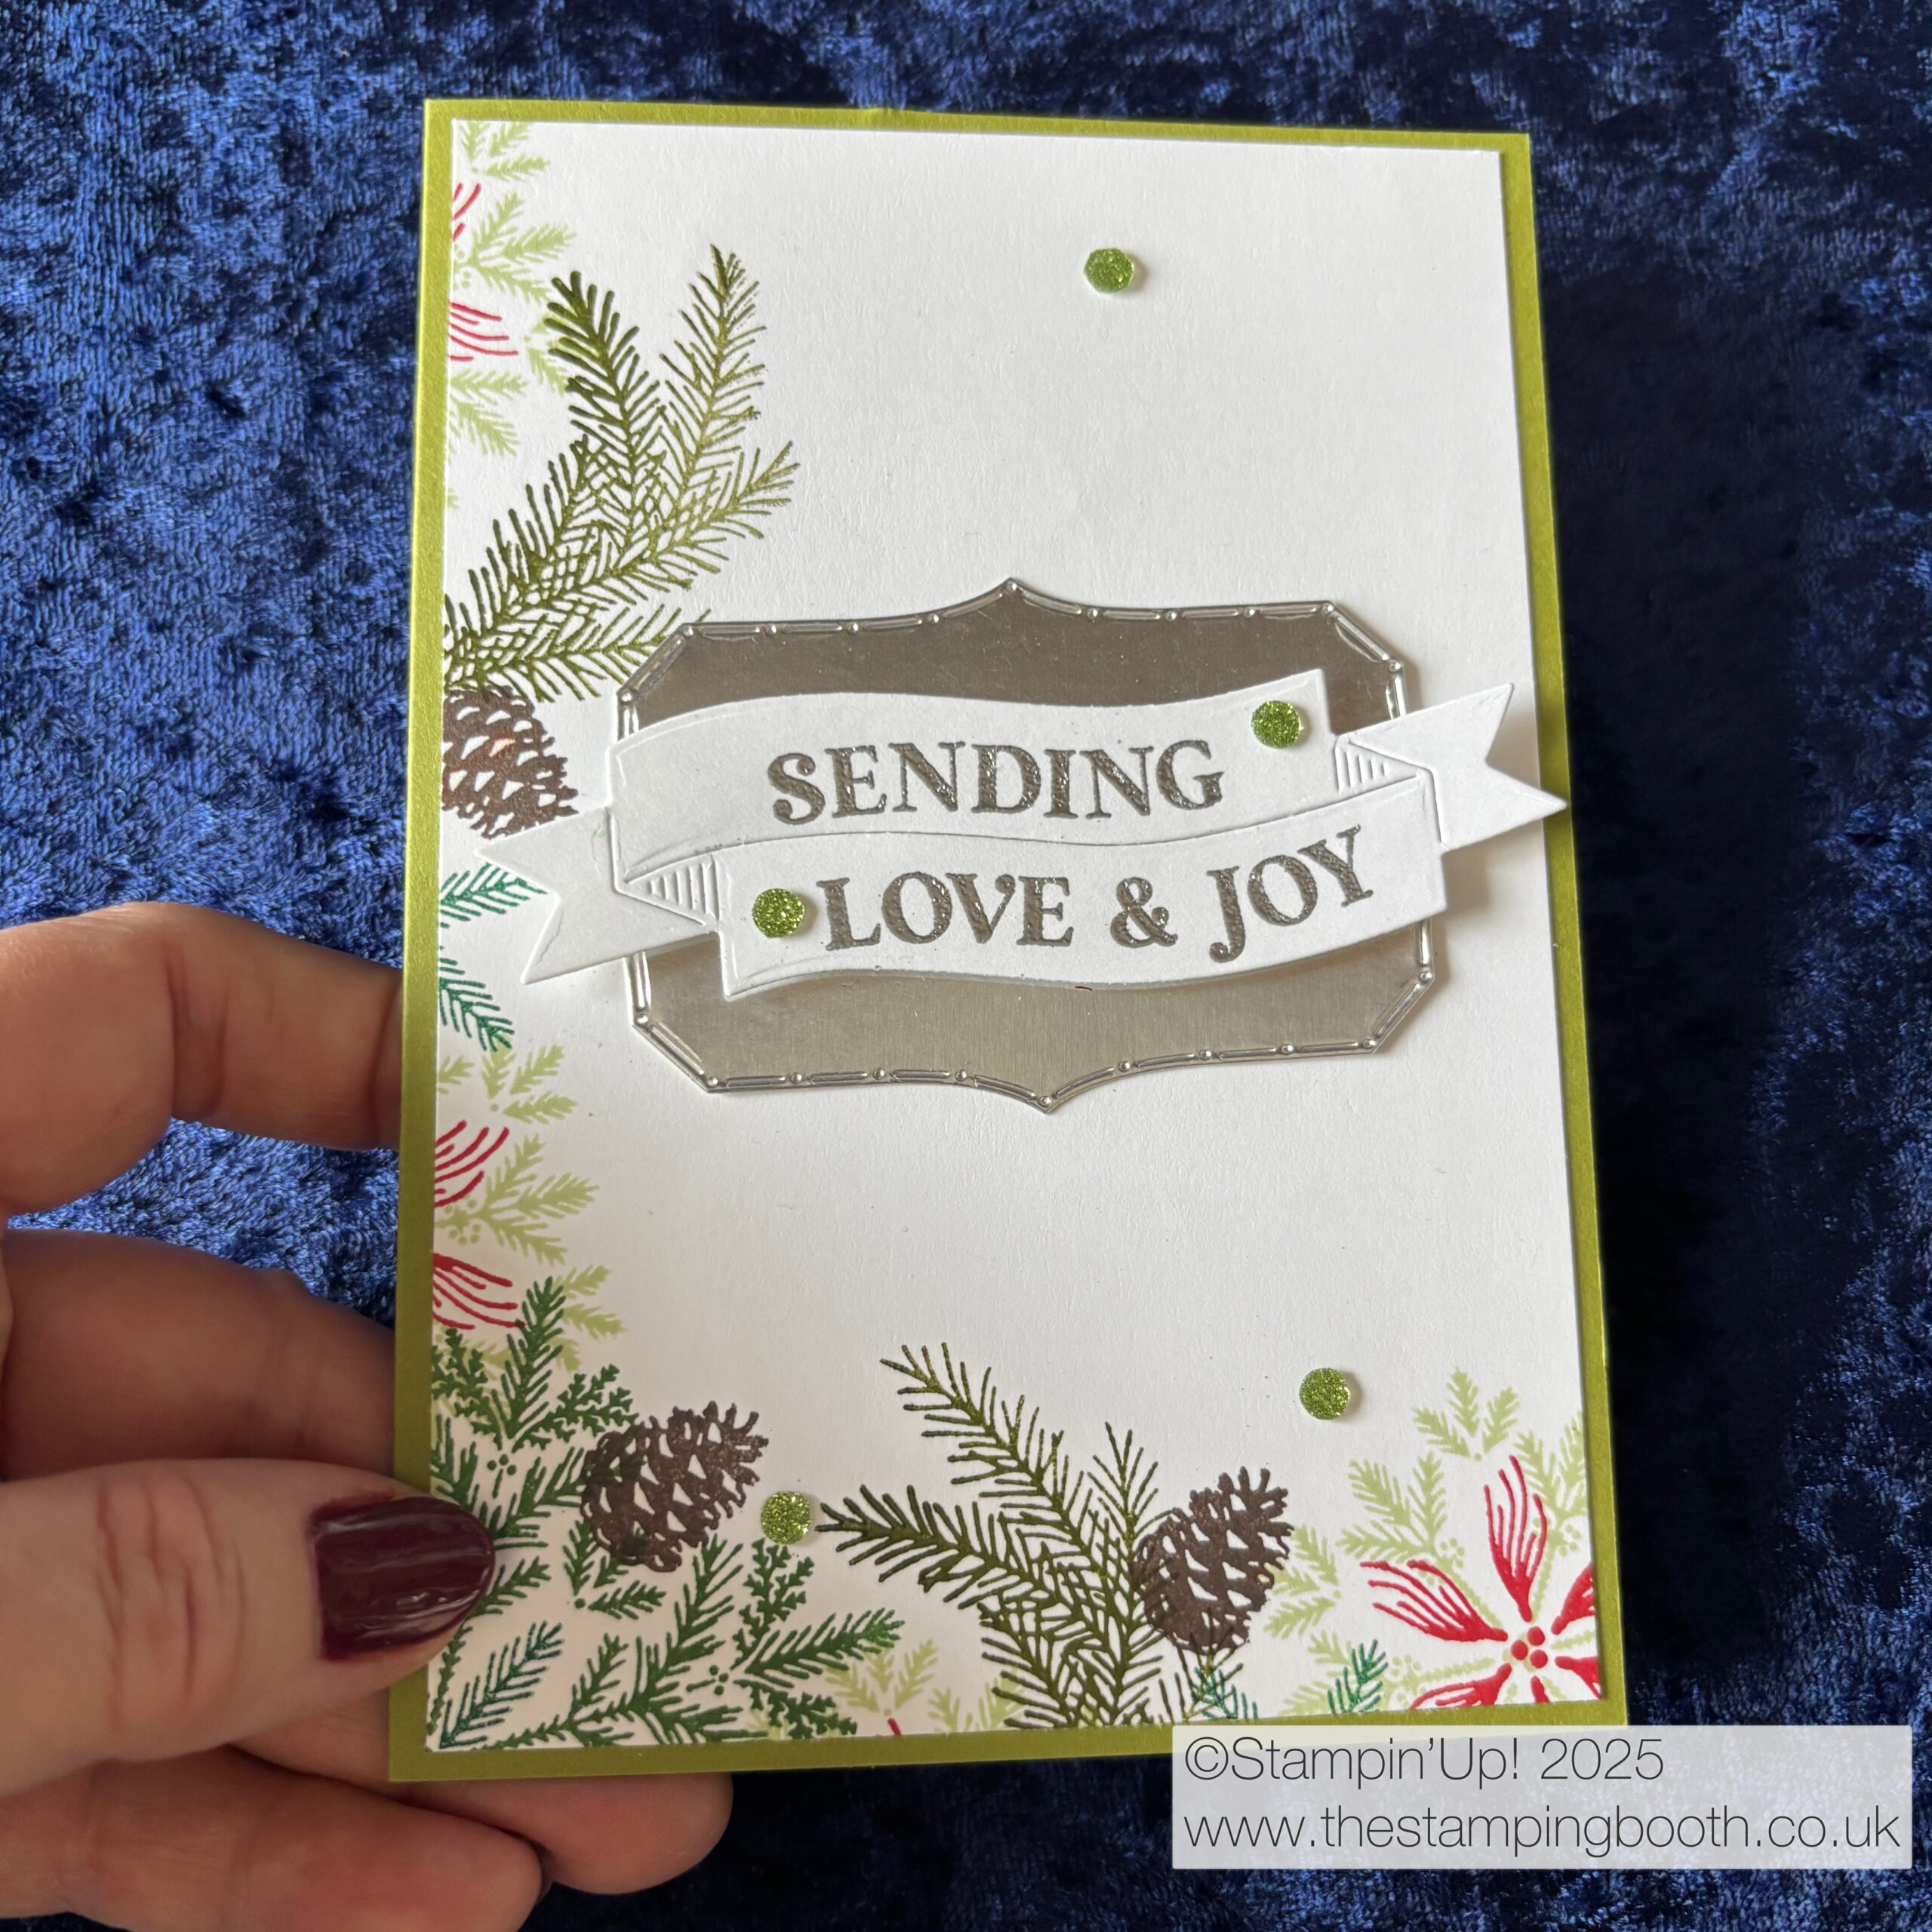
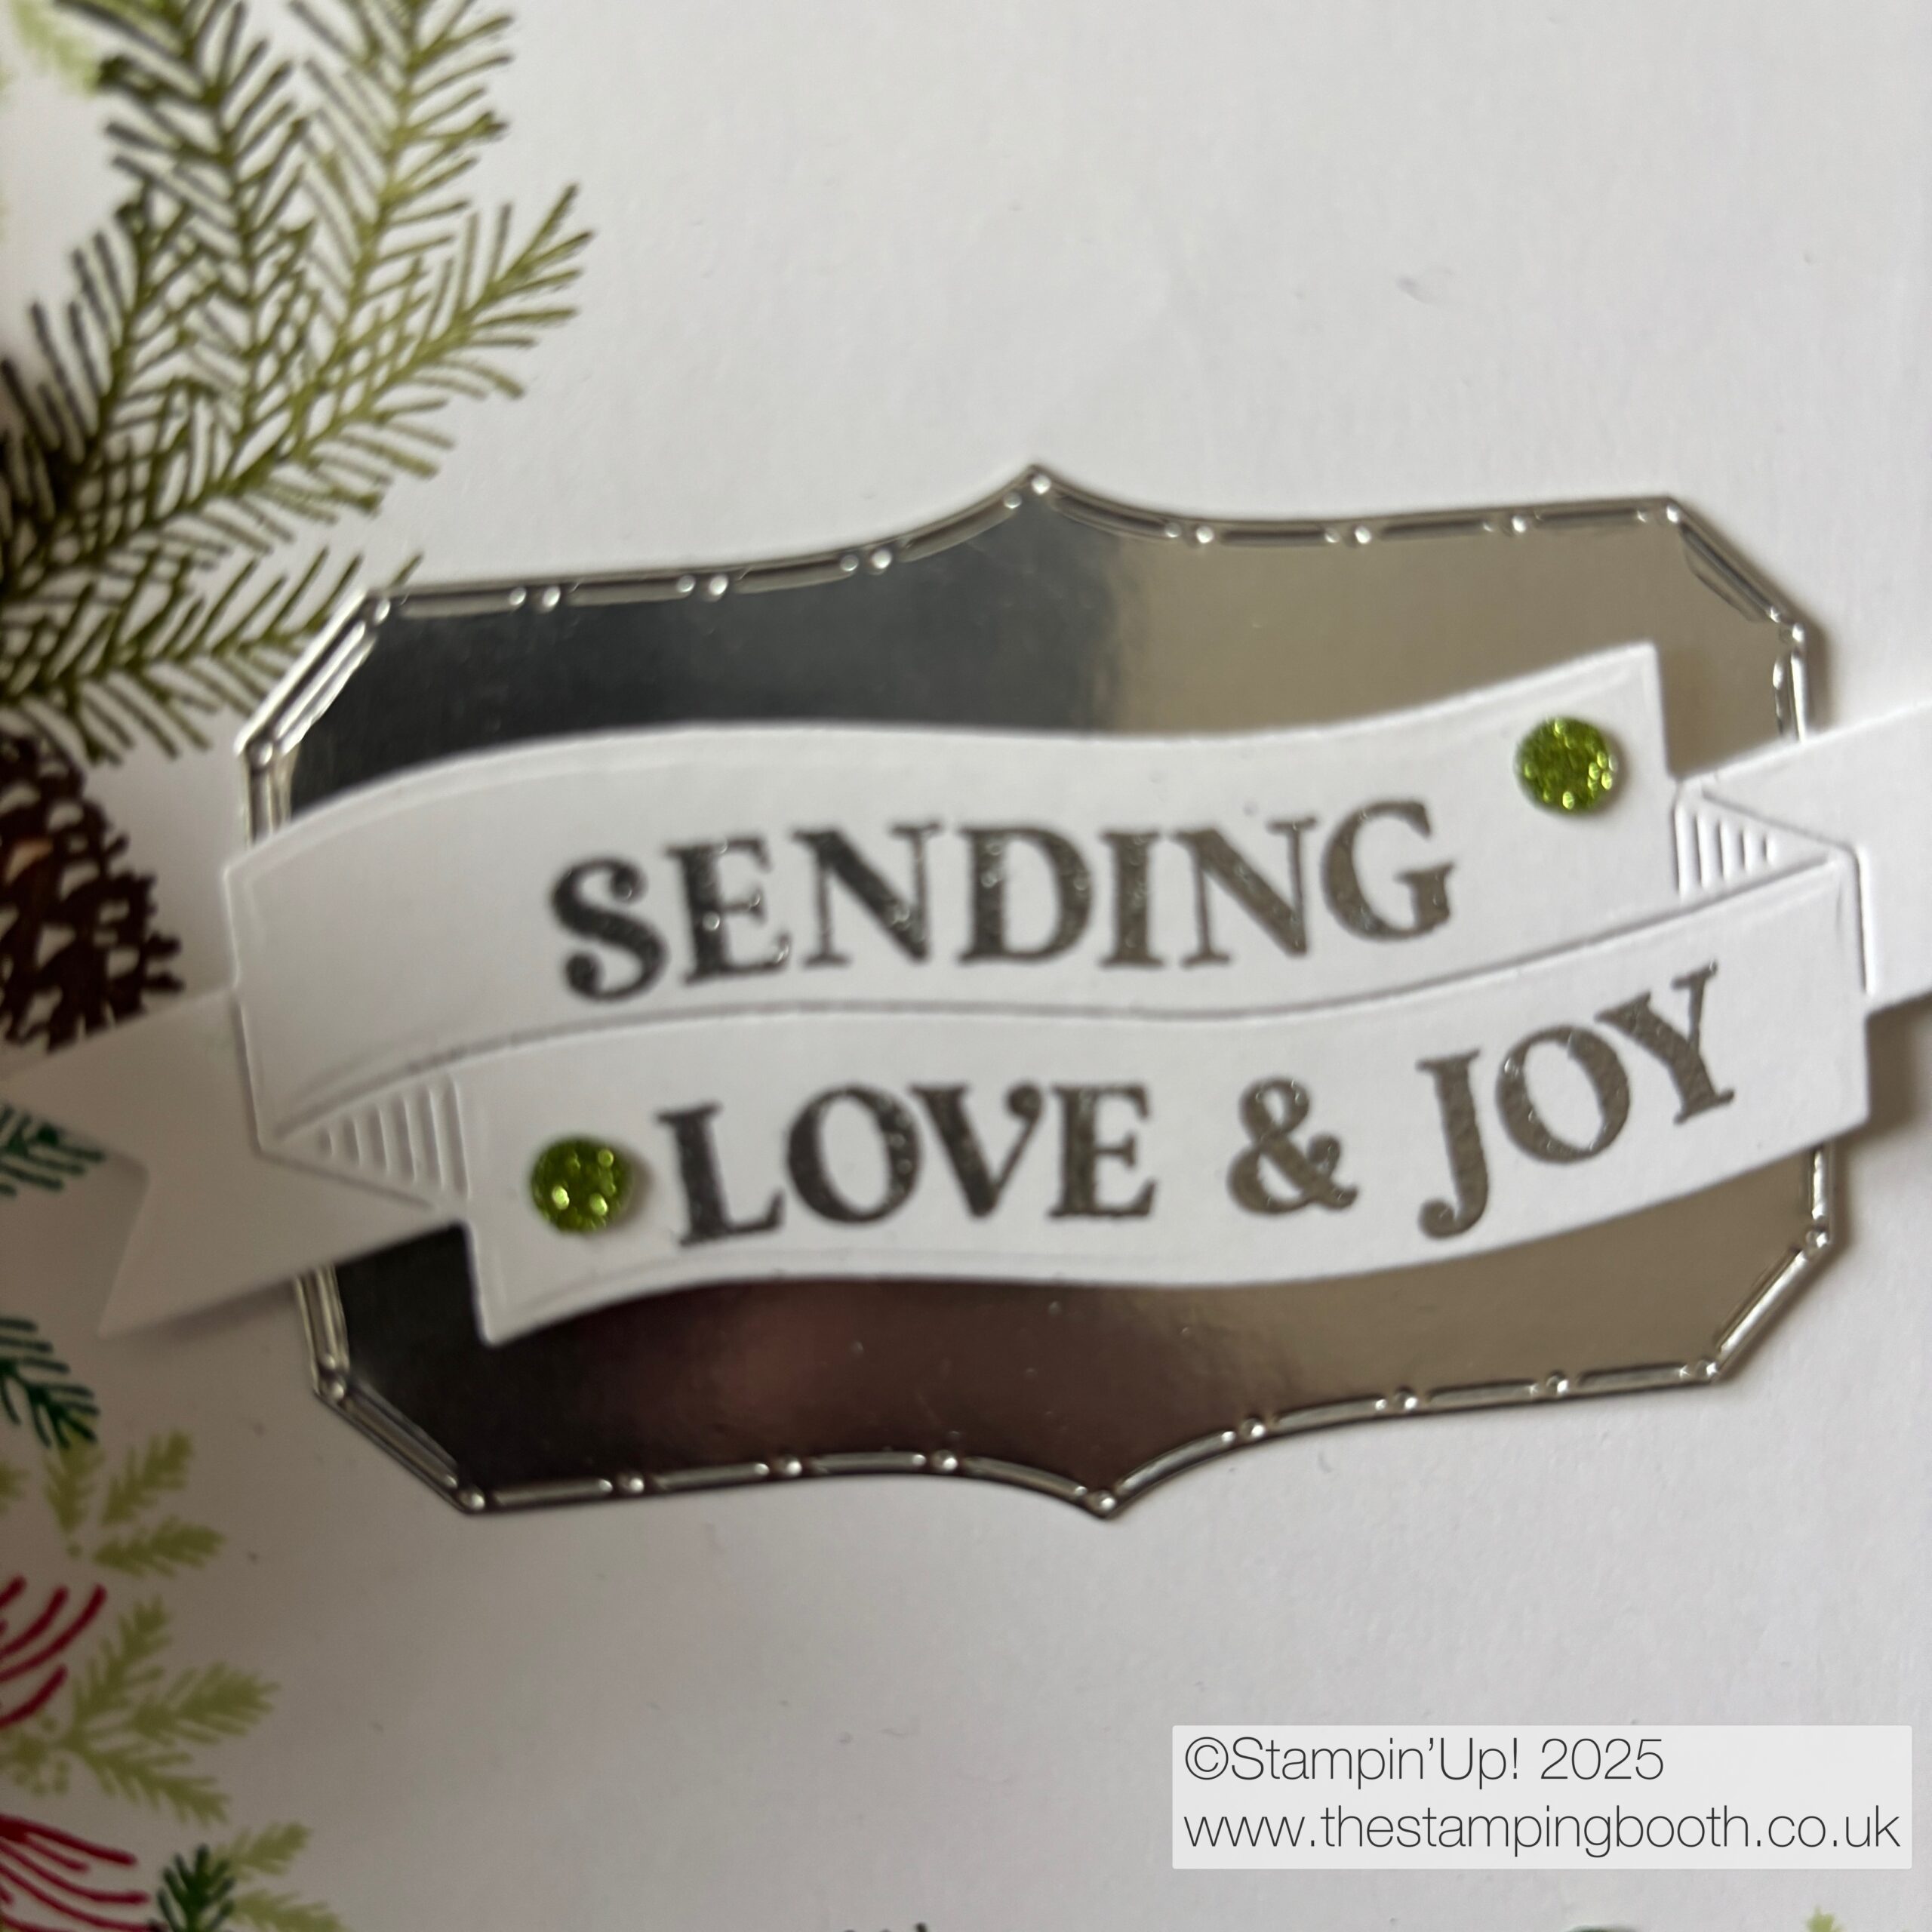
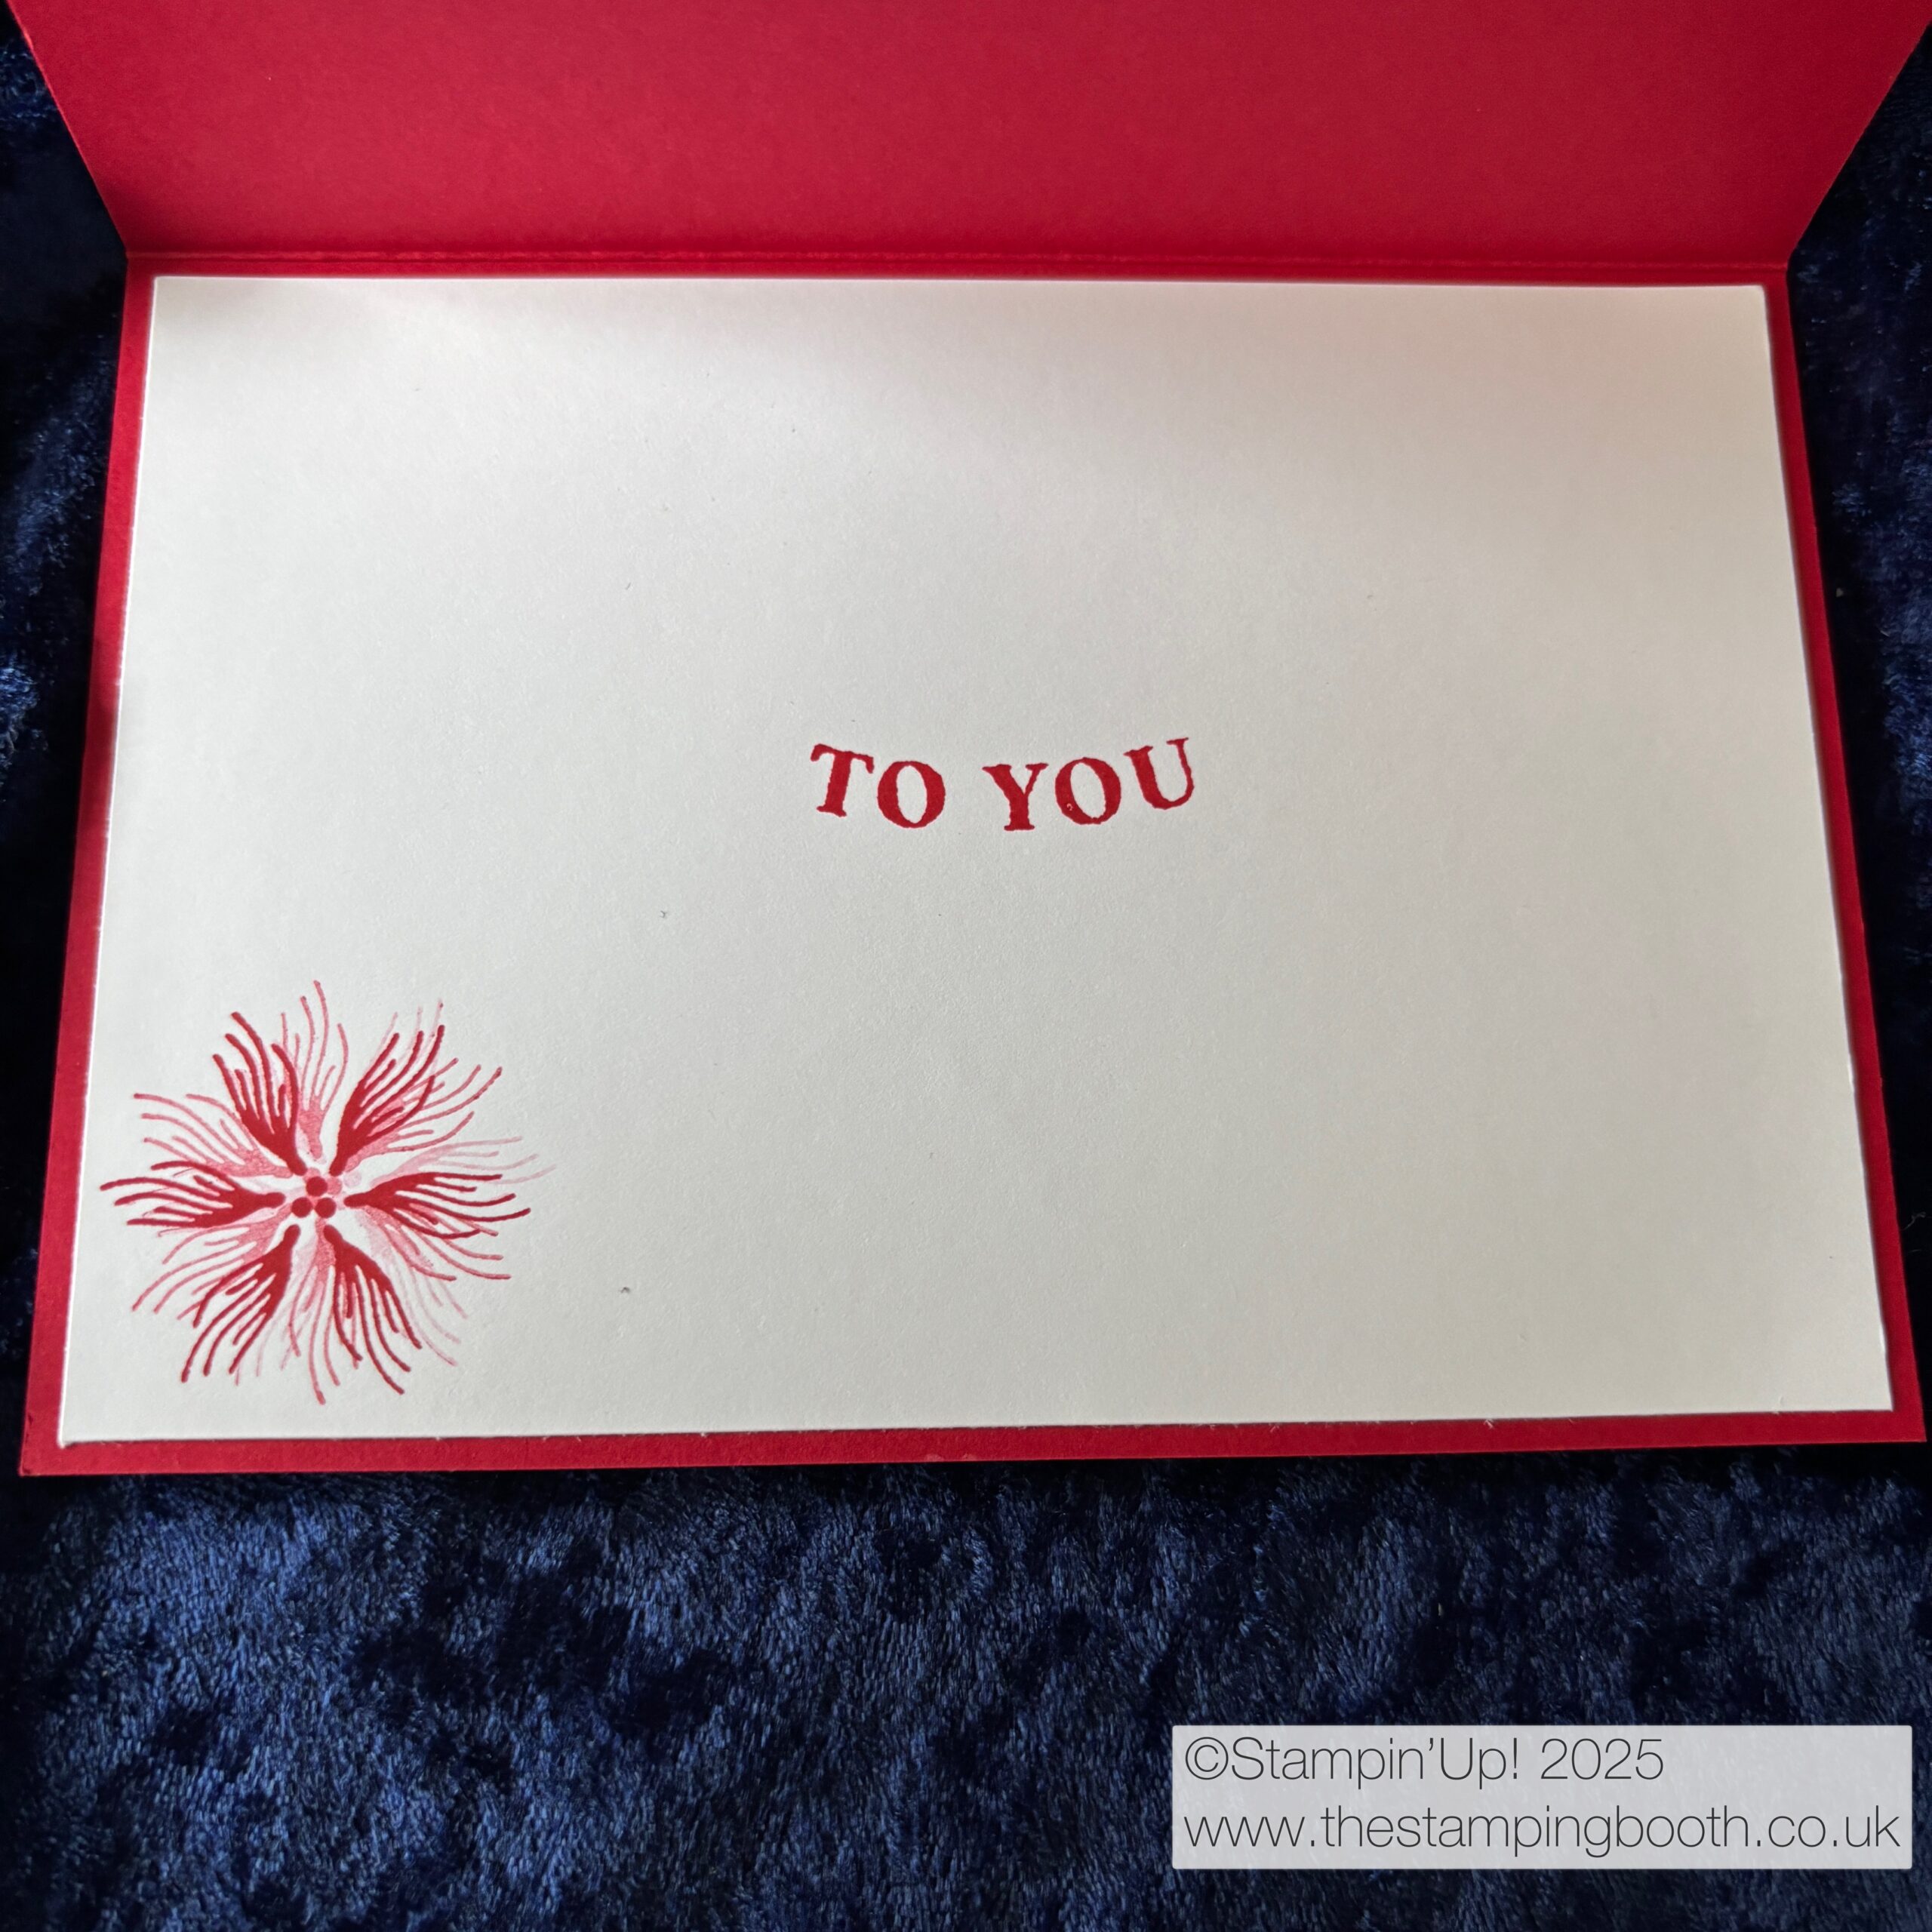
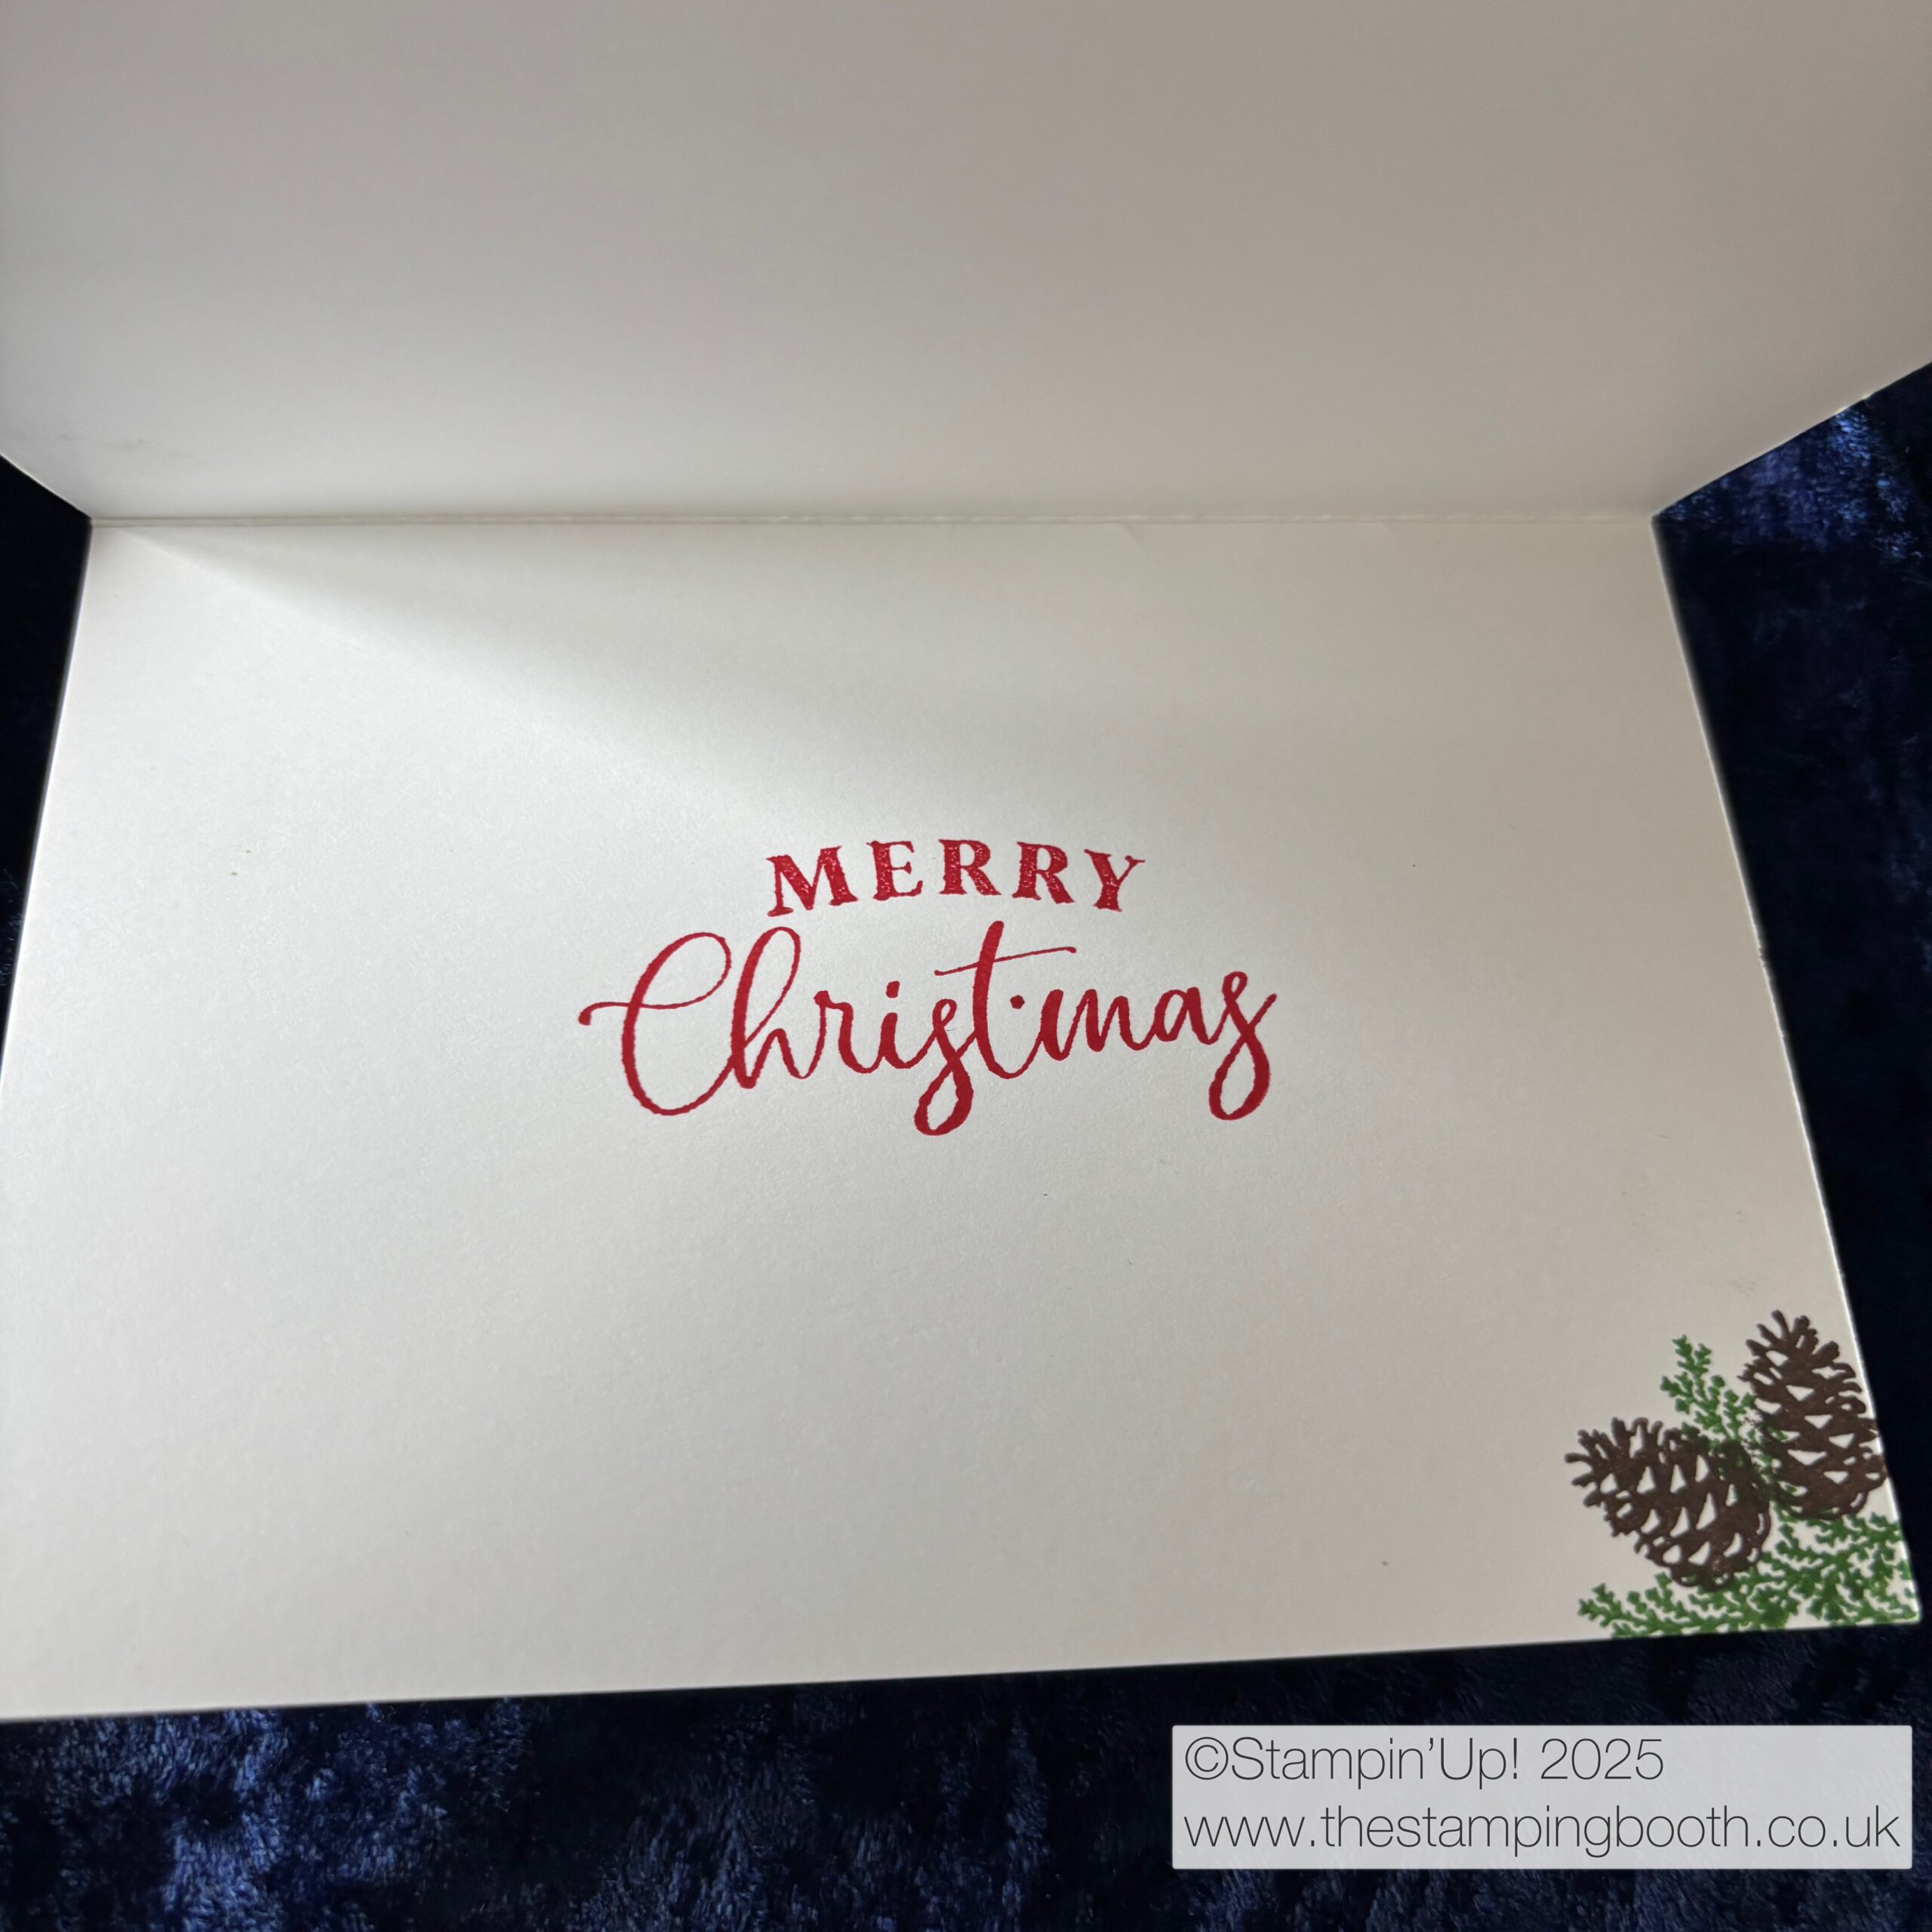
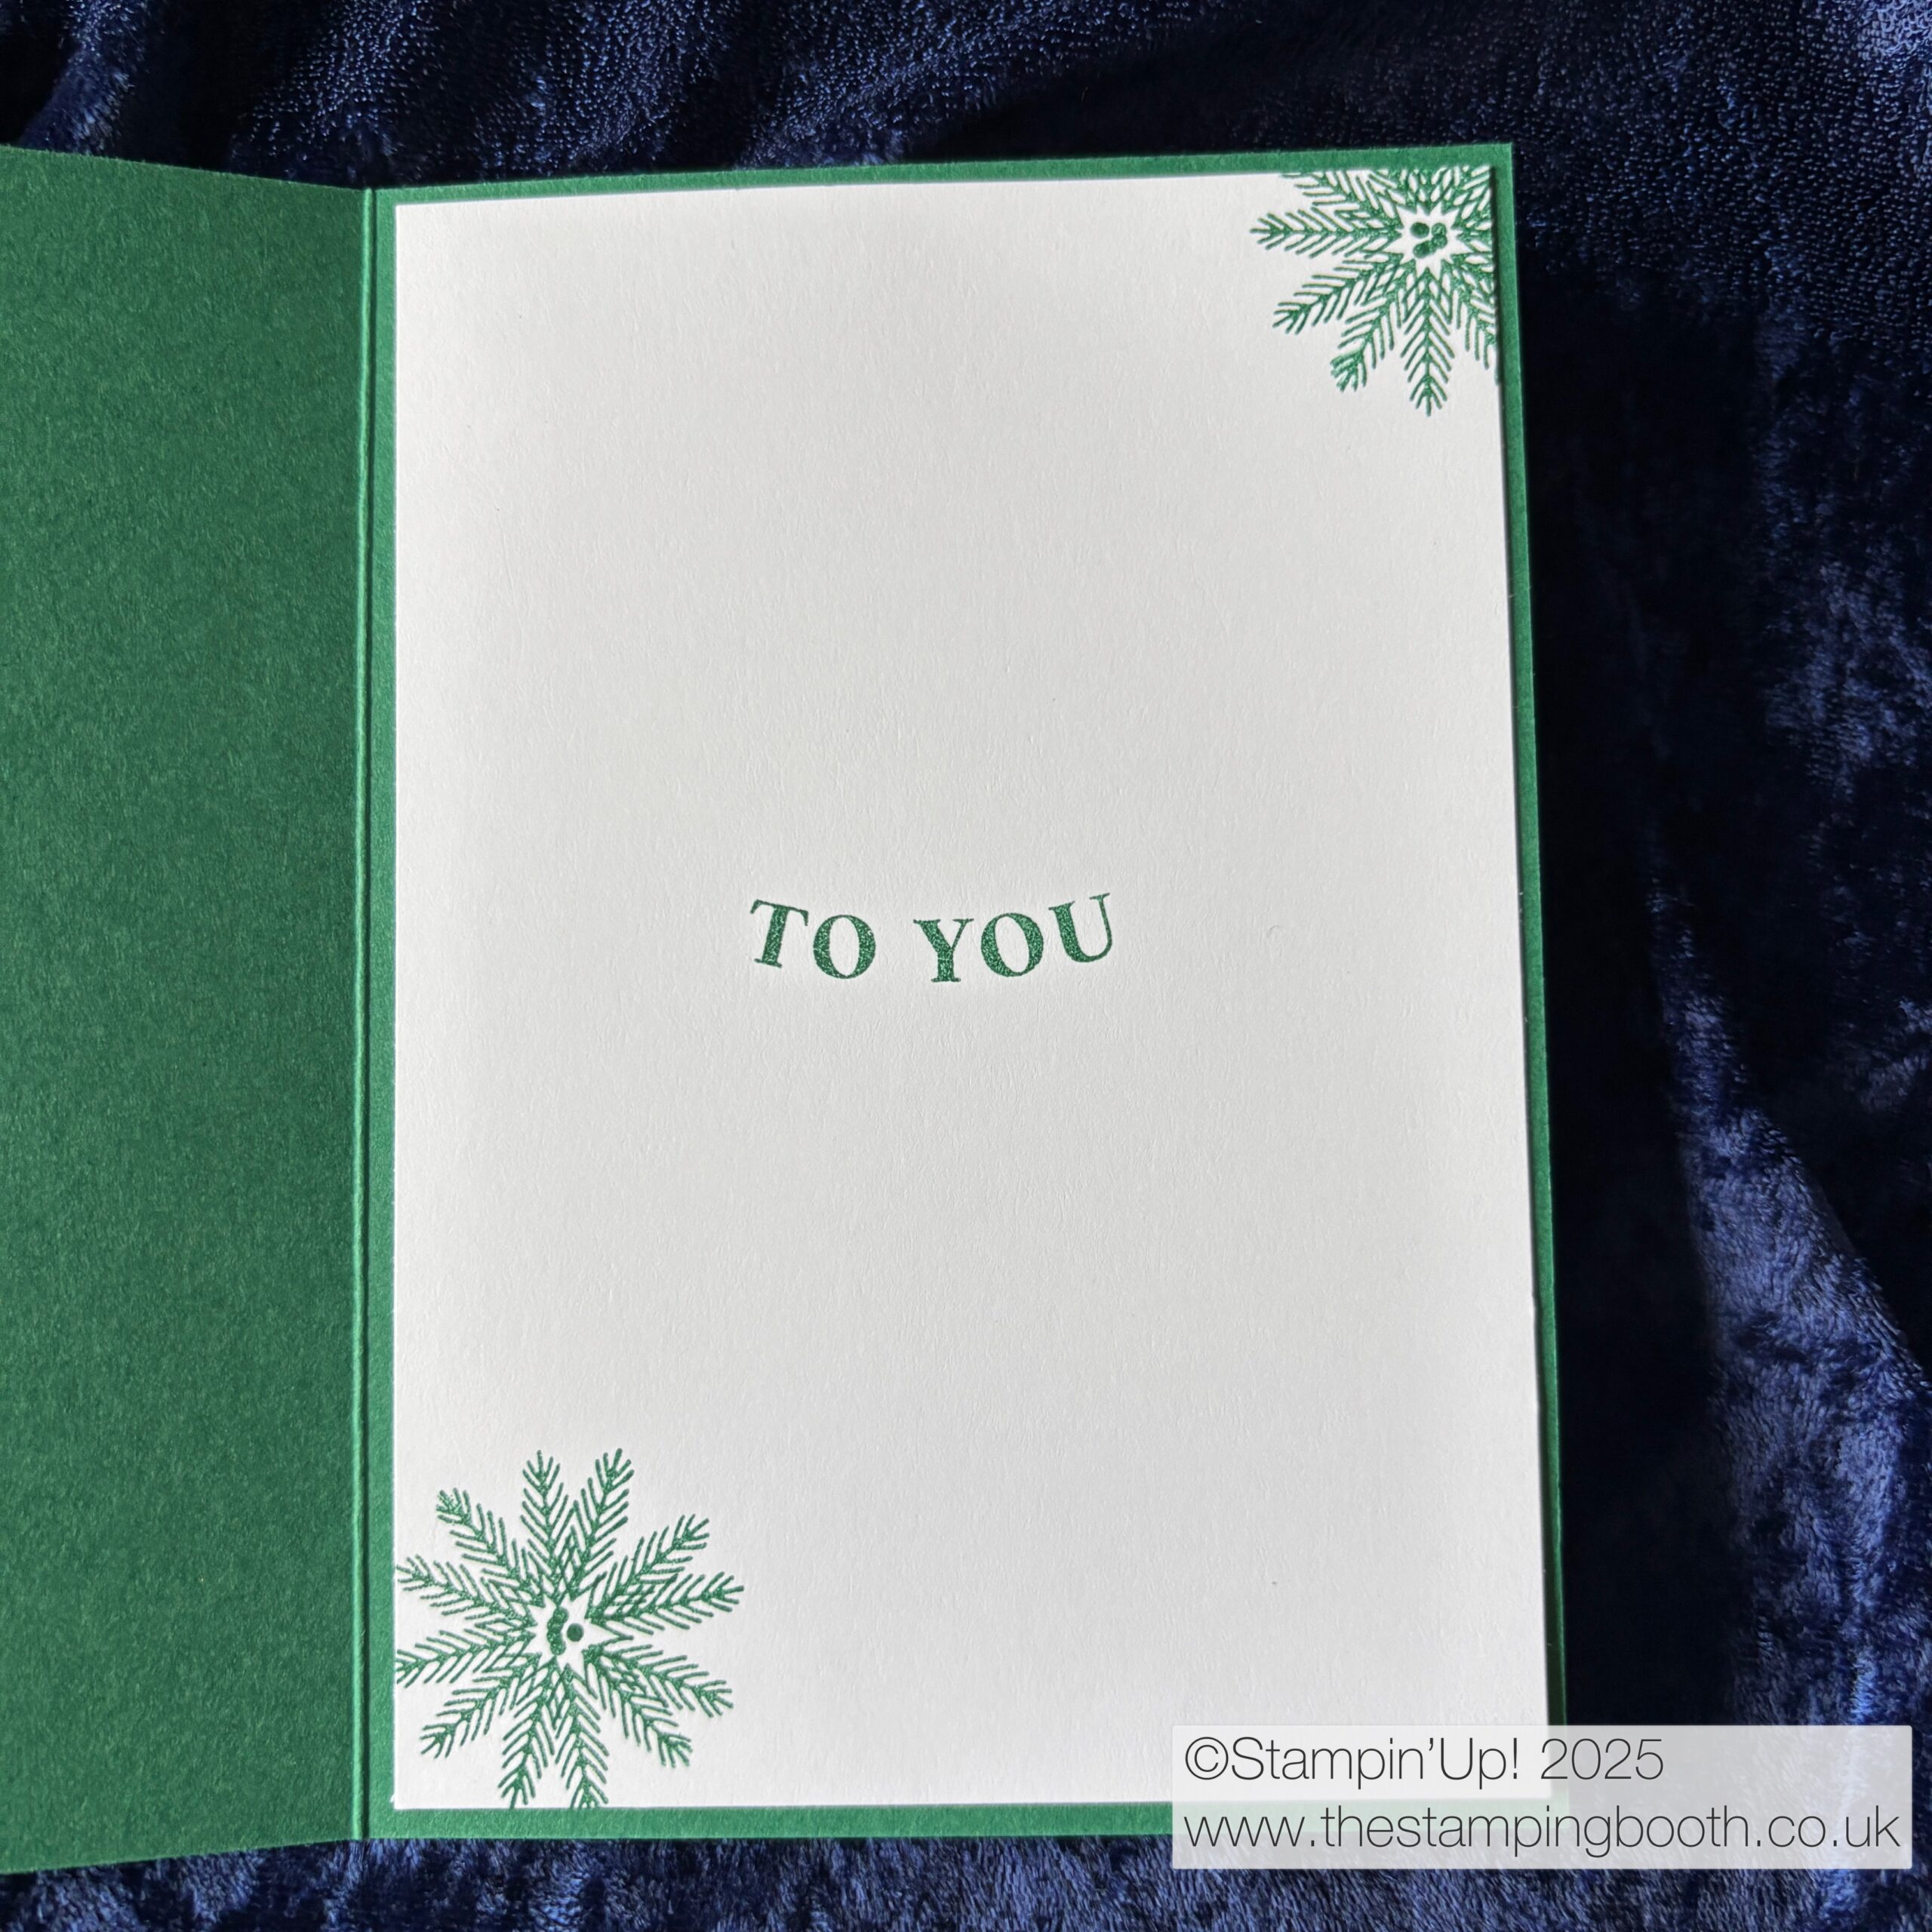
I used the Traditional Labels stamps and dies on two of the layers, the Merry Christmas stamp on another and the sentiments from the Delicate Pines set on the fourth. Mounting them onto different coloured card bases to make them pop.
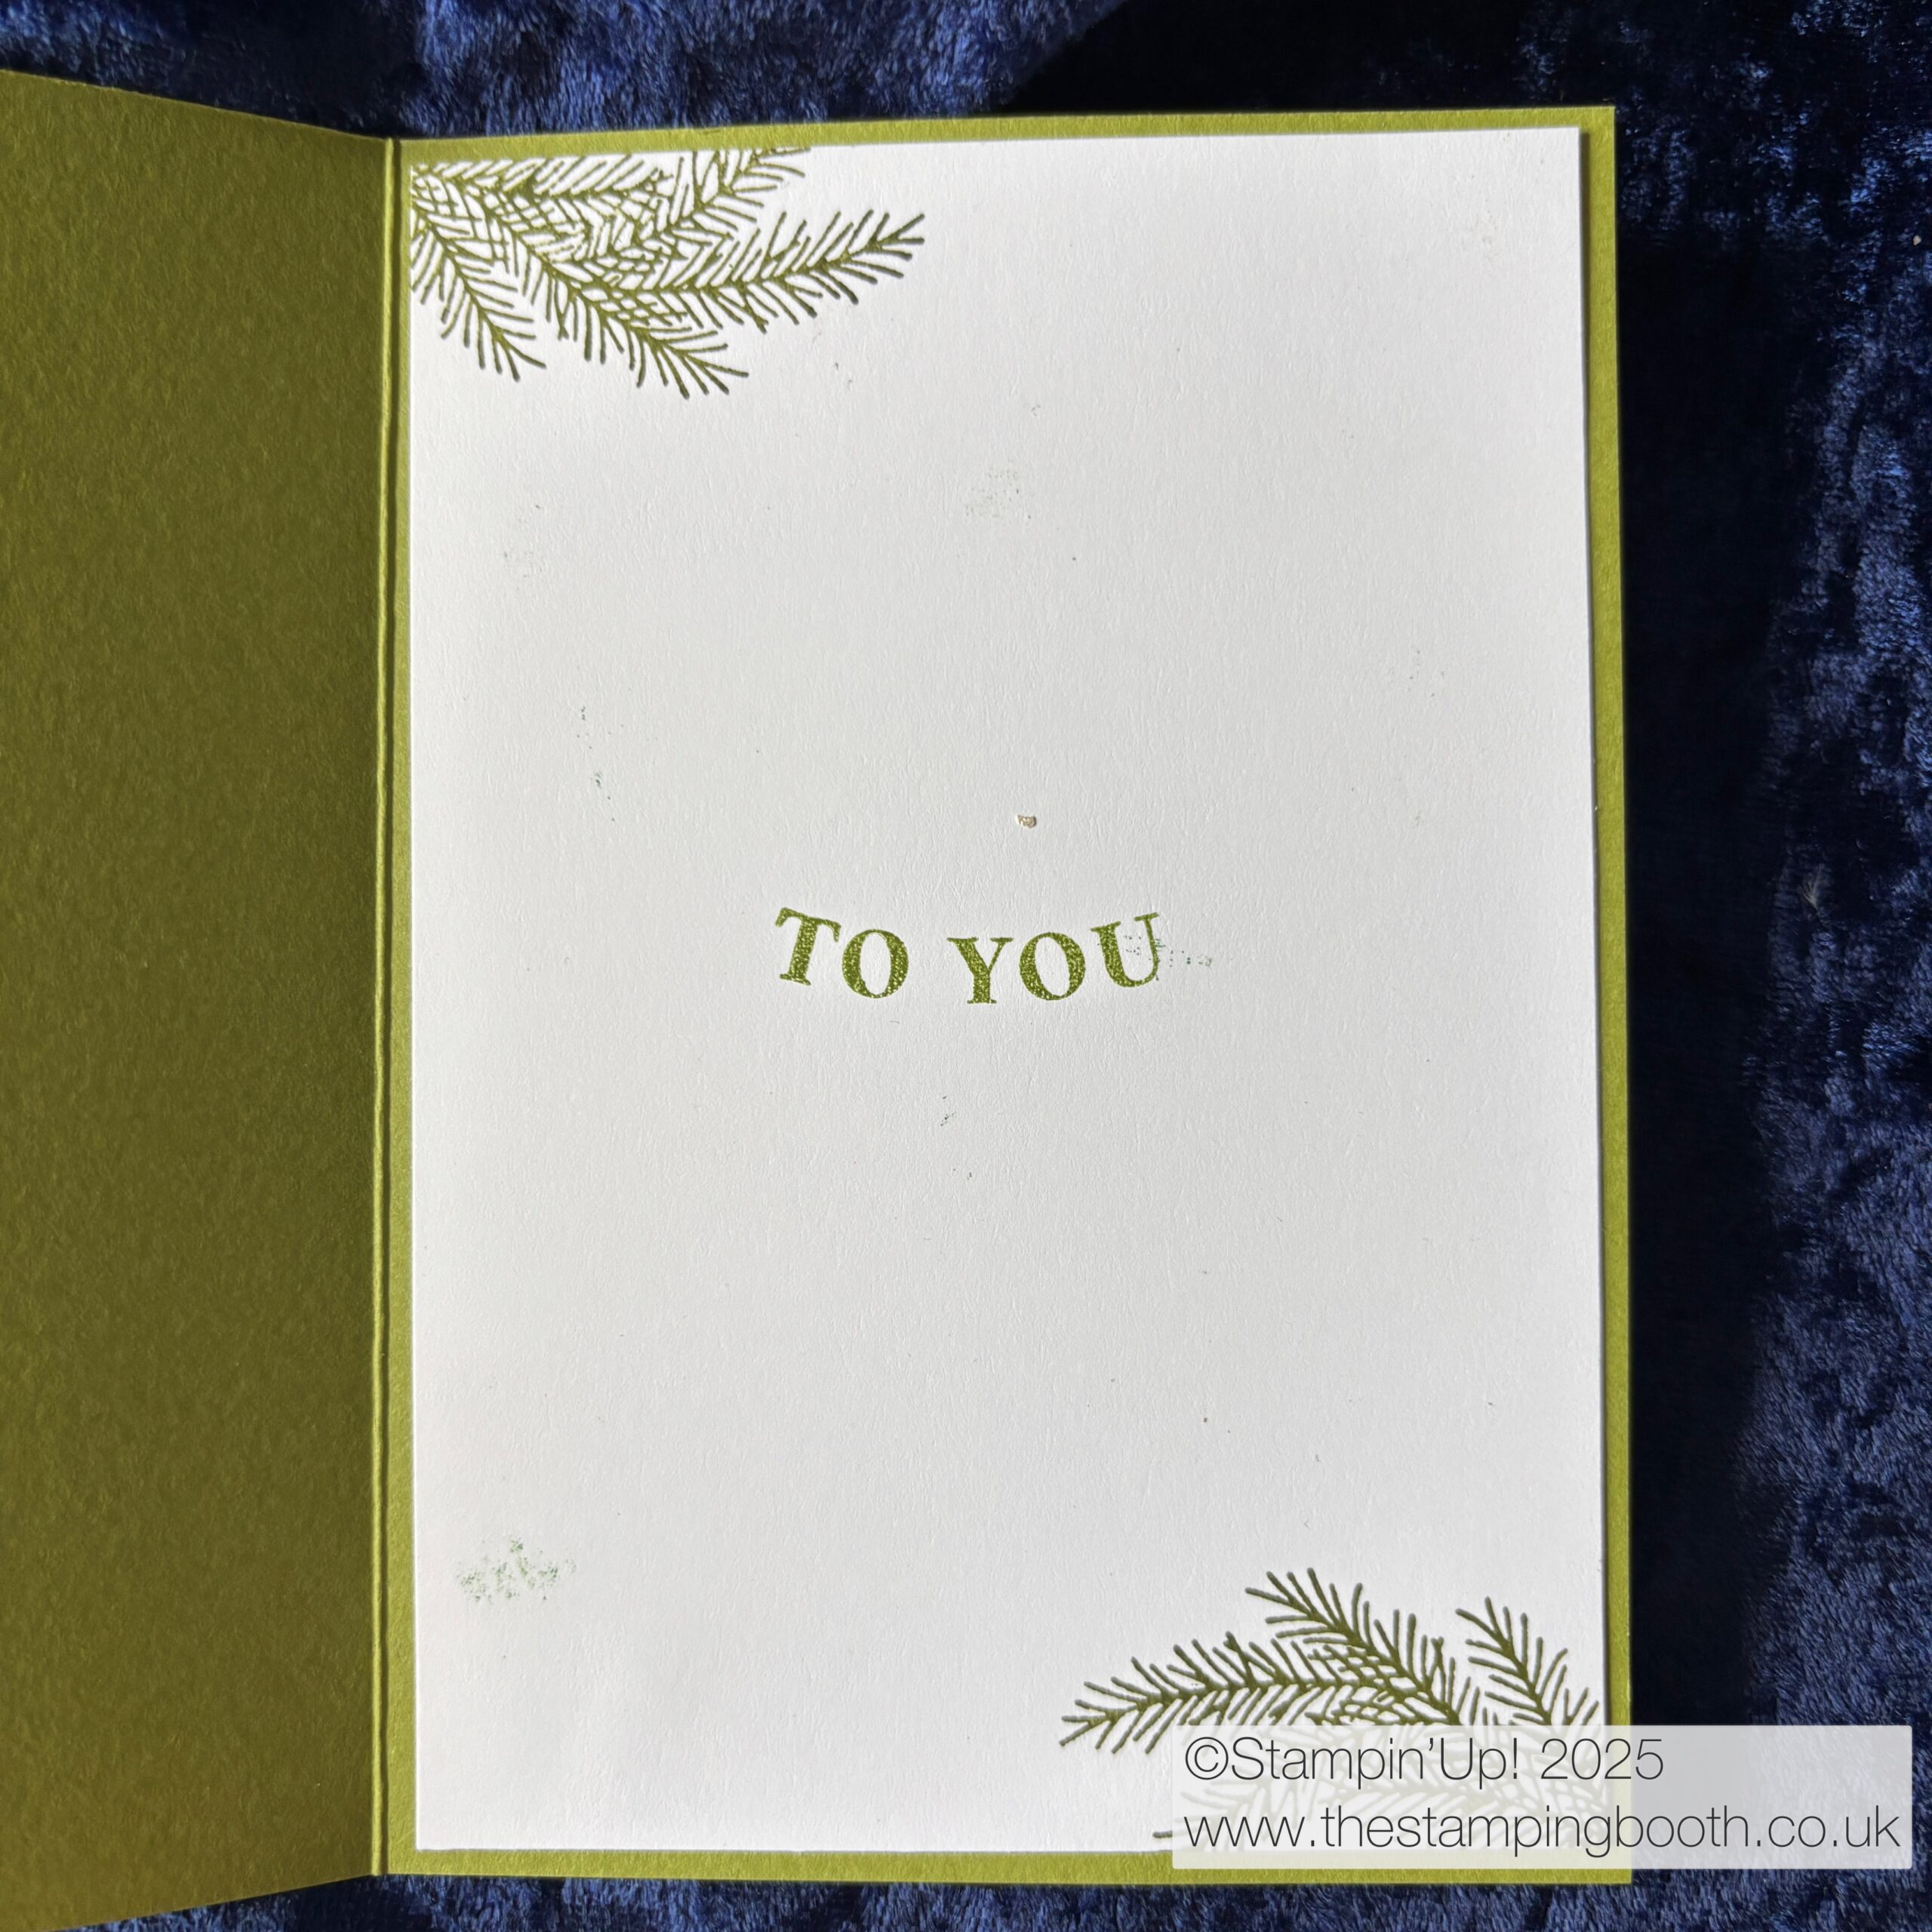
I then used these four layers to create 4 different cards and embellished with Traditional Sequins and ribbons. Of course I didn’t forget to stamp the insides with sentiments and foliage images too!
Hope you’ve felt inspired to give this technique a go – its a pretty easy way to make lots of cards at the same time!
In fact, it’s been a very long while! I always start the year with good intentions and then life just gets in the way. Earlier this year, I lost my father and along with it quite a lot of my mojo!
I continued to run my weekly Coffee and Card group, but all other things just went well and truly out of the window. The workshops i had planned just didn’t happen.
Fast forward to last week and I attended a Stampin’ Up! ™ event in Lincoln. It was a great day of crafting and catching up with people, some who I had never actually met in person. It was a fab day.
During the day, we had the opportunity to swap cards with others – great way for new inspiration, and we also had 2 demonstrators share a project each with us.
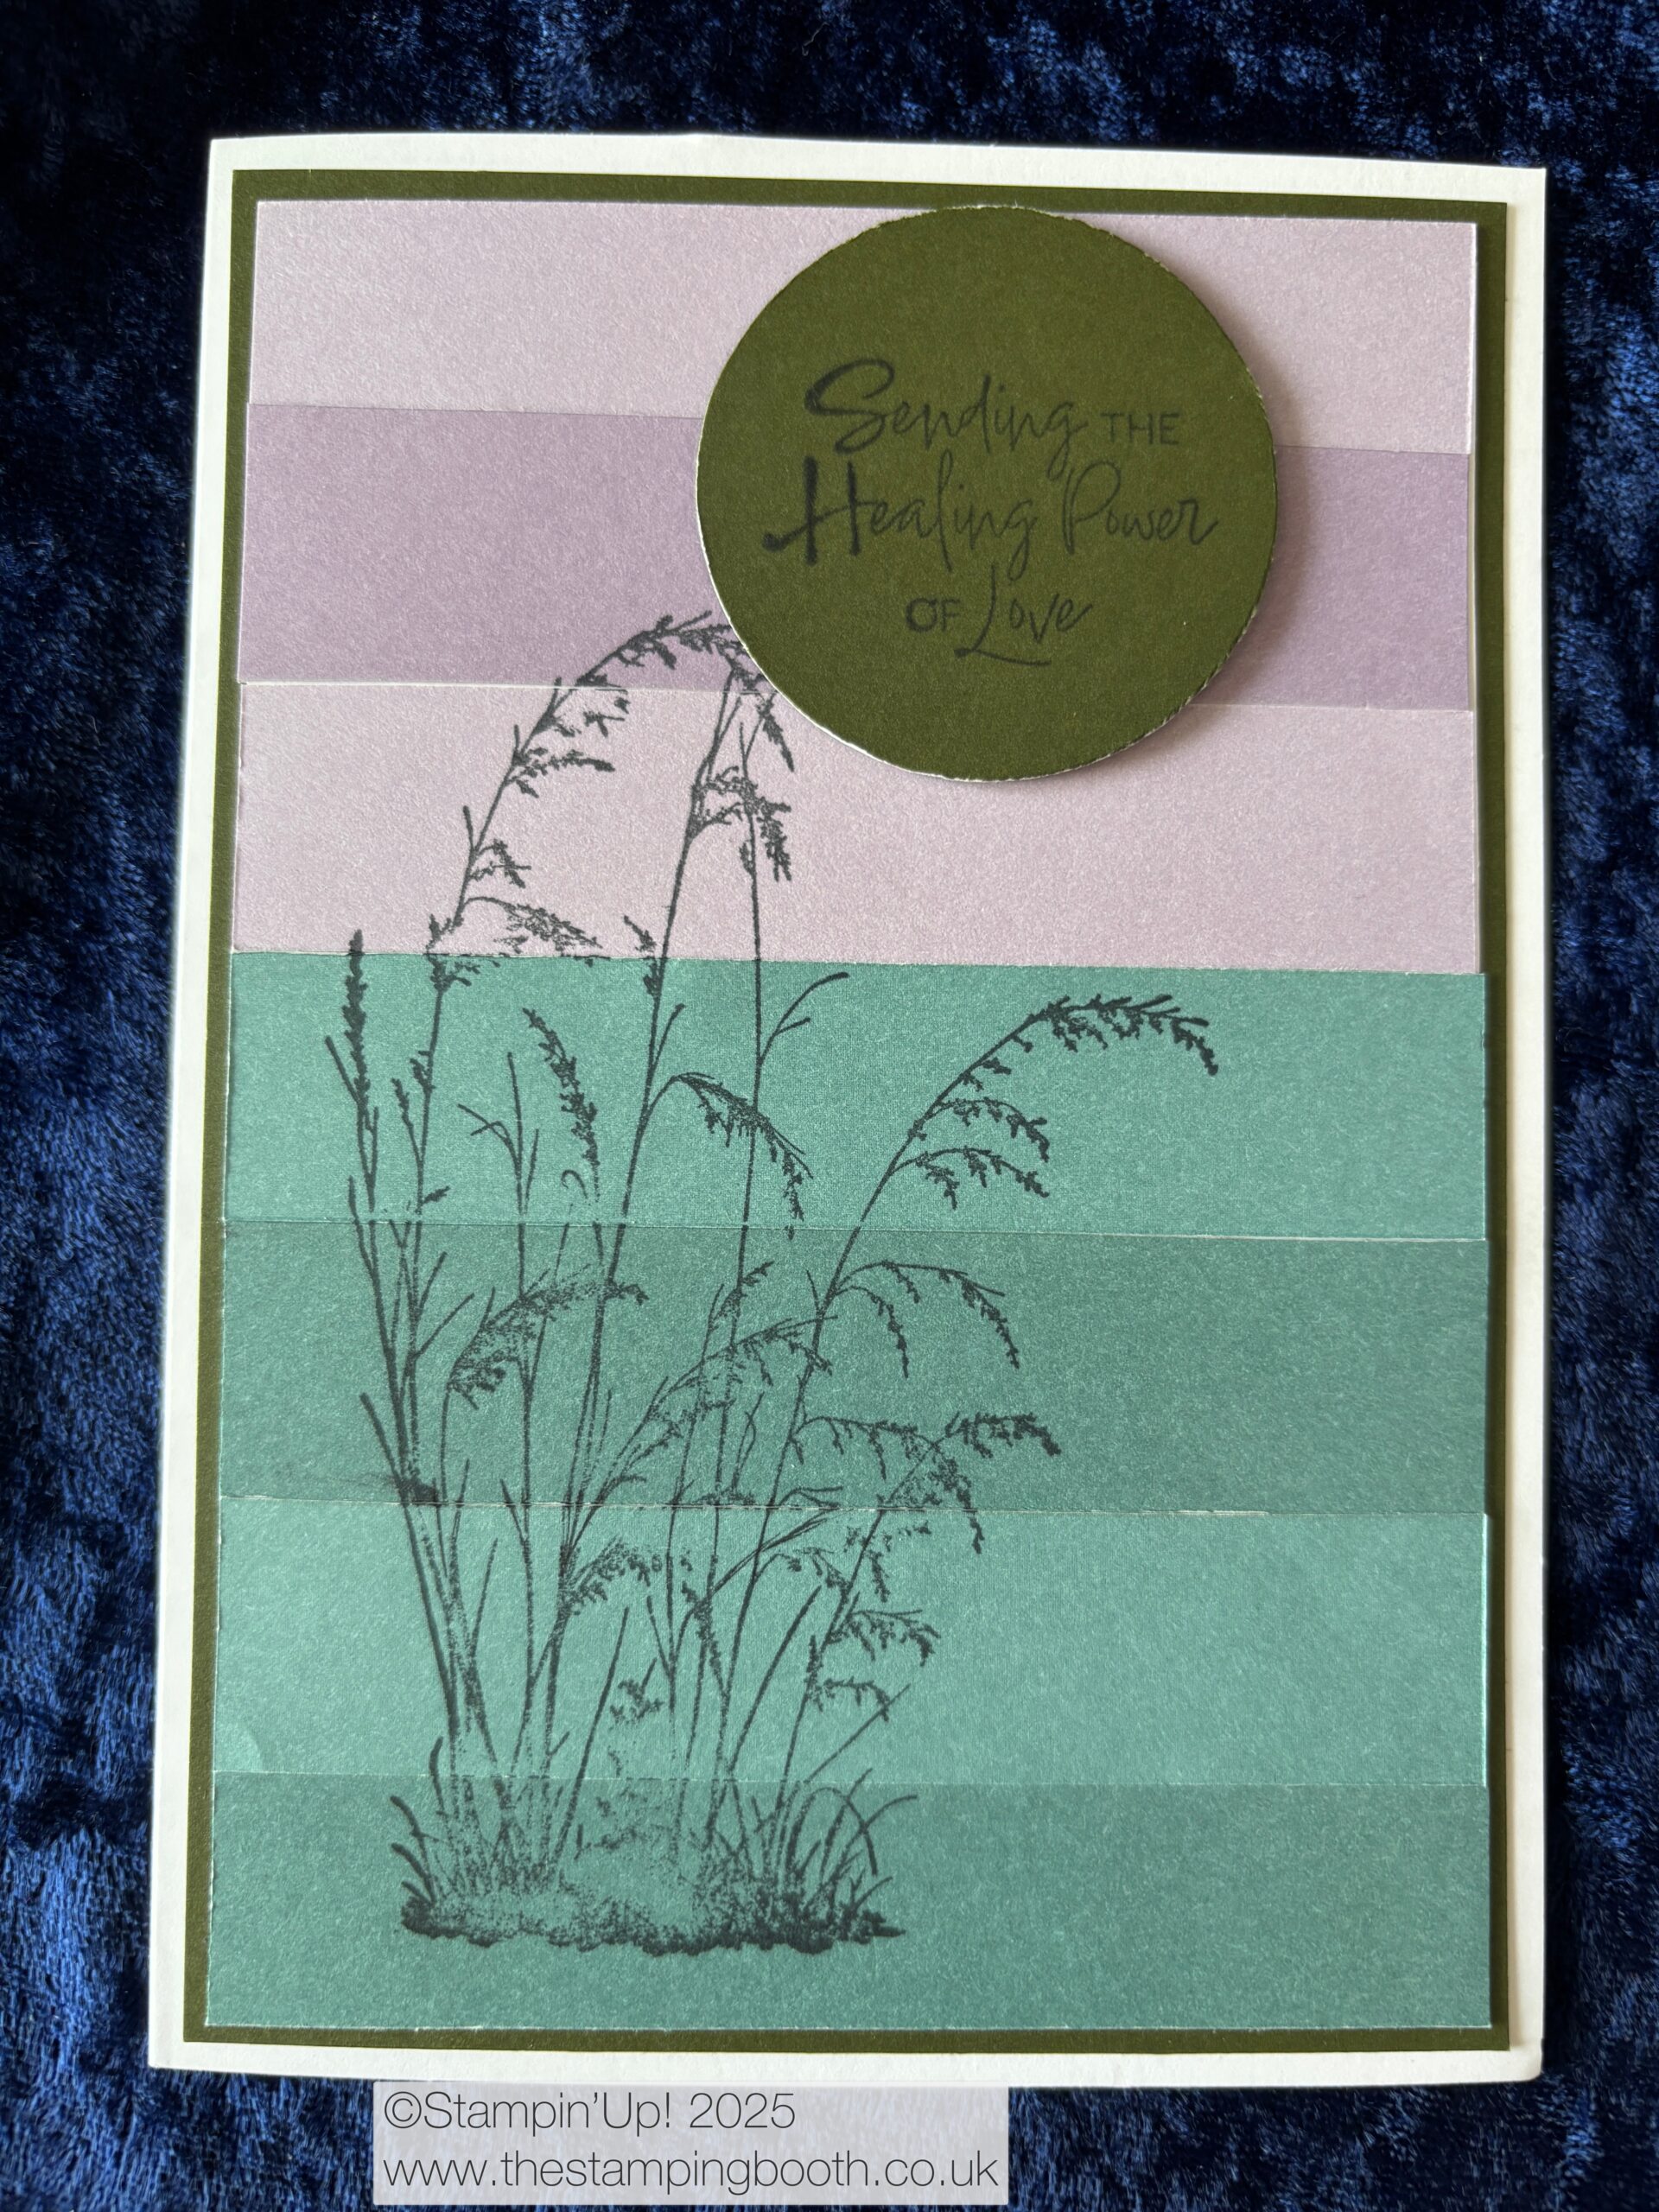
The first project was shared by Cheryldiana Taylor and used two-tone card stock and the Prairie Grass stamp set.
designed by Cheryldiana Taylor
And the second was by Caroline Heslam, who gave us all the 1st card as her swap and then helped us all to make the second card, once again using 2 tone card and the Prairie Grass stamps.
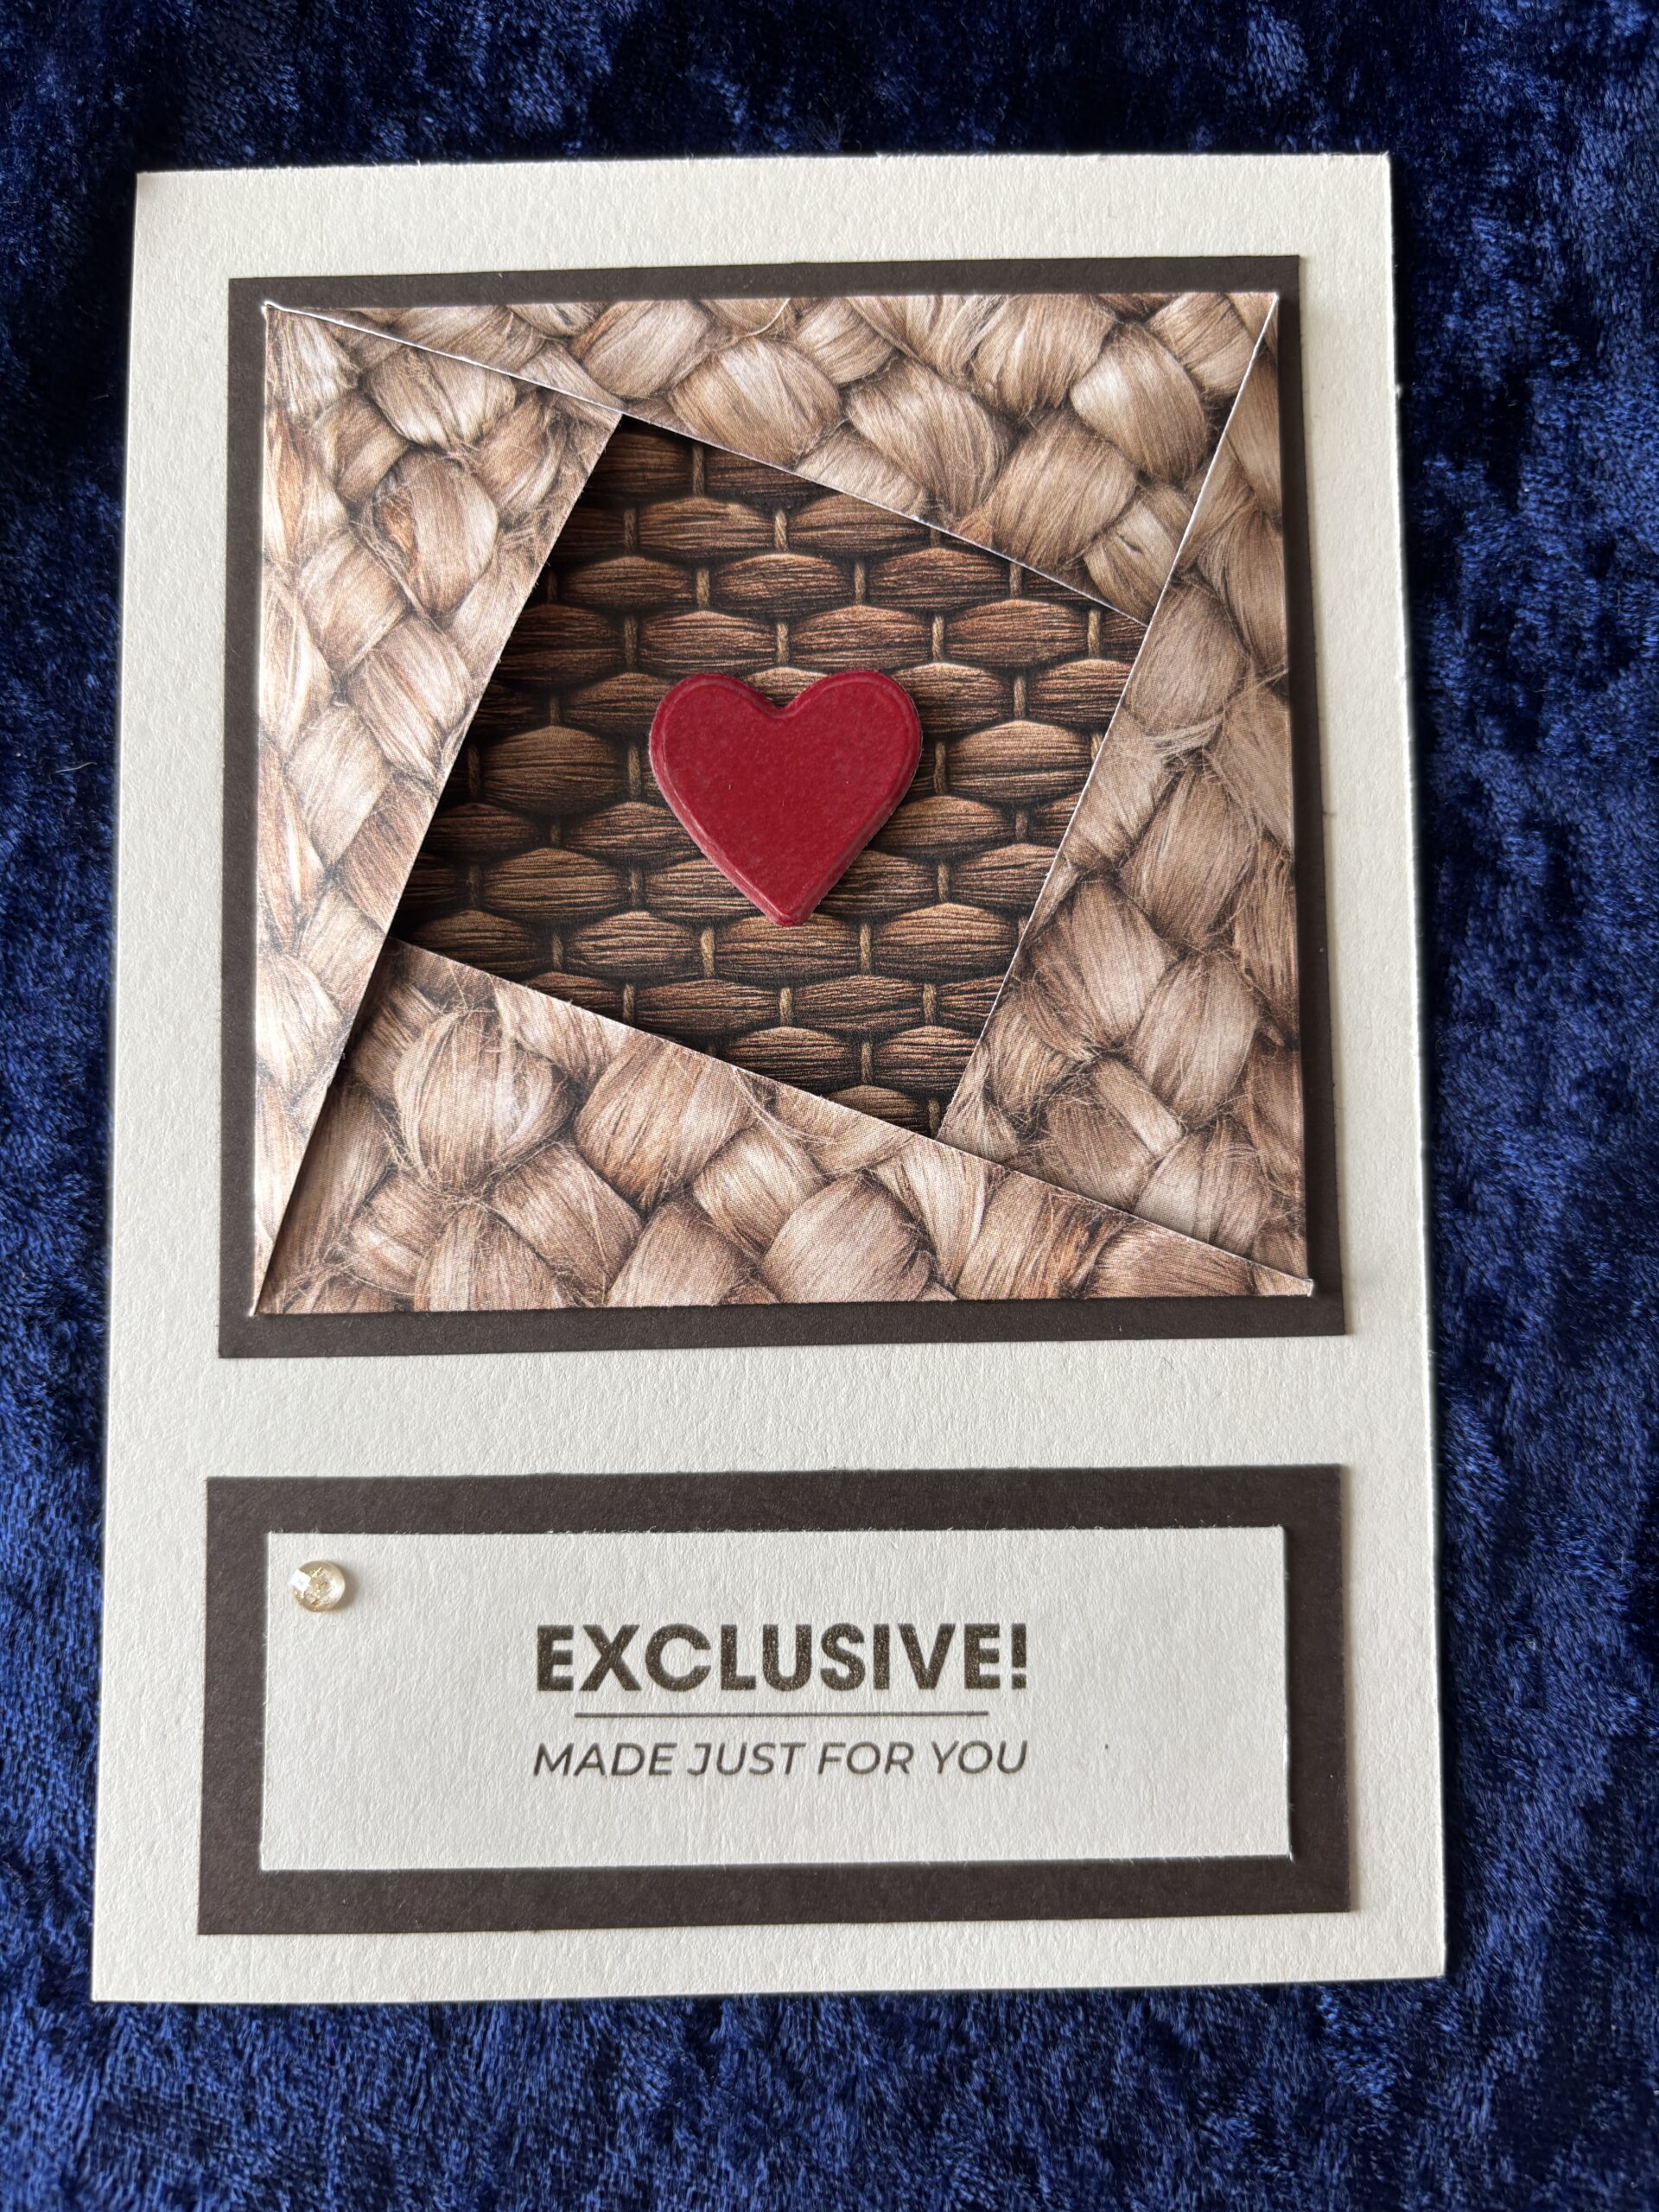
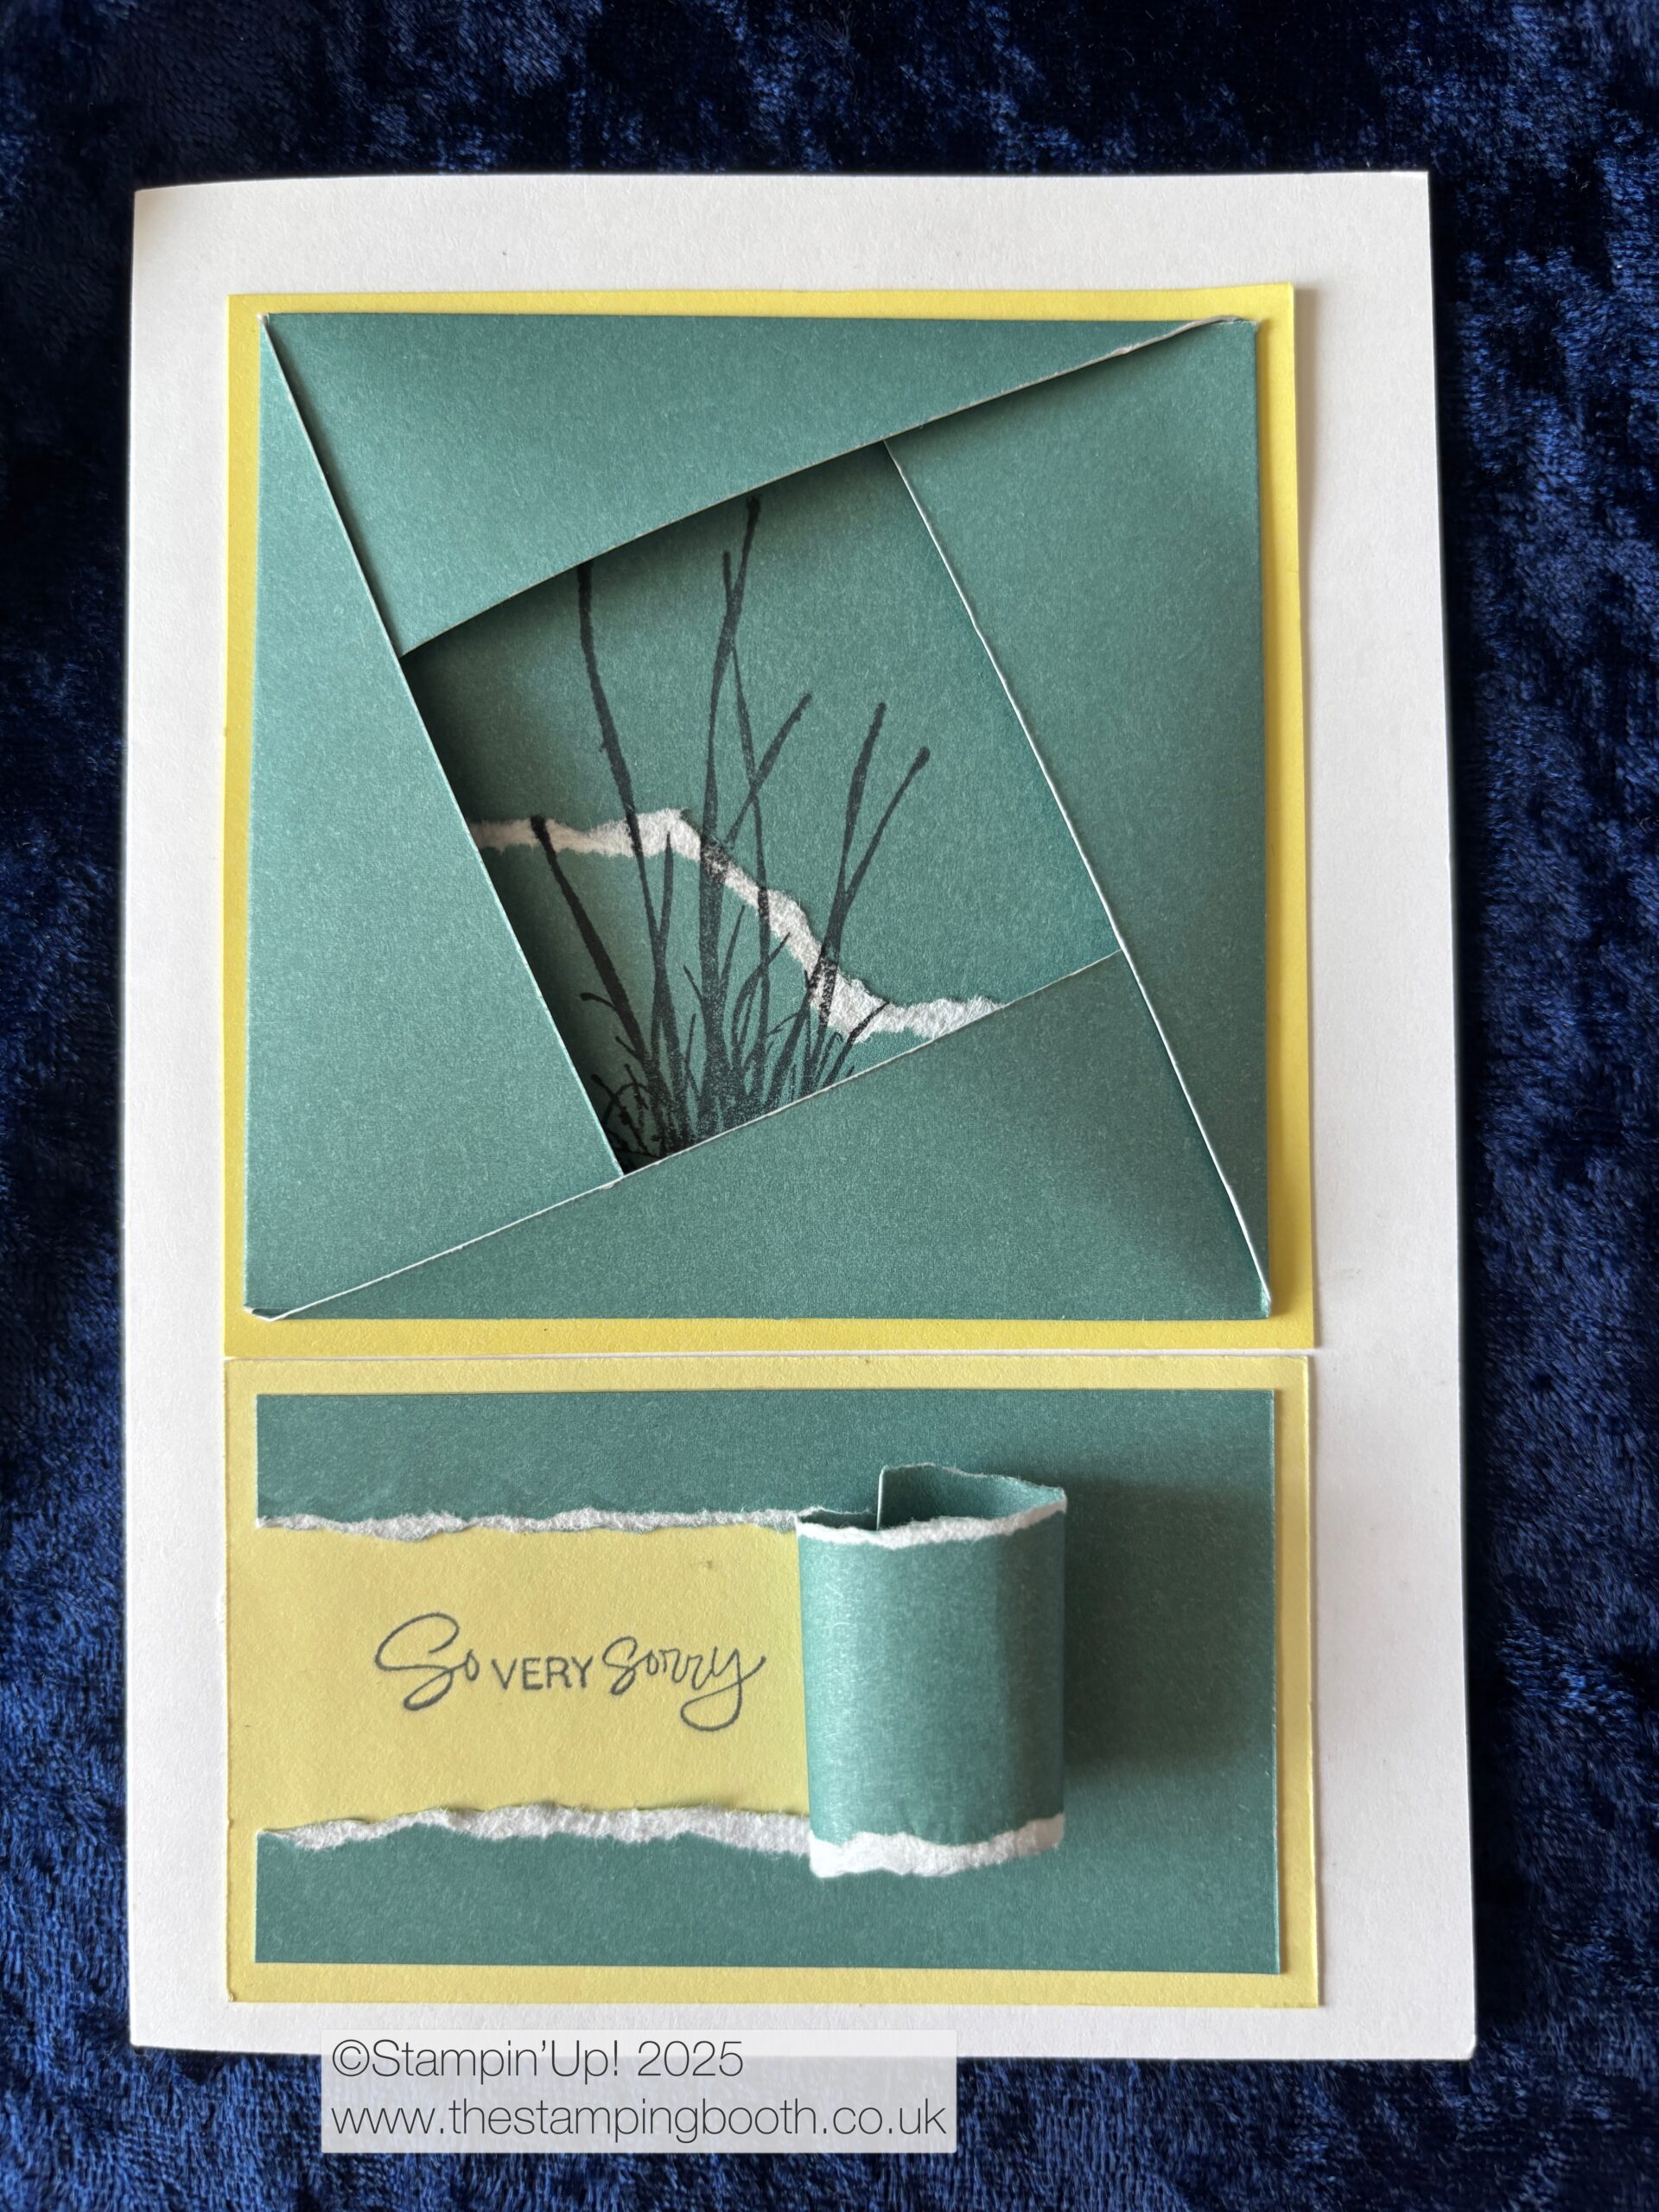
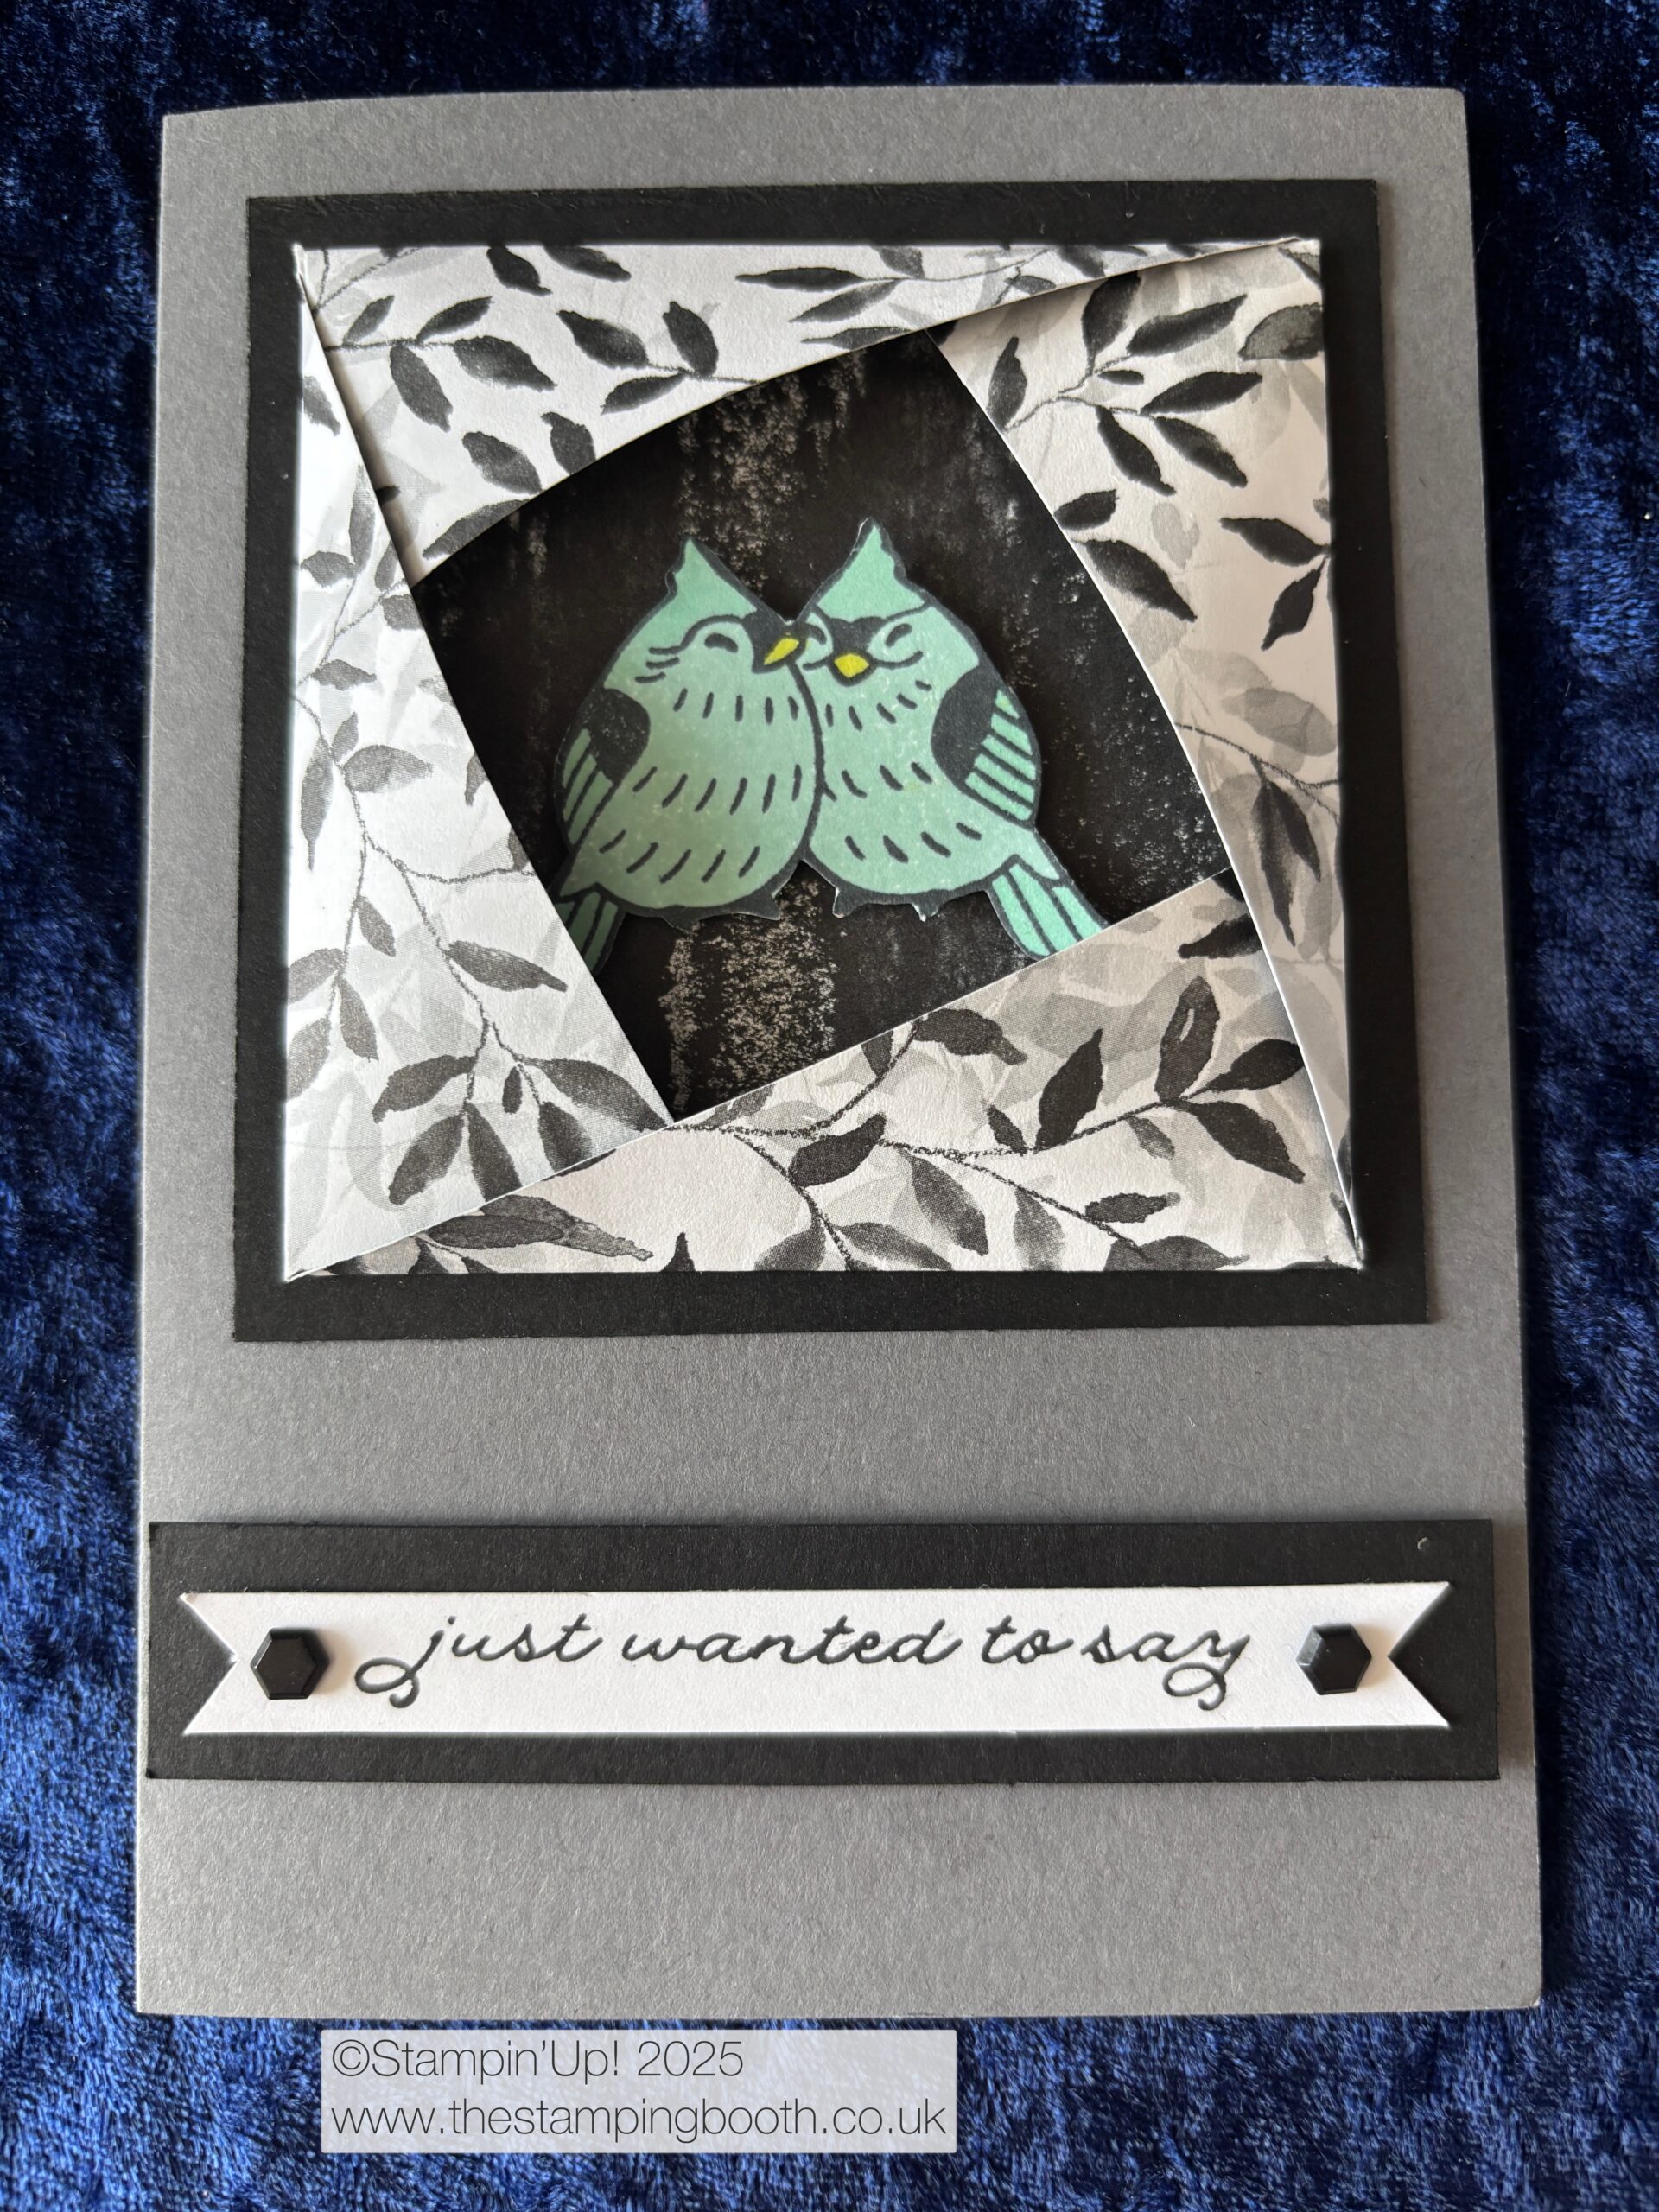
All this inspired me to use this technique fro my Coffee and Card ladies, but also to use all the offcuts from making the original design card to make 2 more cards. This was the result;
Many of the stamps used at Coffee and Card were retired, but are available on my shop.
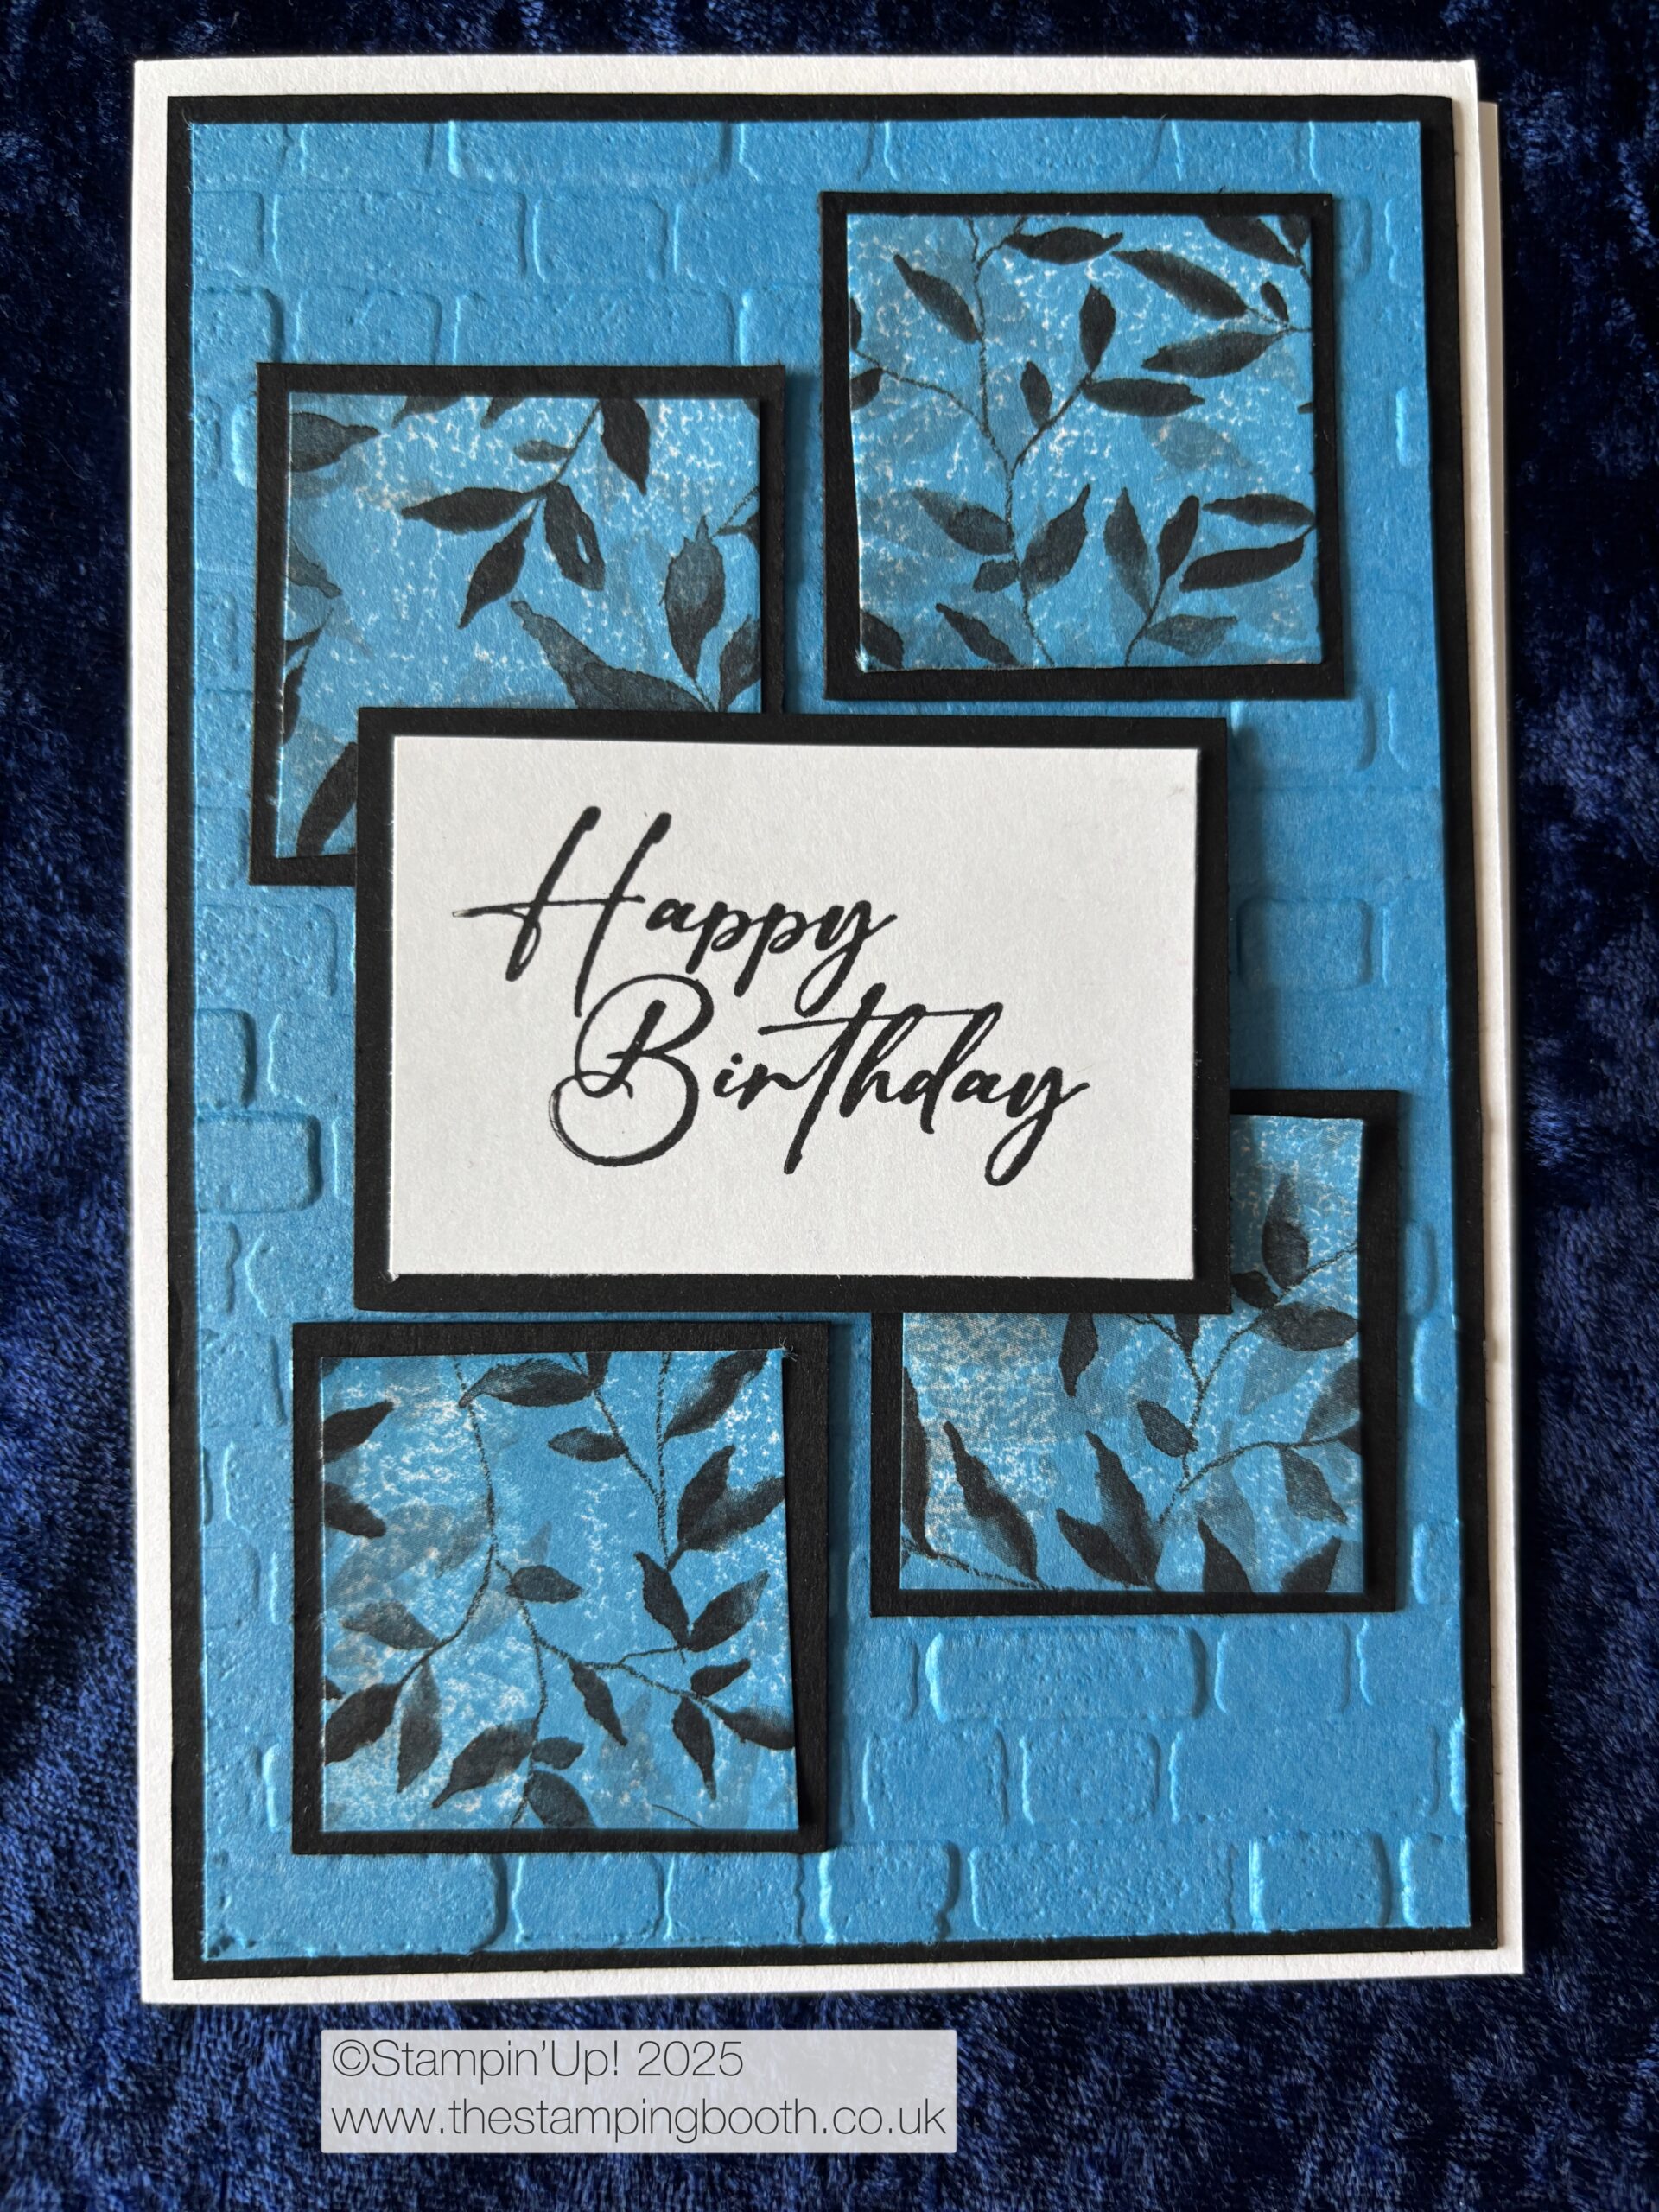
For March, the theme set for the Tech 4 Stampers blog hop is ‘Blue and White’.
I designed my card using lots of new Online Exclusive products. Check out all online exclusives here.
To make this card;
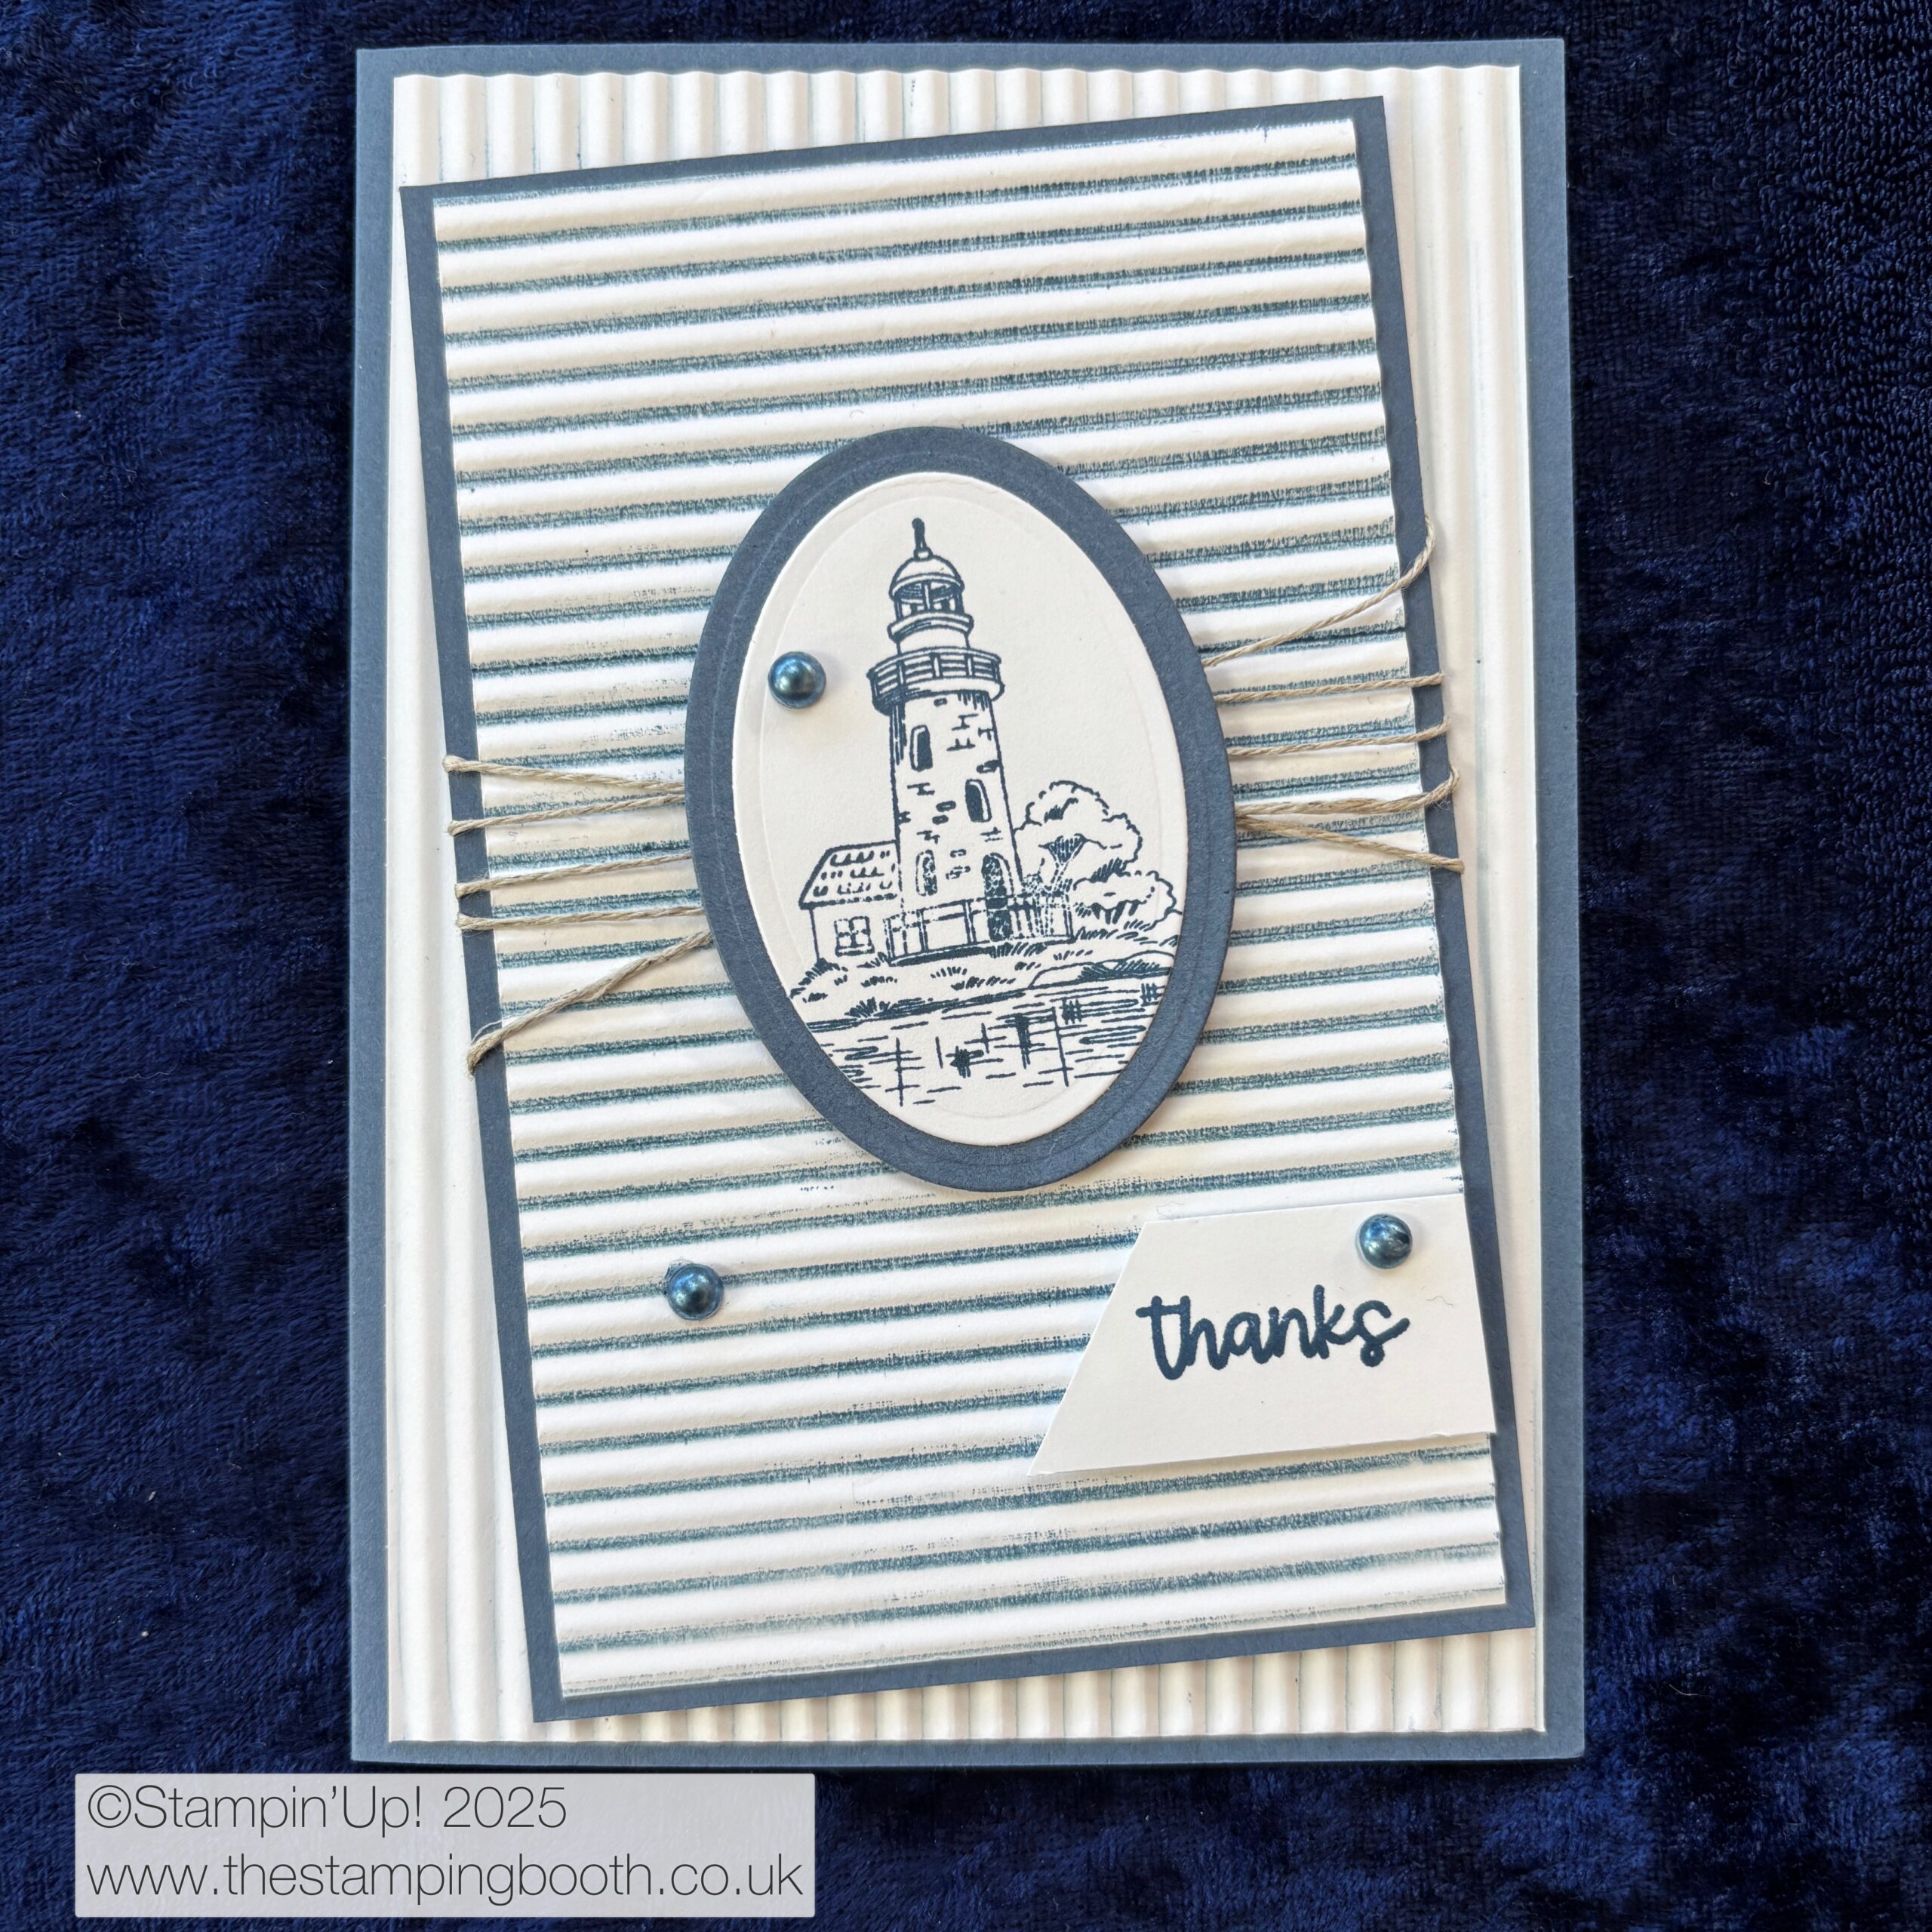
To create my card I used the colours Misty Moonlight and Basic white throughout.
The card base is a standard base (half an A4 sheet, folded at 10.5cm. Using the new Mini Corrugated 3D embossing folder on a piece of 10×14.4cm basic white card orientating the stripes to go vertically on my card. I mounted it flat onto my card base using Stampin’ Seal – I find this stick better than wet glue on uneven surfaces. (There is certainly nothing ‘mini’ about this embossing folder – it is a 6″x6″ folder!!)
I then took a smaller piece of basic white card (8×12.9cm). Again using the corrugated embossing folder, I took my Misty Moonlight ink pad and this time I swiped it along the top section of the inside of the embossing folder, thus applying a layer of ink to it. I then placed my basic white card onto the bottom section of the embossing folder, ensuring the stripes would now run horizontally. Carefully I closed the embossing folder and ran it through my cut and emboss machine. This then puts ink into the ‘divots’ of the card but leaves the rest of the card white.
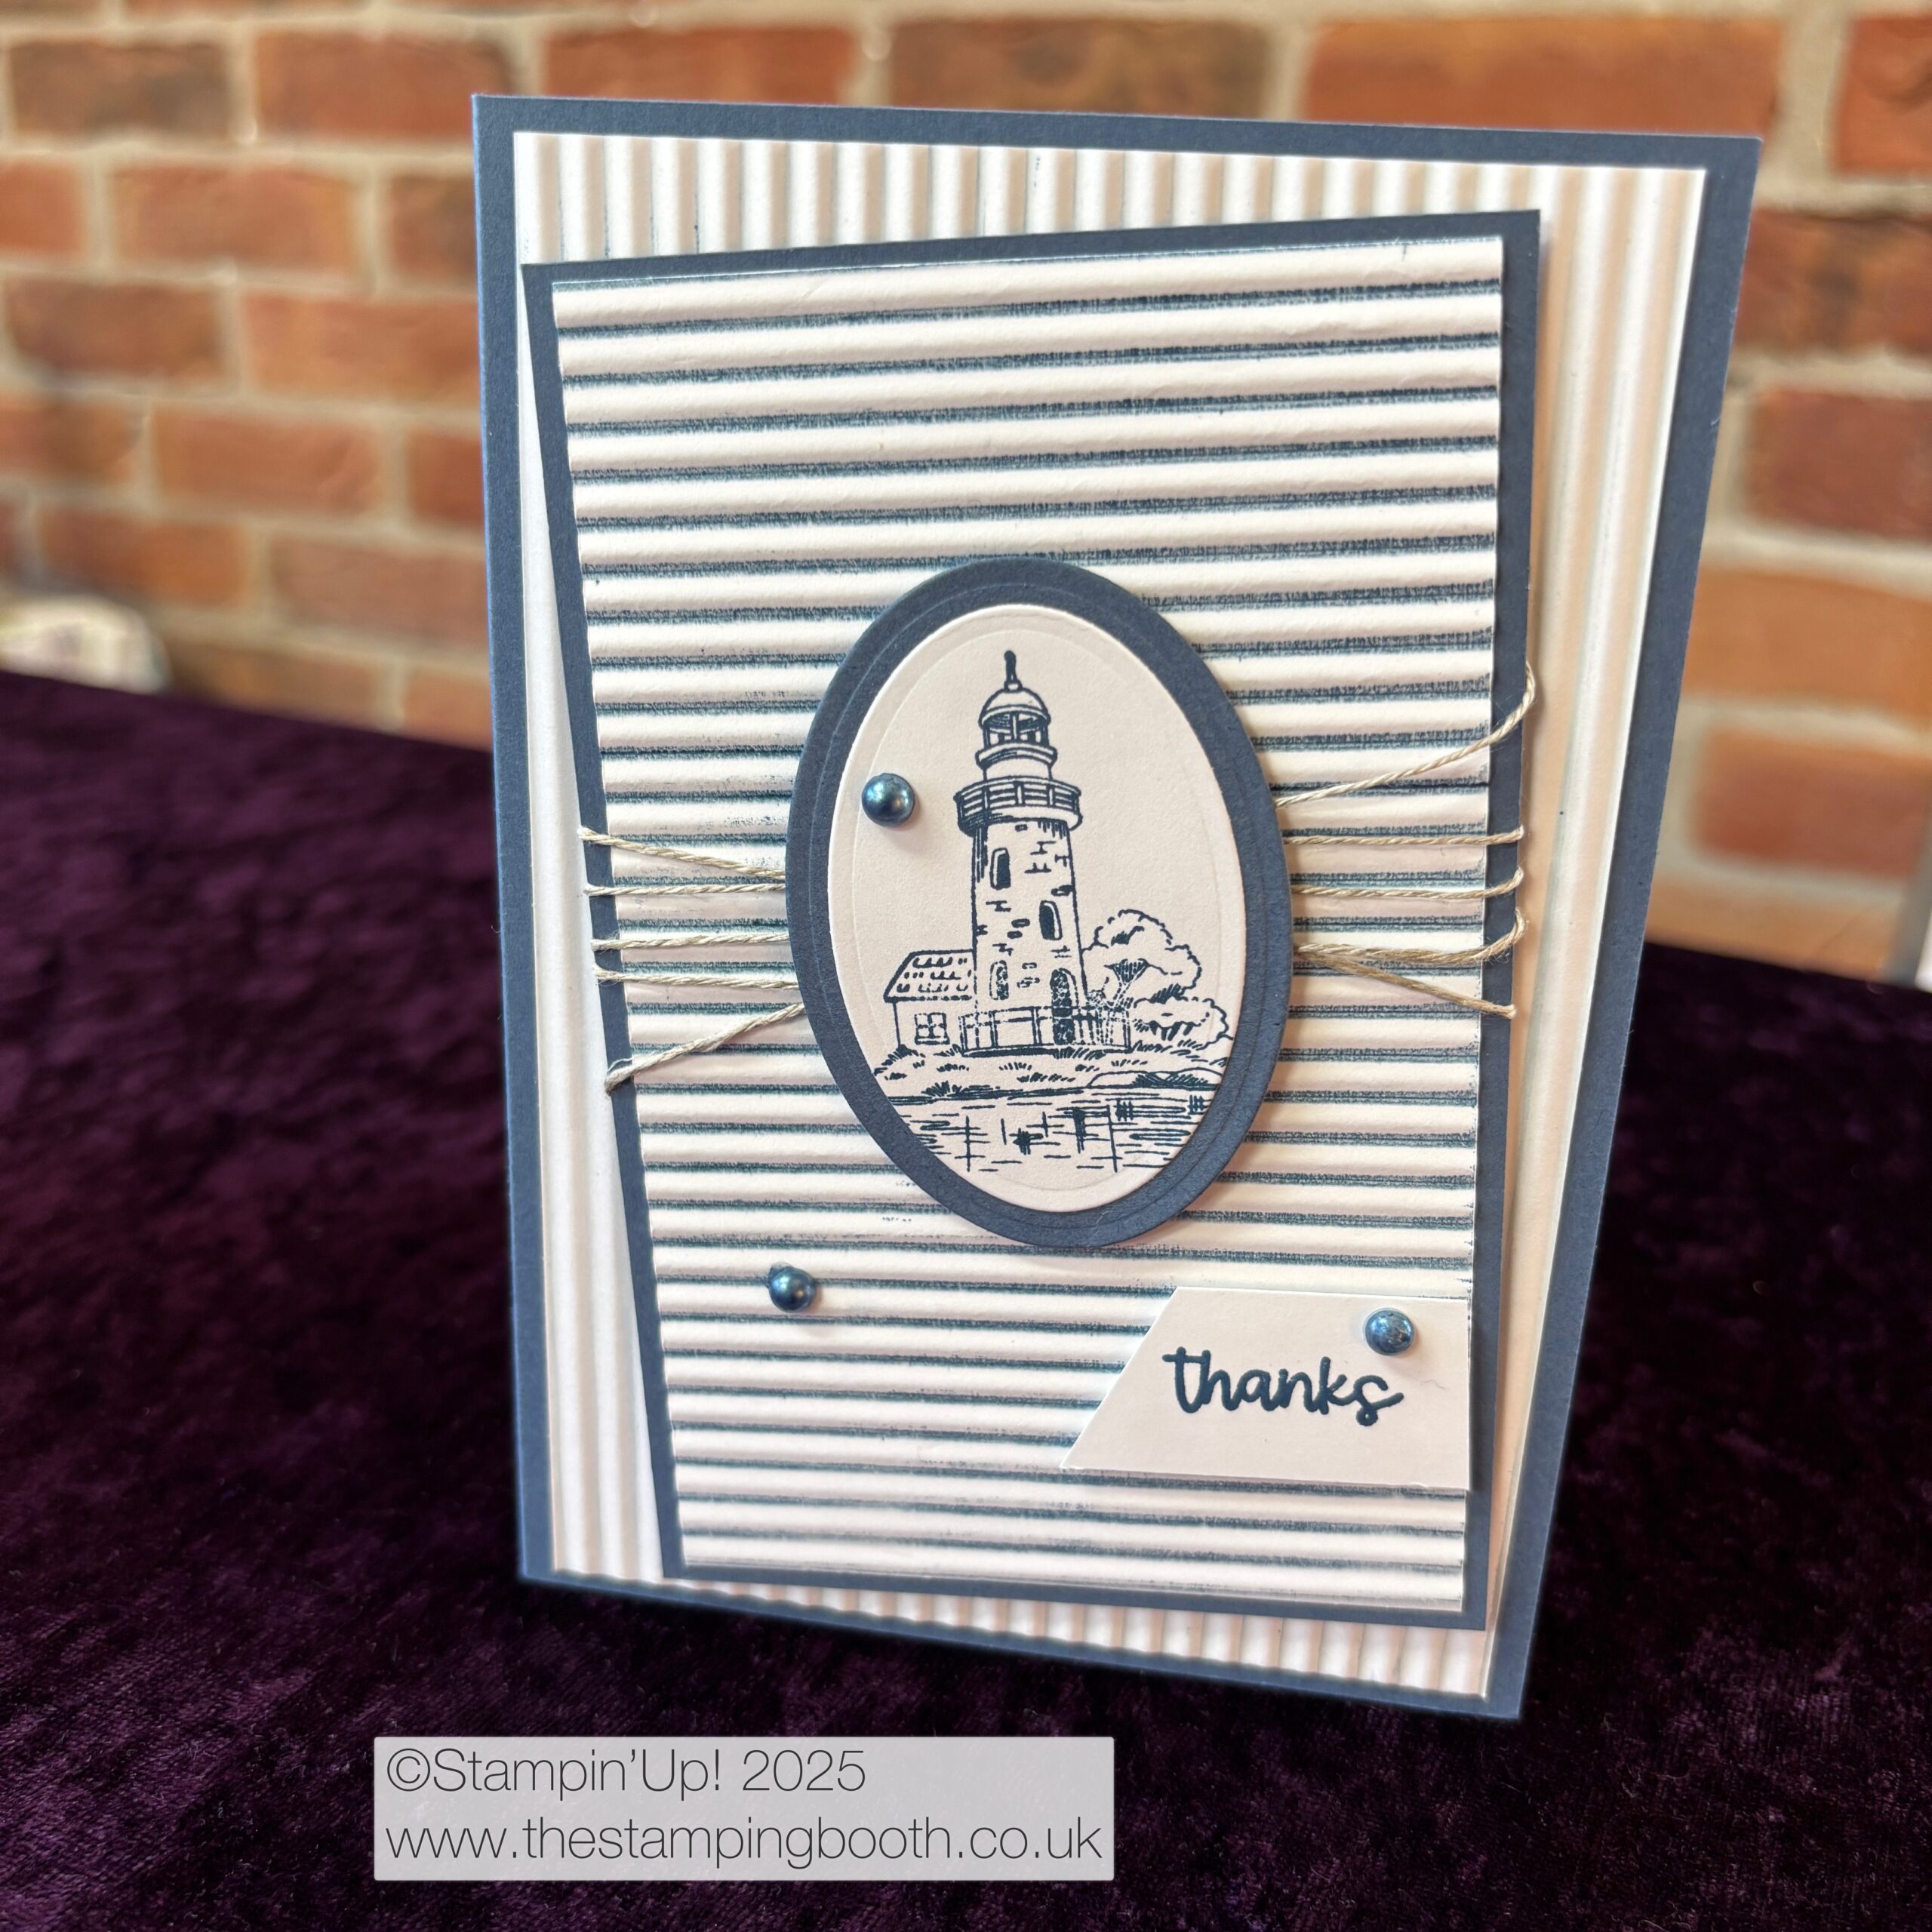
I mounted the blue and white striped layer onto a layer of Misty Moonlight card measuring 8.5×13.4cm, again using Stampin’ Seal and then then ran some bakers twine around the centre of this layer before I mounted it. I then used Dimensionals to adhere the blue and white striped layer at a jaunty angle onto the plain white corrugated base.
Framed Scenes stamps and Dies
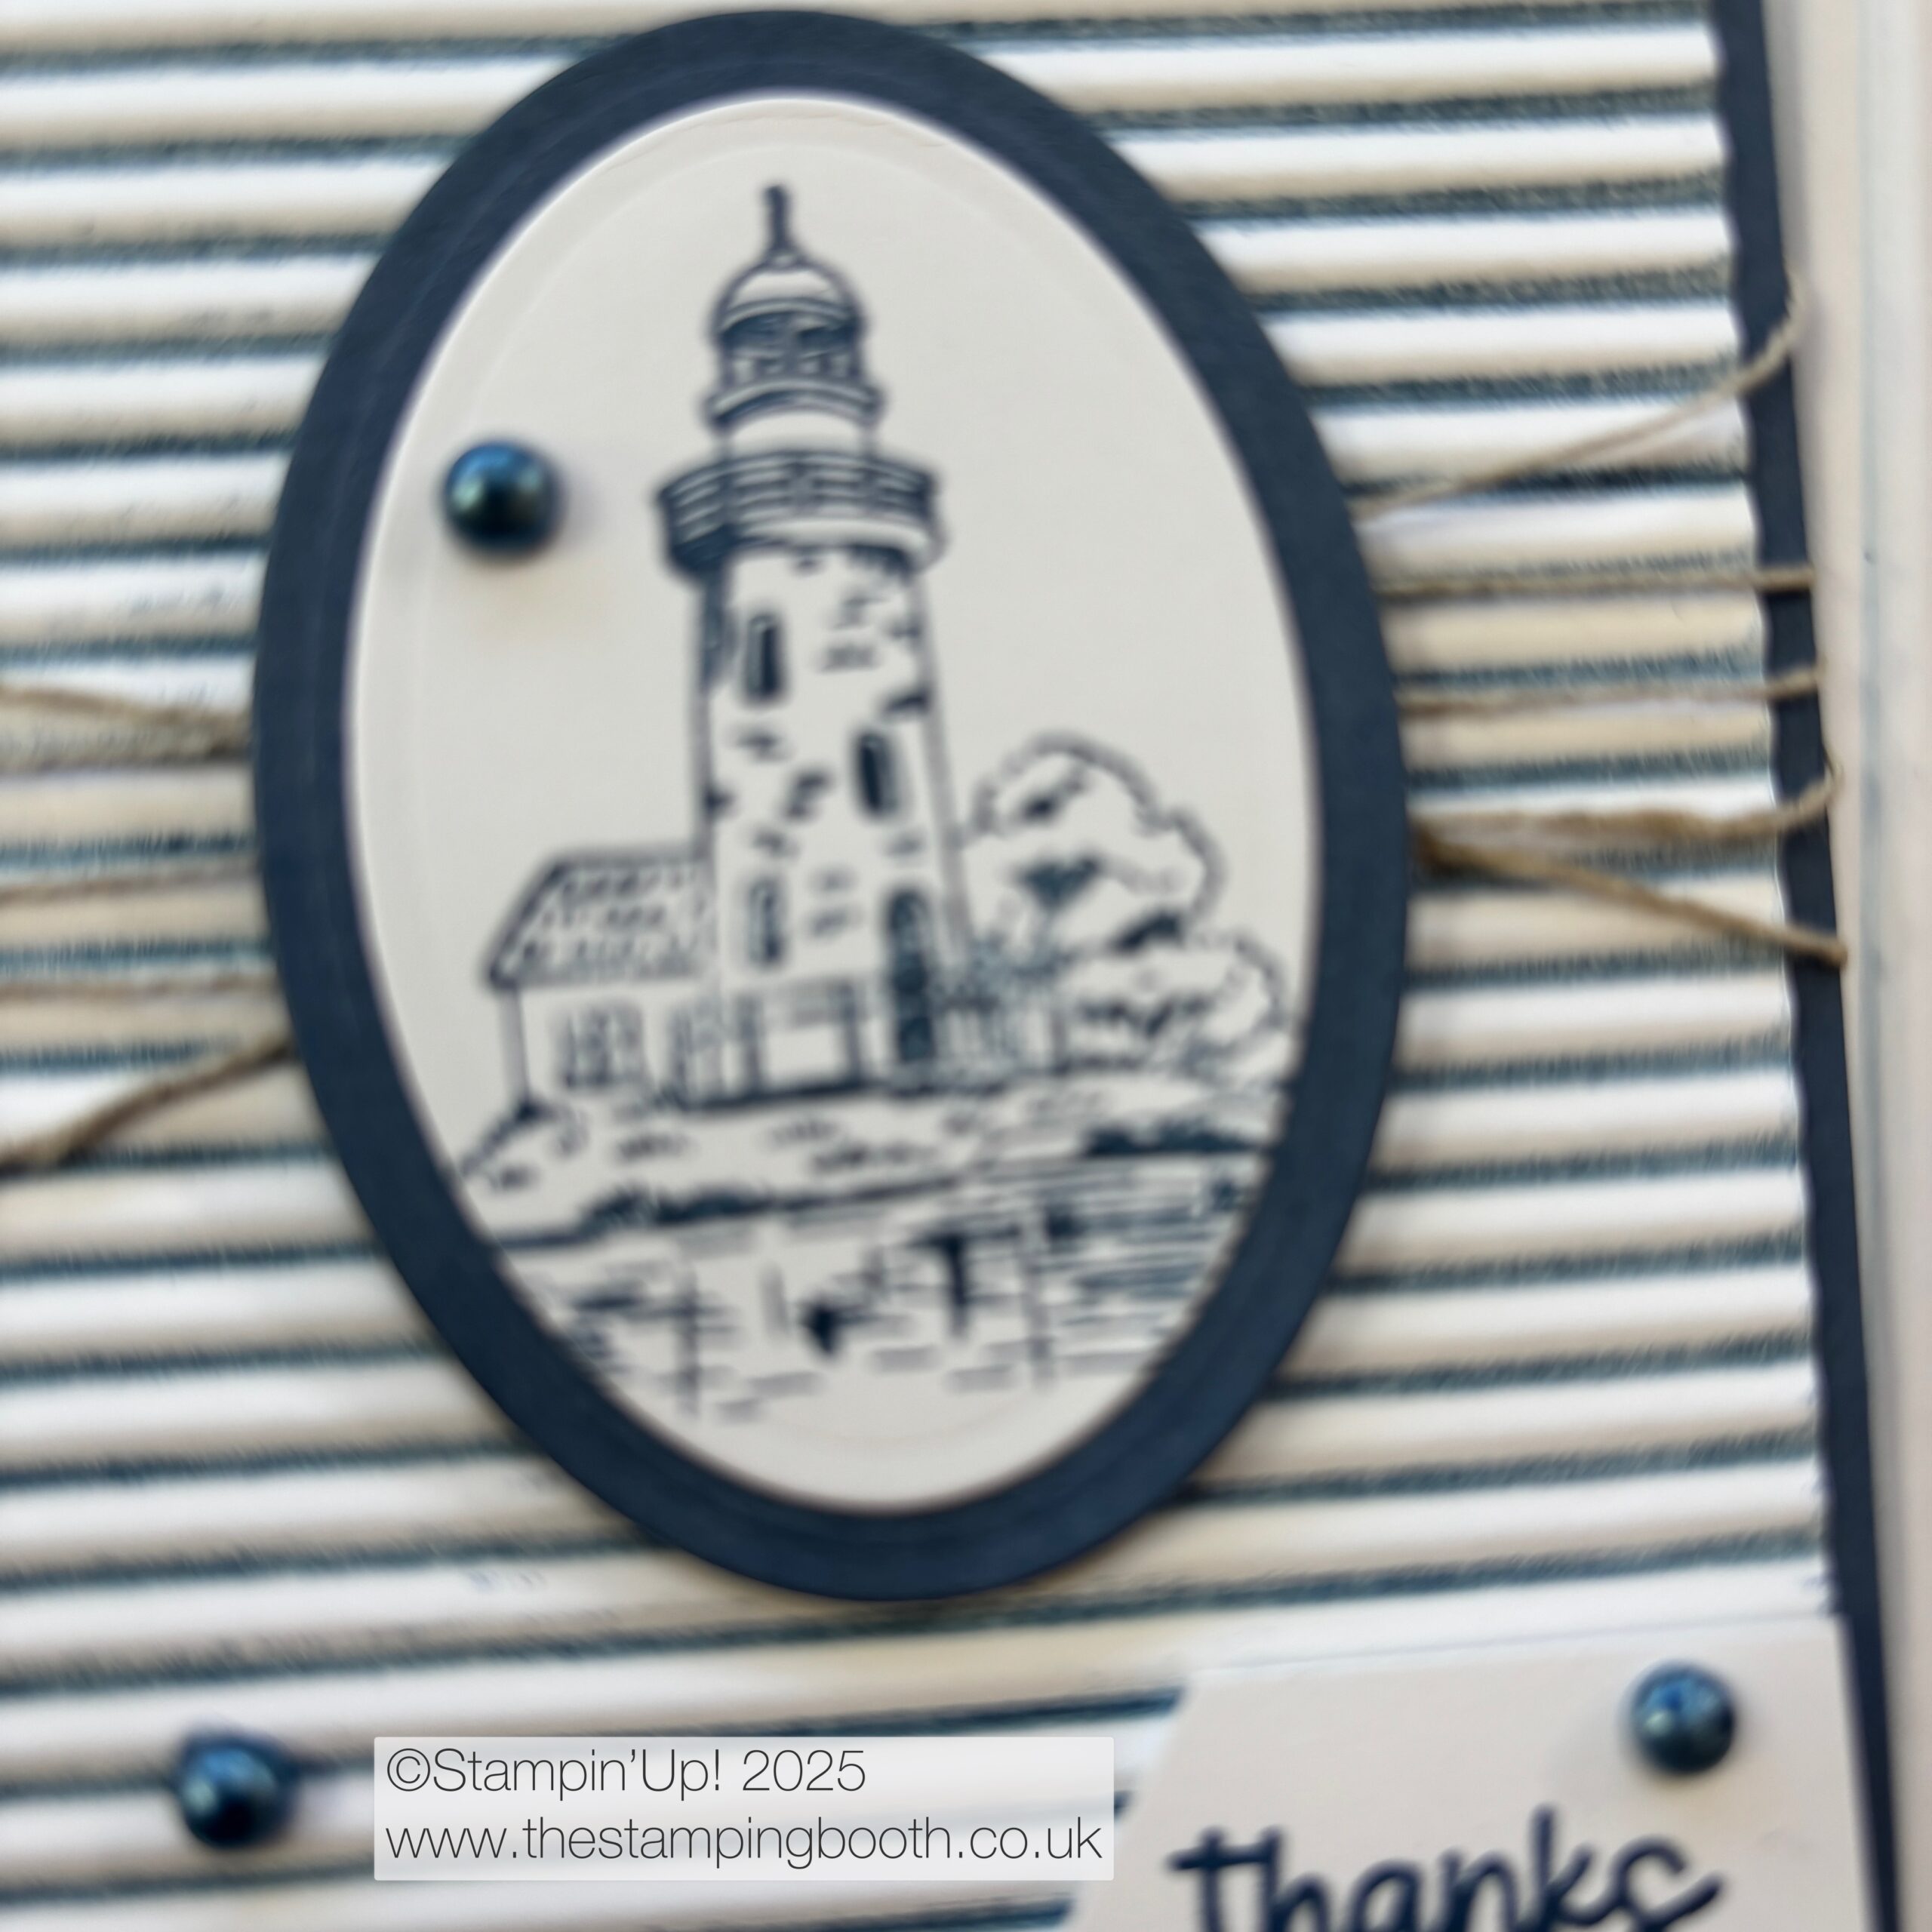
The Lighthouse comes from the new Framed Scenes cling stamp set (online exclusive), and was stamped onto a small piece of Basic White card with Misty Moonlight ink. I used the smaller of the 2 ovals from the co-ordinating Framed Scenes dies to cut out the stamped image, and then used the larger oval dies from the same set to cut a Misty Moonlight card layer to mount the stamped image on.
The simple ‘thanks’ was from a set from the annual catalogue called Best Family Ever. (This stamp set is one that I’m sure I will keep long after its retired from the annual catalogue!) I’m often in need of a ‘Thank you’ card, so the opportunity to use this as the sentiment for my card was perfect, so, I stamped the ‘thanks’ in Misty moonlight onto a strip of white card and then snipped the end at a jaunty angle before adding dimensionals and adhereing it to my card base.
To finish I took some Iridescent Basic Pearls and using a Misty Moonlight blender pen, I coloured 3 of the pearls and then I left them to dry for a few minutes before adding them to my card front. I also added a white insert into the centre of the card.
Hope you have enjoyed my project and hope you will click on the link to see what others who have taken aprt in this Blog Hop have created.
Each month a lovely group of talented Stampin’Up! take part in a themed bloghop….its a great way to share our creativity with lots of people and hope you will follow the ‘hop’ by clicking on the links below. Some months I join in, but not always…..depending on other committments.
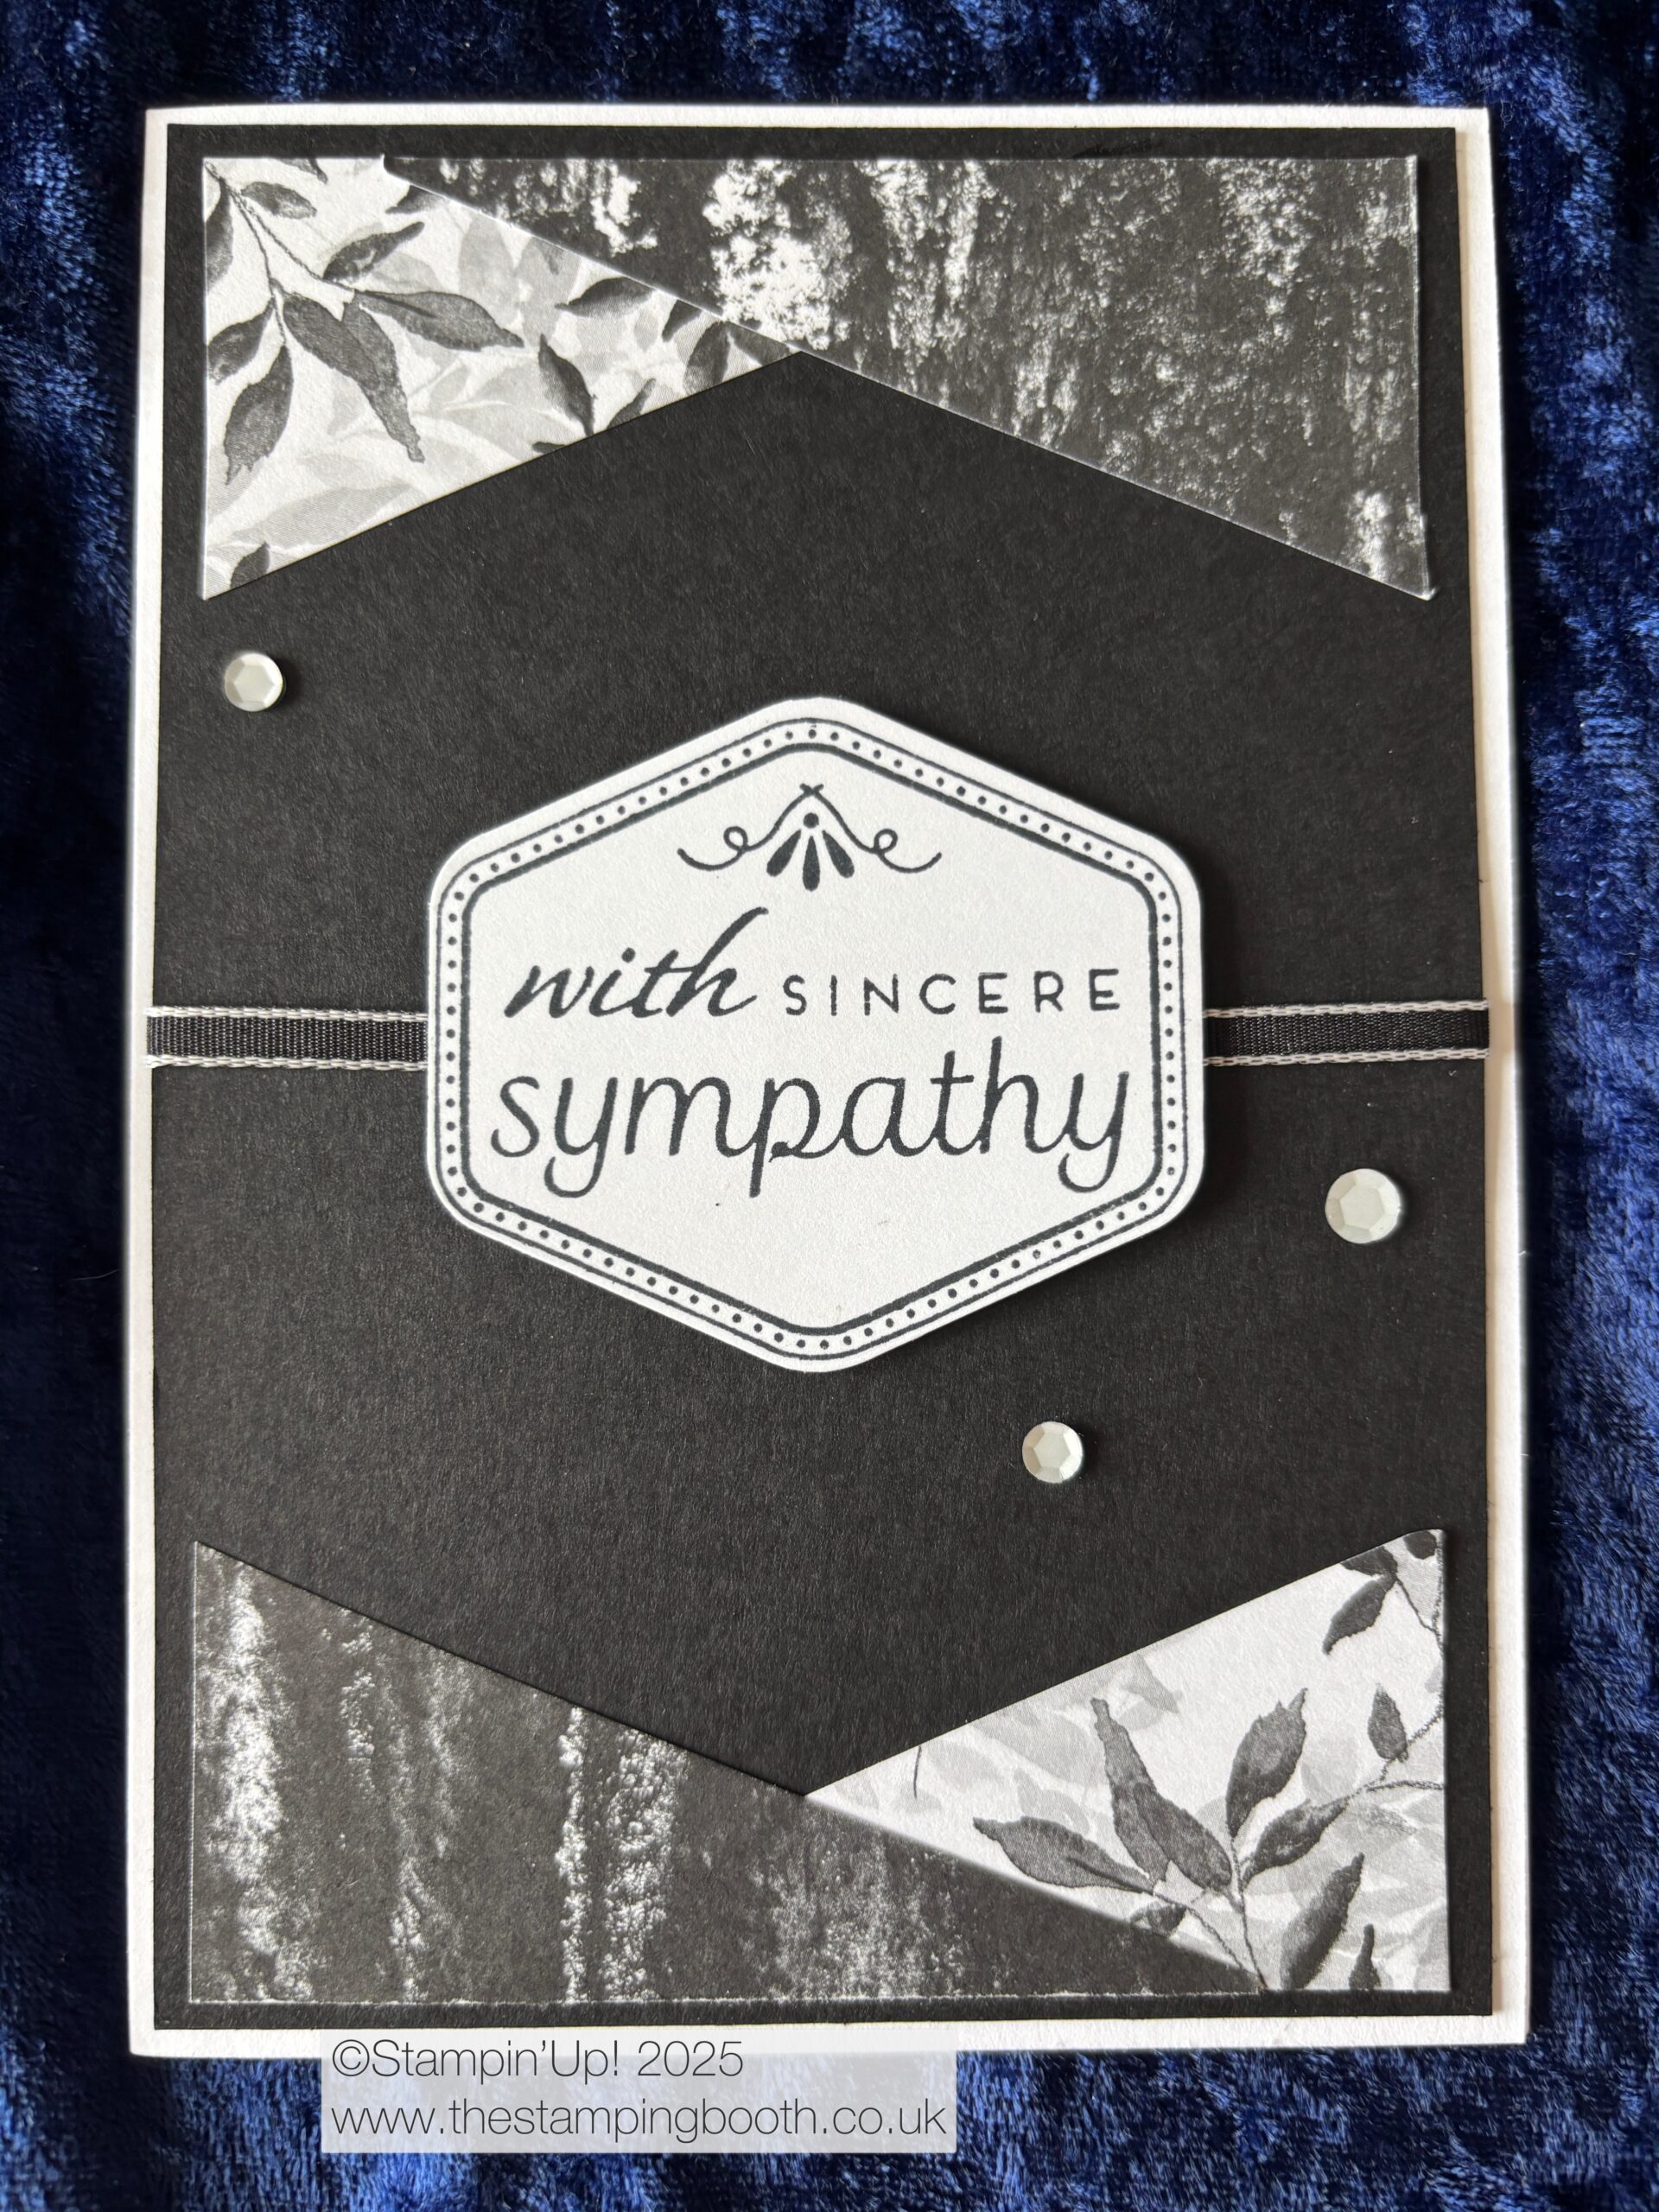
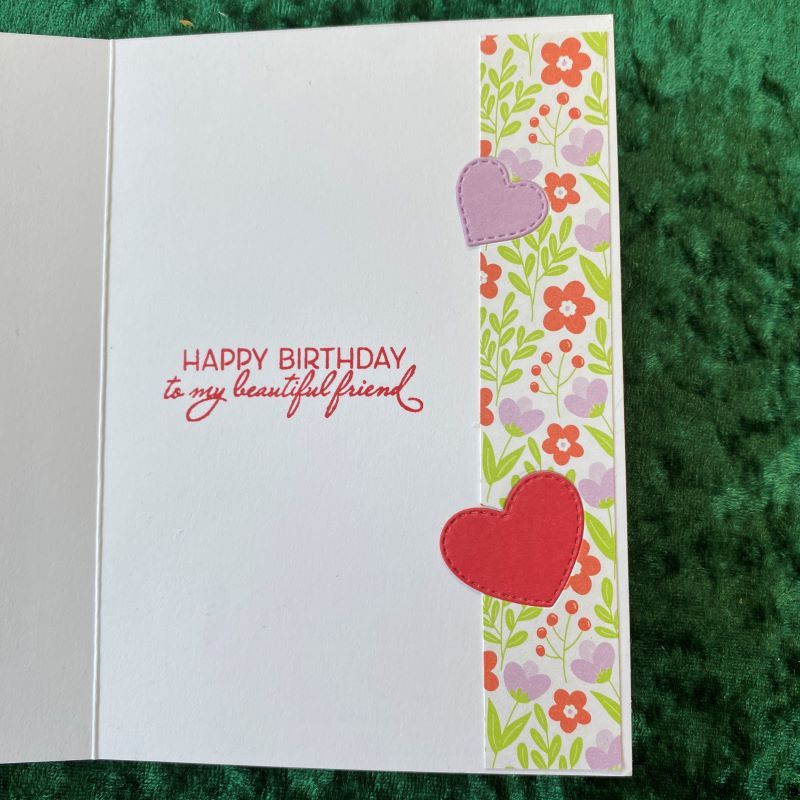
The theme for this months Bloghop is Love
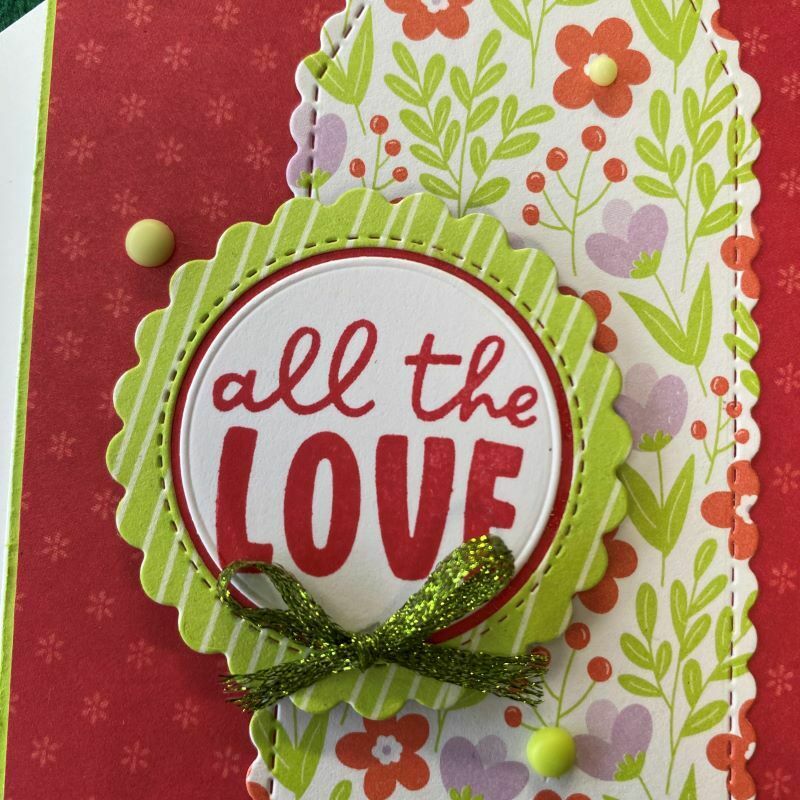
I used the sentiment from Best Butterflies stamps and dies from the Give it a Whirl set for my card, and the colour palette of Sweet Sorbet and Parakeet Party. There is a full list of products that I used at the bottom of this post.
My card is inspired by my lovely friend, who is always bright and colourful and loves her ‘bling’.
The central panel is die cut using one of the Basic Border dies on a 5 1/2cm panel of designer series paper (DSP), from the Butterfly Kisses paper selection.
The back layer is using DSP from The Tea Boutique and the gorgeous Sweet Sorbet colour which I also used for the stamping on the front, inside and on the back panel.
I also added a panel of DSP to the inside of the card, but before adhering in place, I die cut 2 hearts from the edge of the panel, and then die cut a large heart in Sweet Sorbet and a smaller heart in Fresh Freesia and once the panel was stuck in place, I inlaid these hearts into the pre-cut ‘gaps’.
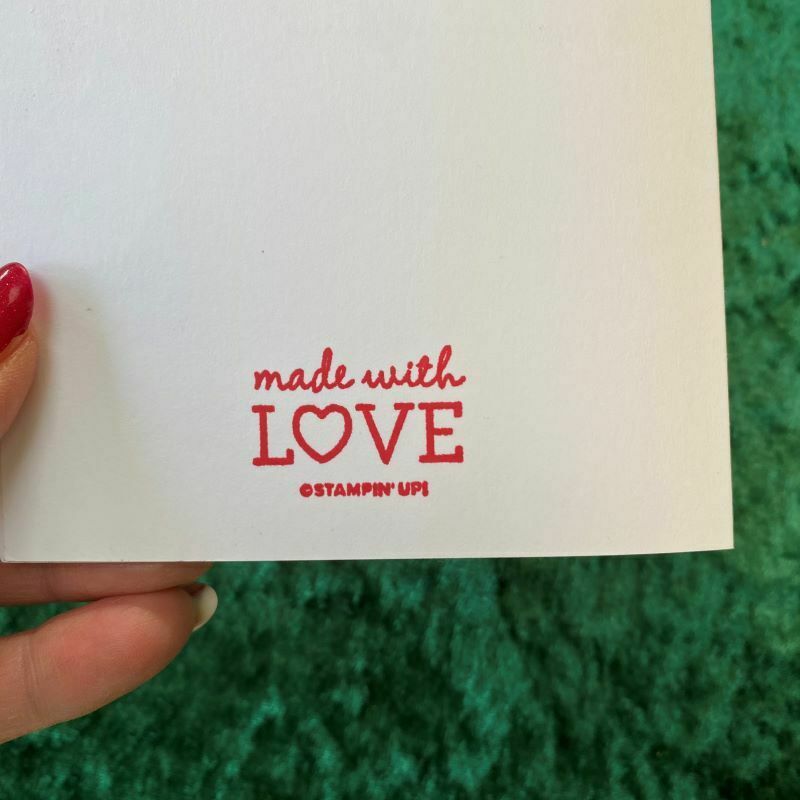
I die cut more hearts to embellish the front of the envelope, and then stamped on the back of the card with one of Stampin’ Up!s copyright stamped images. ‘Made with Love’ was very apt!!¬
I do love this years In colors and in particular, the lovely vivid Parakeet Party green and Sweet Sorbet. I used some of the Parakeet Party Metallic woven ribbon to embellish with a bow. I also added some Incolor Matte dots,
I do hope you enjoyed looking at my creation and it would be great if you could leave a comment – I love to read them! Don’t forget to support other demo’s by hopping over to their blogs using the links below;
Love the products that you’ve seen me use? You can order from me here or alternatively by clicking on any of the products that I’ve used that are listed below.
We use cookies on our website to give you the most relevant experience by remembering your preferences and repeat visits. By clicking “Accept All”, you consent to the use of ALL the cookies. However, you may visit "Cookie Settings" to provide a controlled consent.
This website uses cookies to improve your experience while you navigate through the website. Out of these, the cookies that are categorized as necessary are stored on your browser as they are essential for the working of basic functionalities of the website. We also use third-party cookies that help us analyze and understand how you use this website. These cookies will be stored in your browser only with your consent. You also have the option to opt-out of these cookies. But opting out of some of these cookies may affect your browsing experience.
Necessary cookies are absolutely essential for the website to function properly. These cookies ensure basic functionalities and security features of the website, anonymously.
Cookie
Duration
Description
cookielawinfo-checkbox-analytics
11 months
This cookie is set by GDPR Cookie Consent plugin. The cookie is used to store the user consent for the cookies in the category "Analytics".
cookielawinfo-checkbox-functional
11 months
The cookie is set by GDPR cookie consent to record the user consent for the cookies in the category "Functional".
cookielawinfo-checkbox-necessary
11 months
This cookie is set by GDPR Cookie Consent plugin. The cookies is used to store the user consent for the cookies in the category "Necessary".
cookielawinfo-checkbox-others
11 months
This cookie is set by GDPR Cookie Consent plugin. The cookie is used to store the user consent for the cookies in the category "Other.
cookielawinfo-checkbox-performance
11 months
This cookie is set by GDPR Cookie Consent plugin. The cookie is used to store the user consent for the cookies in the category "Performance".
viewed_cookie_policy
11 months
The cookie is set by the GDPR Cookie Consent plugin and is used to store whether or not user has consented to the use of cookies. It does not store any personal data.
Functional cookies help to perform certain functionalities like sharing the content of the website on social media platforms, collect feedbacks, and other third-party features.
Performance cookies are used to understand and analyze the key performance indexes of the website which helps in delivering a better user experience for the visitors.
Analytical cookies are used to understand how visitors interact with the website. These cookies help provide information on metrics the number of visitors, bounce rate, traffic source, etc.
Advertisement cookies are used to provide visitors with relevant ads and marketing campaigns. These cookies track visitors across websites and collect information to provide customized ads.


![Traditional Labels Dies [ 165864 ]](https://assets1.tamsnetwork.com/images/EC042017NF/165864s.jpg "Traditional Labels Dies [ 165864 ]")
![Delicate Pines Photopolymer Stamp Set (English) [ 166067 ]](https://assets1.tamsnetwork.com/images/EC042017NF/166067s.jpg "Delicate Pines Photopolymer Stamp Set (English) [ 166067 ]")
![Traditional Labels Photopolymer Stamp Set (English) [ 165854 ]](https://assets1.tamsnetwork.com/images/EC042017NF/165854s.jpg "Traditional Labels Photopolymer Stamp Set (English) [ 165854 ]")
![Merry Christmas Photopolymer Stamp Set (English) [ 165831 ]](https://assets1.tamsnetwork.com/images/EC042017NF/165831s.jpg "Merry Christmas Photopolymer Stamp Set (English) [ 165831 ]")
![Shaded Spruce Classic Stampin' Pad [ 147088 ]](https://assets1.tamsnetwork.com/images/EC042017NF/147088s.jpg "Shaded Spruce Classic Stampin' Pad [ 147088 ]")
![Garden Green Classic Stampin' Pad [ 147089 ]](https://assets1.tamsnetwork.com/images/EC042017NF/147089s.jpg "Garden Green Classic Stampin' Pad [ 147089 ]")
![Mossy Meadow Classic Stampin' Pad [ 147111 ]](https://assets1.tamsnetwork.com/images/EC042017NF/147111s.jpg "Mossy Meadow Classic Stampin' Pad [ 147111 ]")
![Soft Sea Foam Classic Stampin' Pad [ 147102 ]](https://assets1.tamsnetwork.com/images/EC042017NF/147102s.jpg "Soft Sea Foam Classic Stampin' Pad [ 147102 ]")
![Real Red Classic Stampin' Pad [ 147084 ]](https://assets1.tamsnetwork.com/images/EC042017NF/147084s.jpg "Real Red Classic Stampin' Pad [ 147084 ]")
![Early Espresso Classic Stampin' Pad [ 147114 ]](https://assets1.tamsnetwork.com/images/EC042017NF/147114s.jpg "Early Espresso Classic Stampin' Pad [ 147114 ]")
![Real Red 1/2" (1.3 Cm) Shiny Ribbon [ 165876 ]](https://assets1.tamsnetwork.com/images/EC042017NF/165876s.jpg "Real Red 1/2\" (1.3 Cm) Shiny Ribbon [ 165876 ]")
![Shaded Spruce & Gold Edged 7/8" (2.2 Cm) Ribbon [ 166078 ]](https://assets1.tamsnetwork.com/images/EC042017NF/166078s.jpg "Shaded Spruce & Gold Edged 7/8\" (2.2 Cm) Ribbon [ 166078 ]")
![Traditional Sparkling Sequins [ 165875 ]](https://assets1.tamsnetwork.com/images/EC042017NF/165875s.jpg "Traditional Sparkling Sequins [ 165875 ]")
![Silver 12" X 12" (30.5 X 30.5 Cm) Foil Sheets [ 163387 ]](https://assets1.tamsnetwork.com/images/EC042017NF/163387s.jpg "Silver 12\" X 12\" (30.5 X 30.5 Cm) Foil Sheets [ 163387 ]")
![Prairie Grass Cling Stamp Set (English) [ 166168 ]](https://assets1.tamsnetwork.com/images/EC042017NF/166168s.jpg "Prairie Grass Cling Stamp Set (English) [ 166168 ]")
![Feathered Fun Photopolymer Stamp Set [ 165336 ]](https://assets1.tamsnetwork.com/images/EC042017NF/165336s.jpg "Feathered Fun Photopolymer Stamp Set [ 165336 ]")
![Botanical Textures 12" X 12" (30.5 X 30.5 Cm) Designer Series Paper [ 165545 ]](https://assets1.tamsnetwork.com/images/EC042017NF/165545s.jpg "Botanical Textures 12\" X 12\" (30.5 X 30.5 Cm) Designer Series Paper [ 165545 ]")
![Birthday Celebration Photopolymer Stamp Set (English) [ 164592 ]](https://assets1.tamsnetwork.com/images/EC042017NF/164592s.jpg "Birthday Celebration Photopolymer Stamp Set (English) [ 164592 ]")
![Unbounded Love Photopolymer Stamp Set (English) [ 163378 ]](https://assets1.tamsnetwork.com/images/EC042017NF/163378s.jpg "Unbounded Love Photopolymer Stamp Set (English) [ 163378 ]")
![Ornate Thanks Photopolymer Stamp Set (English) [ 158301 ]](https://assets1.tamsnetwork.com/images/EC042017NF/158301s.jpg "Ornate Thanks Photopolymer Stamp Set (English) [ 158301 ]")
![Heartfelt Hexagon Photopolymer Stamp Set (English) [ 162882 ]](https://assets1.tamsnetwork.com/images/EC042017NF/162882s.jpg "Heartfelt Hexagon Photopolymer Stamp Set (English) [ 162882 ]")
![Pool Party Classic Stampin' Pad [ 147107 ]](https://assets1.tamsnetwork.com/images/EC042017NF/147107s.jpg "Pool Party Classic Stampin' Pad [ 147107 ]")
![Azure Afternoon Classic Stampin' Pad [ 161663 ]](https://assets1.tamsnetwork.com/images/EC042017NF/161663s.jpg "Azure Afternoon Classic Stampin' Pad [ 161663 ]")
![Stampin' Brayer [ 162936 ]](https://assets1.tamsnetwork.com/images/EC042017NF/162936s.jpg "Stampin' Brayer [ 162936 ]")


")


")

")


 Designer Series Paper")
 Designer Series Paper")


 Metallic Woven Ribbon")


