Have you ever been curious about what Coffee and Card is?
Its a very social event that I run on most Mondays, thanks to the support of The Mallard, Westwood Lakes, Frampton, who allow me to use there premises to deliver this to a lovely group of ladies and provide delicious hot drinks (and cakes should you wish to purchase some!)
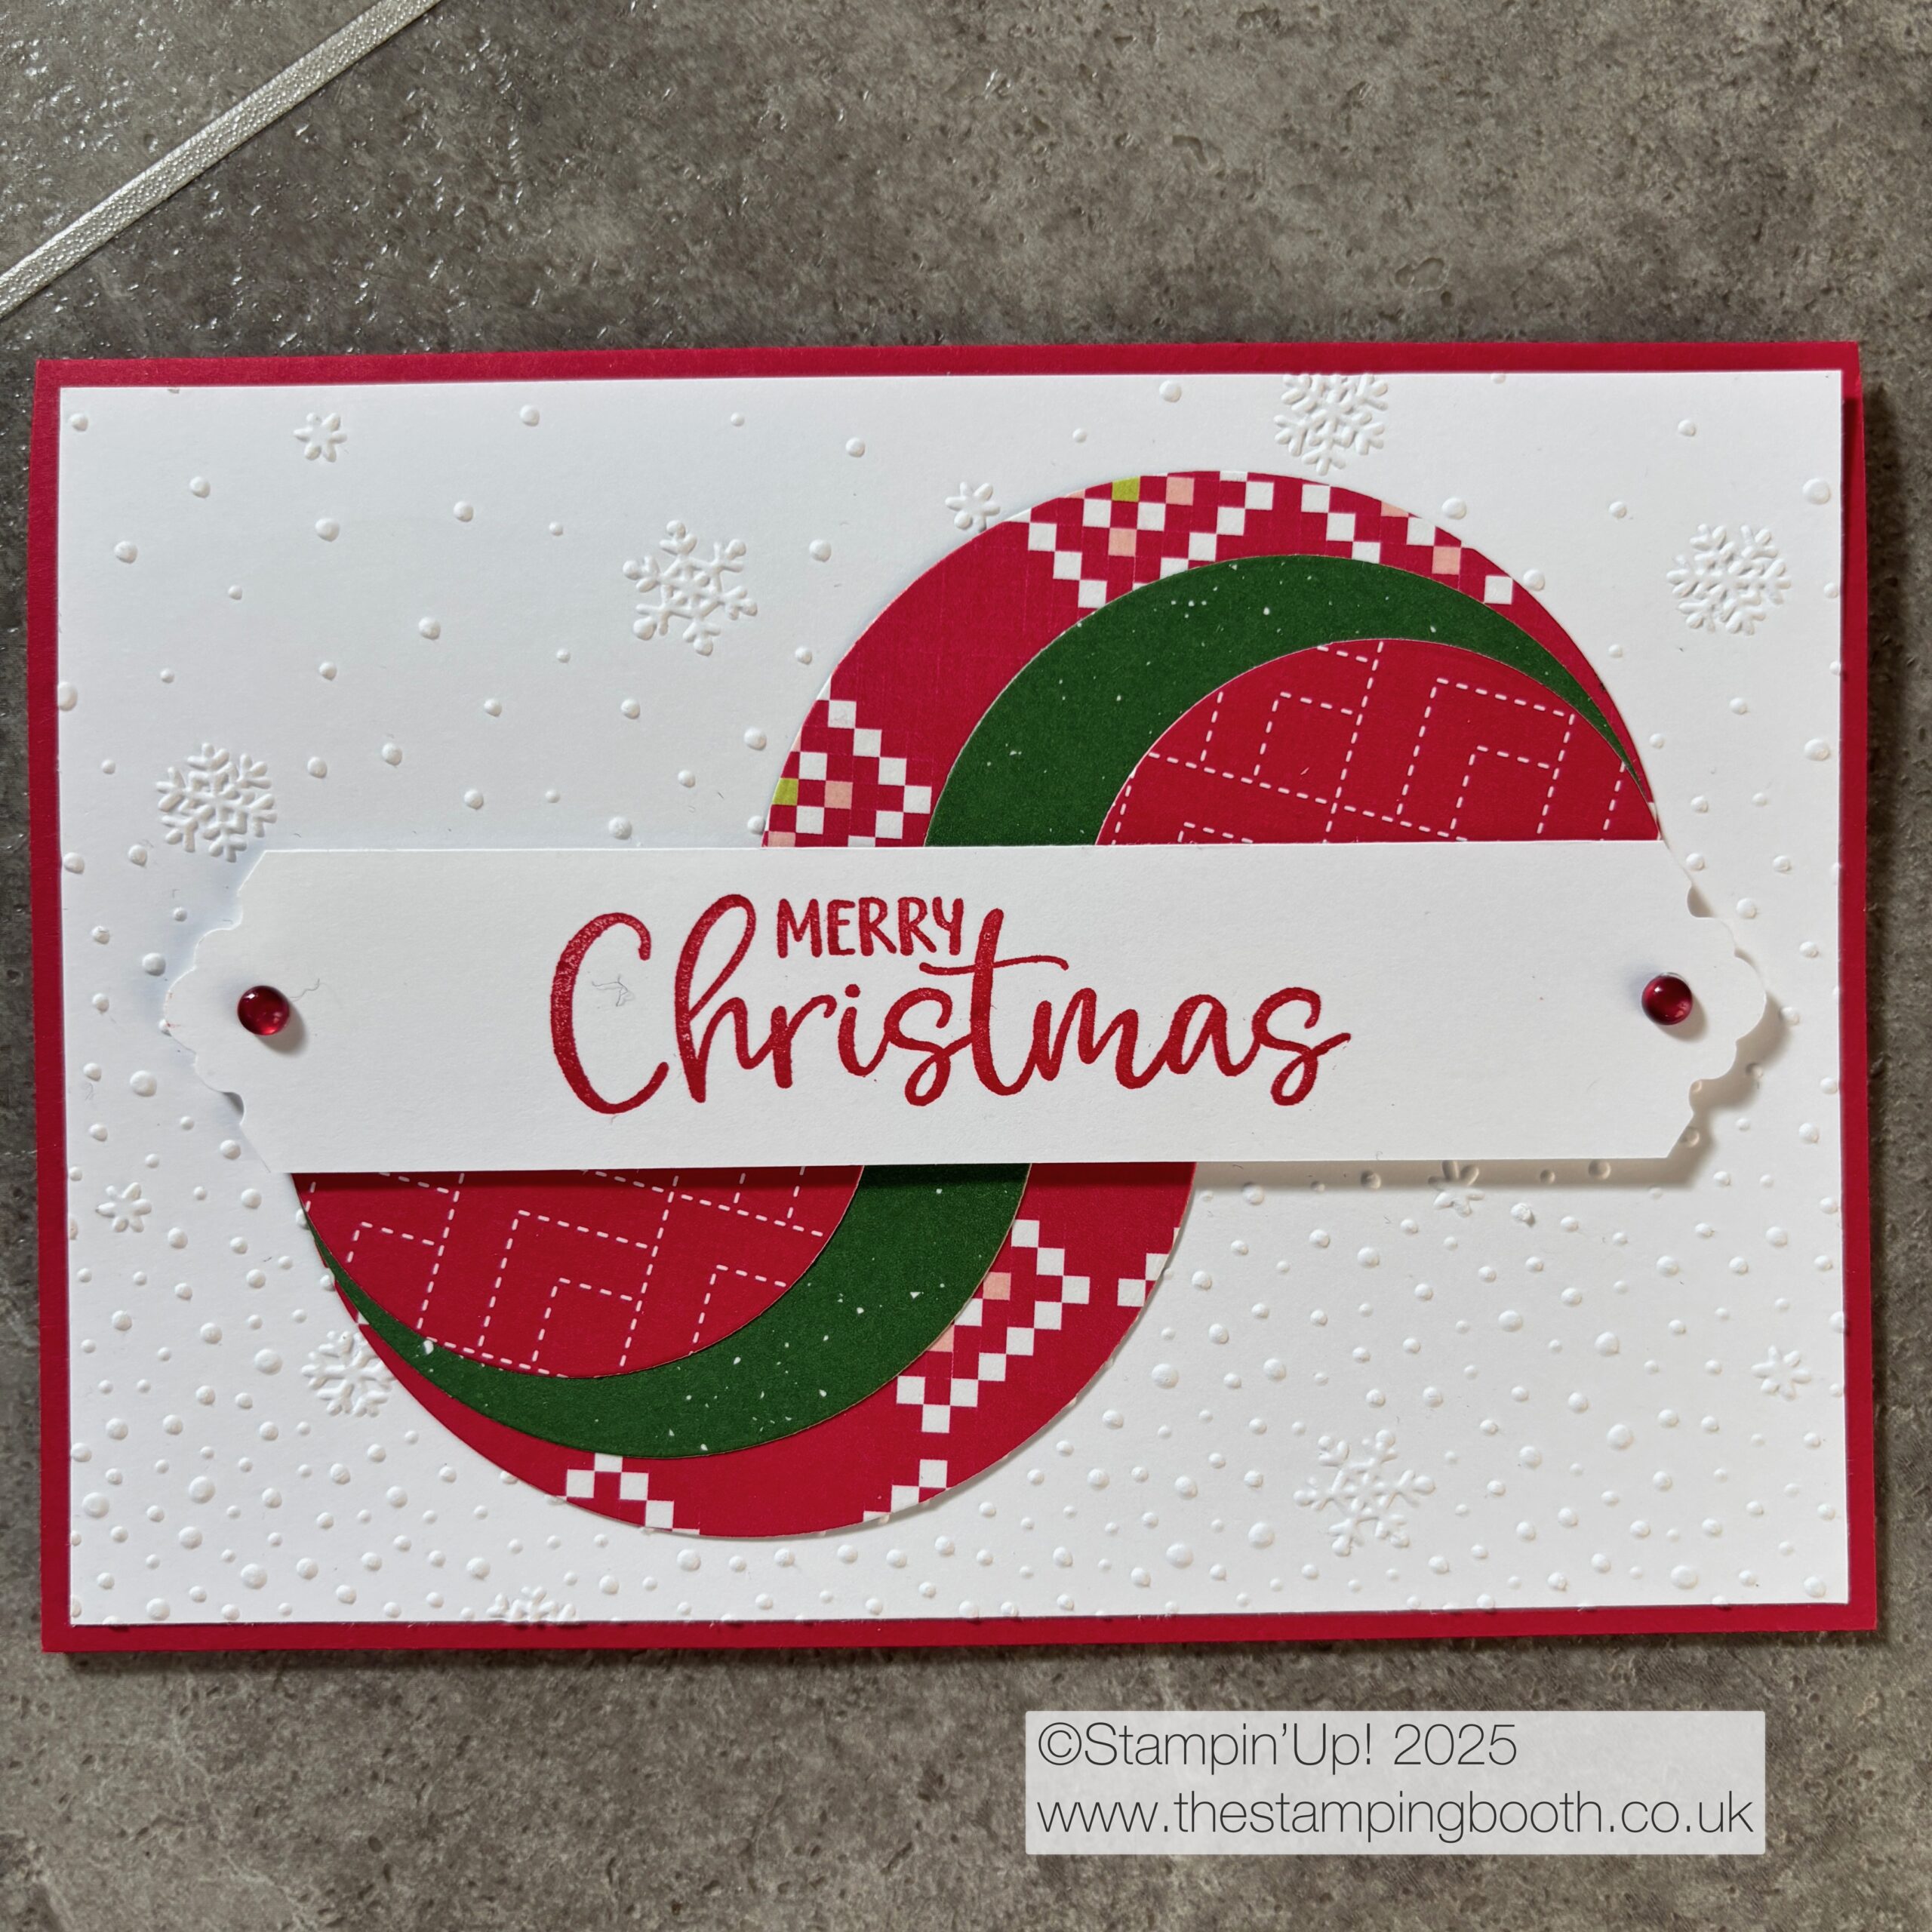
Each week we make 2 cards. Many are Birthday, but we also do Thank You, Sympathy, Good Luck and every third Monday of the month is CHRISTMAS! Yes, Christmas! That means that by December you already have a bunch of homemade Christmas cards.
All products are provided…stamps, inks, die cutting, card, envelopes etc, and during the time there we also share a hot drink together and have a good old chat! And all this for just £8.50/ week (drink included in price).
Most of the products I use for Coffee and Card are from a company called Stampin’ Up! and are available to purchase through me or from my website http://www.thestampingbooth.co.uk/shop now. You do NOT need to live local to me (Boston, Lincs), to purchase from me as you can order yourself for delivery to your home address, or I can post items out to you.
There is no obligation to come to Coffee and Card every week, Just pop along one Monday (11.00 til 1pm), or email me for more details [email protected]
January
Below are images of the cards made during January.
Currently there are some fabulous offersfrom Stampin’Up!…spend £55 and get your choice of free product (from a selection in a brochure), or join Stampin’ Up! for £99 and get either £160 worth of product, or pay £99, get £130 of product and 2 packs of Stampin Write markers (worth £70 and a stamp set for free. You choose the products you want, so get exactly what you would like! No commitment necessary!
If you would like to find out more about Stampin’ Up! or my classes and events, please contact me [email protected]
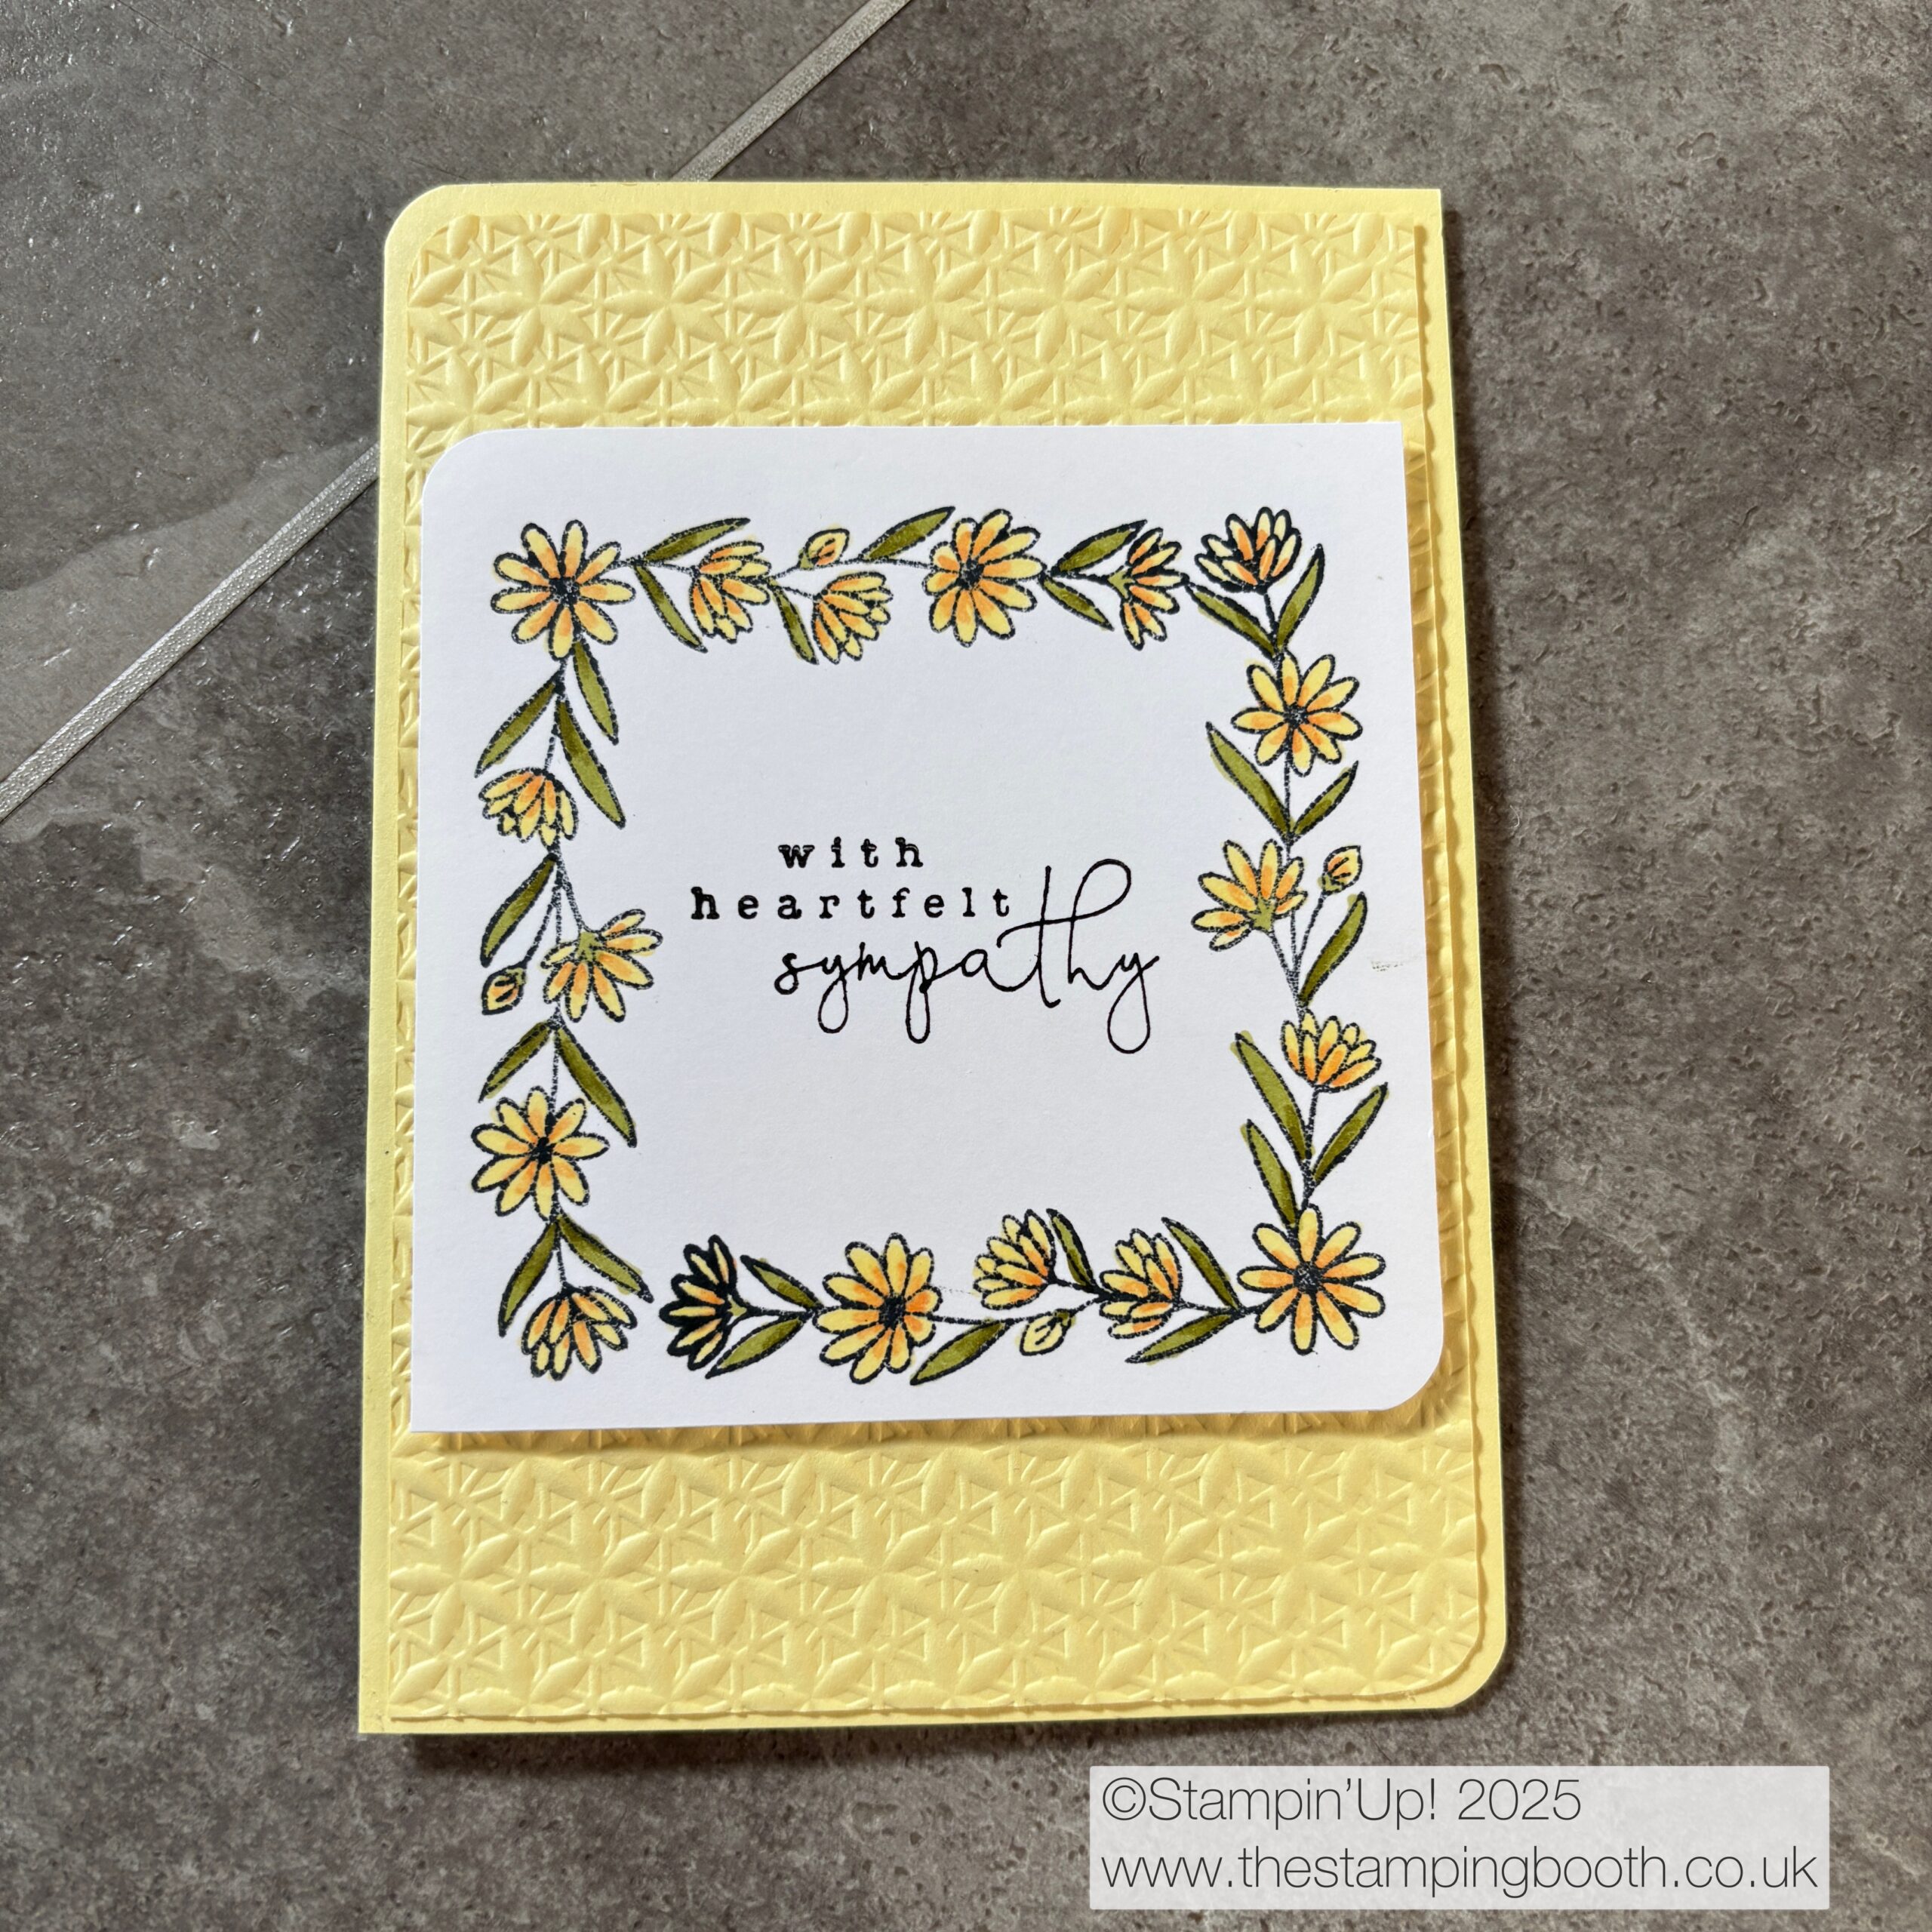
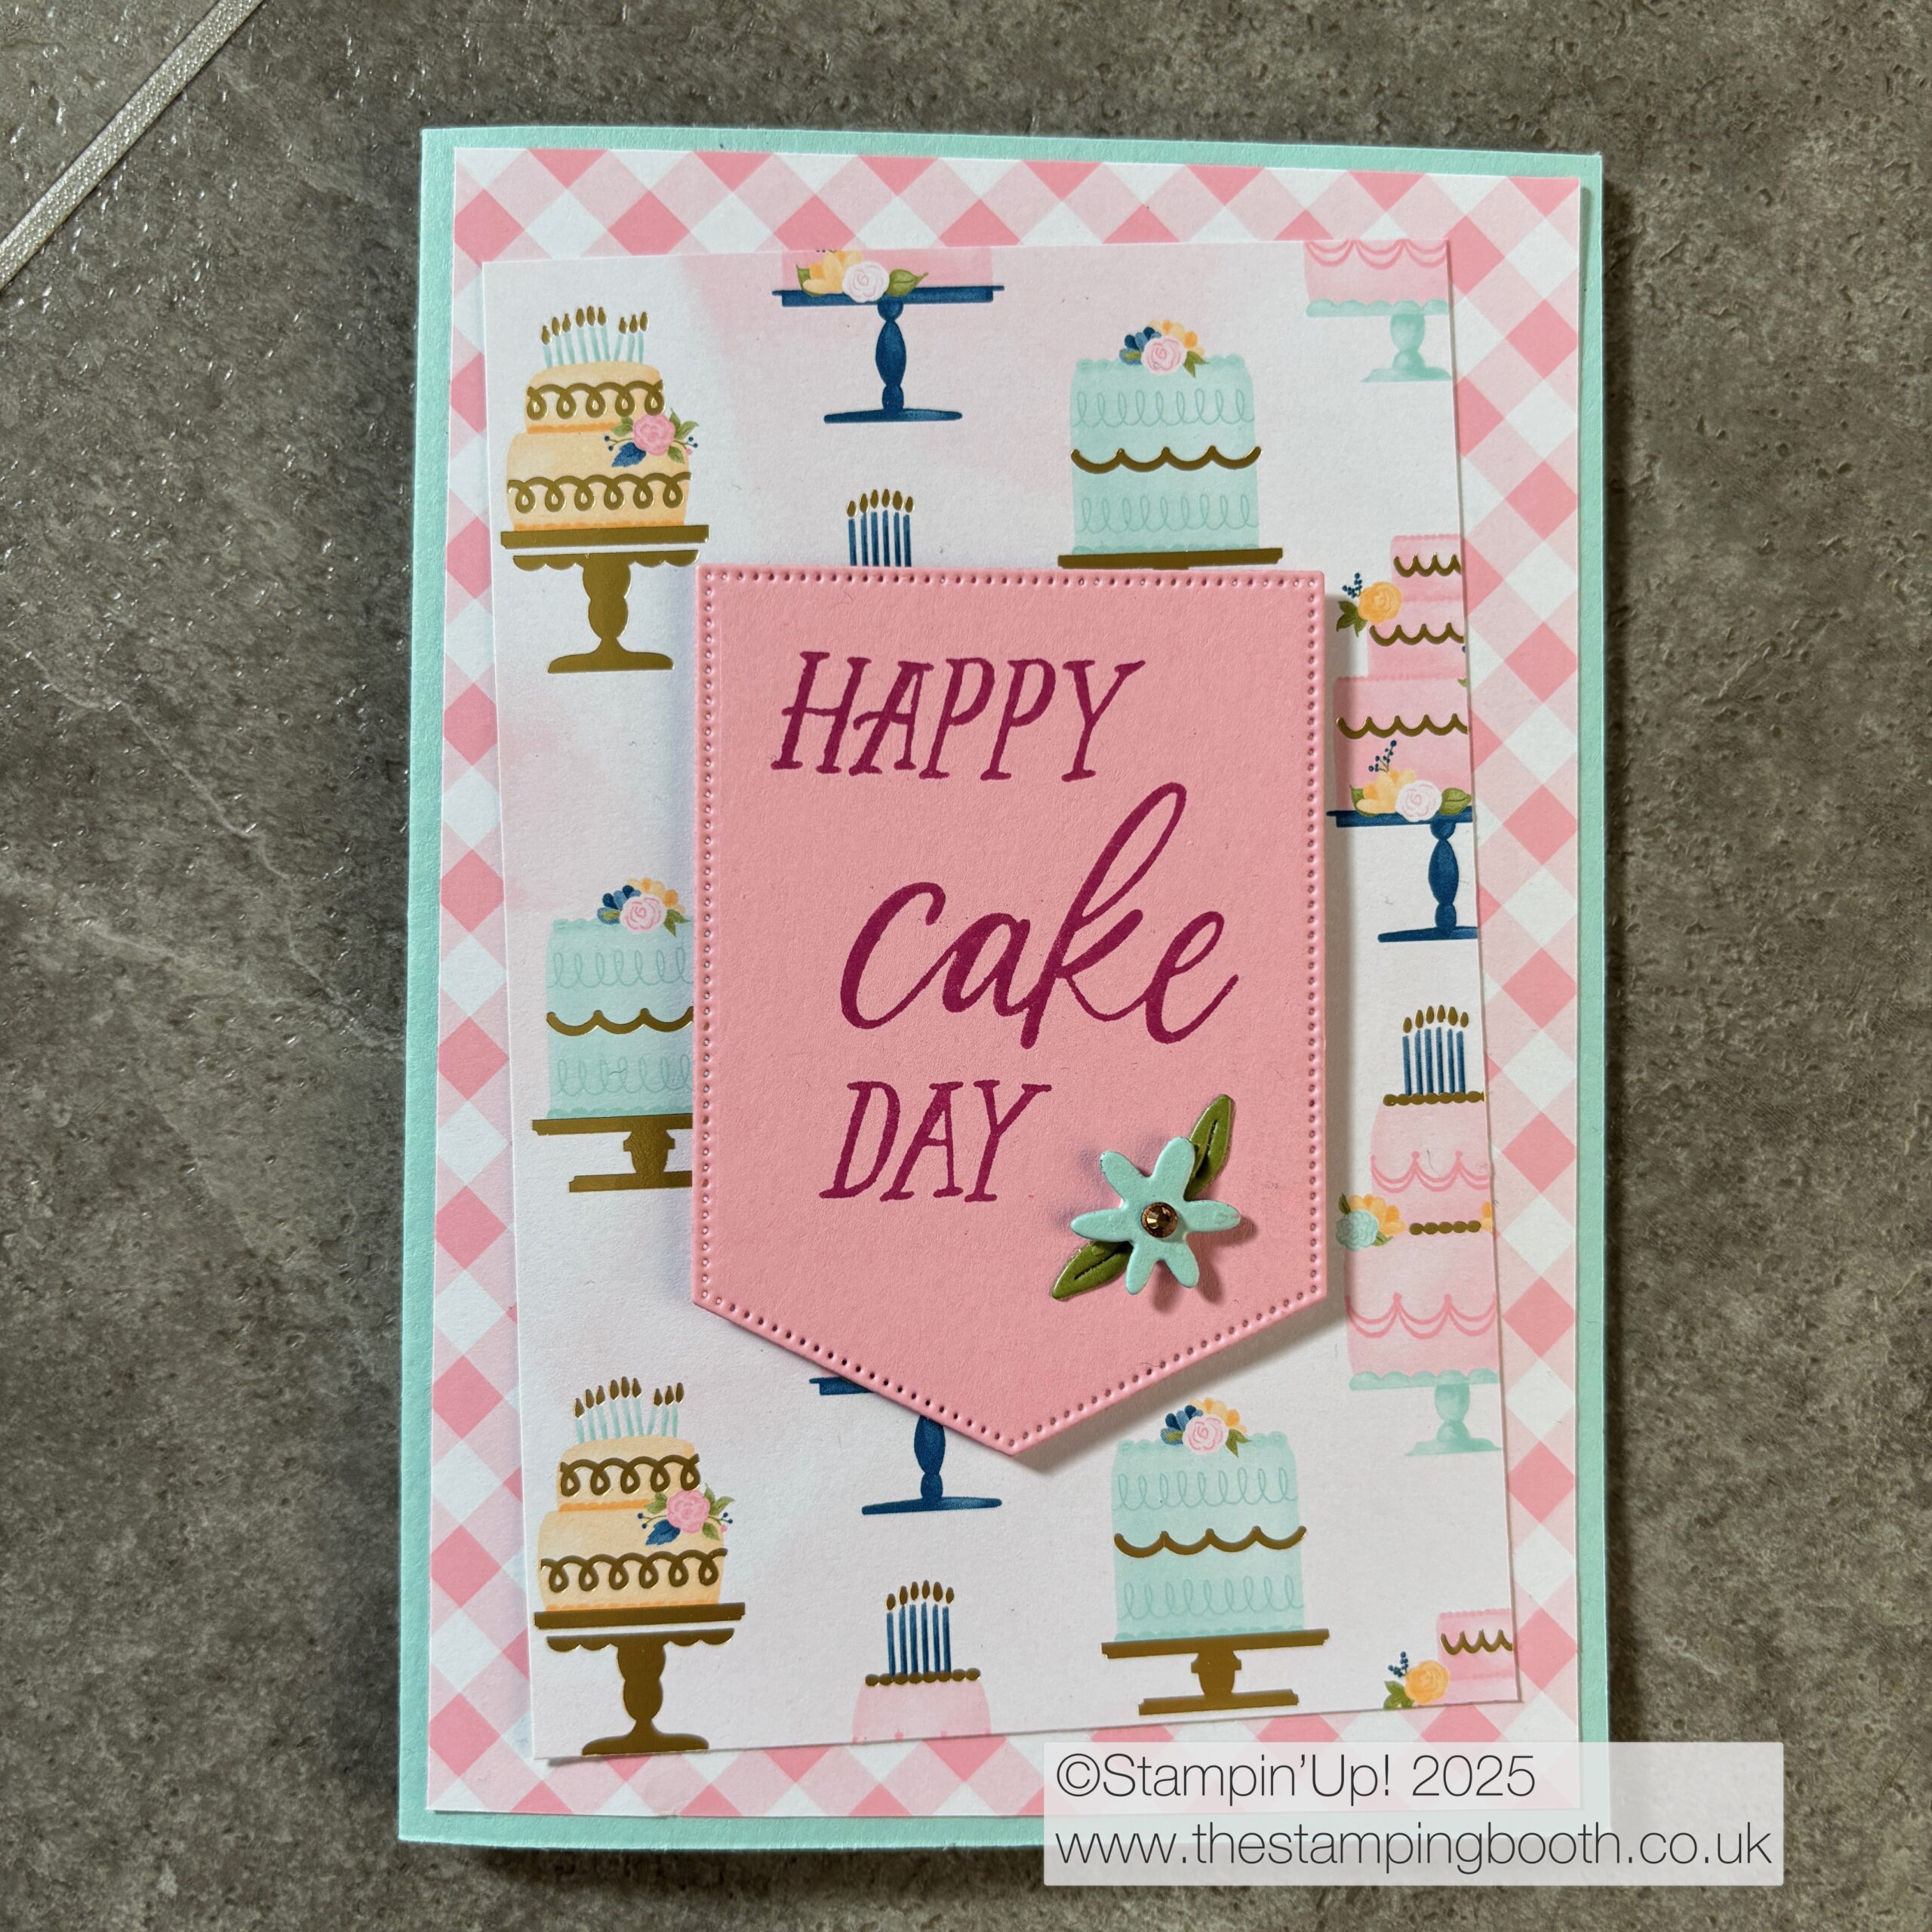
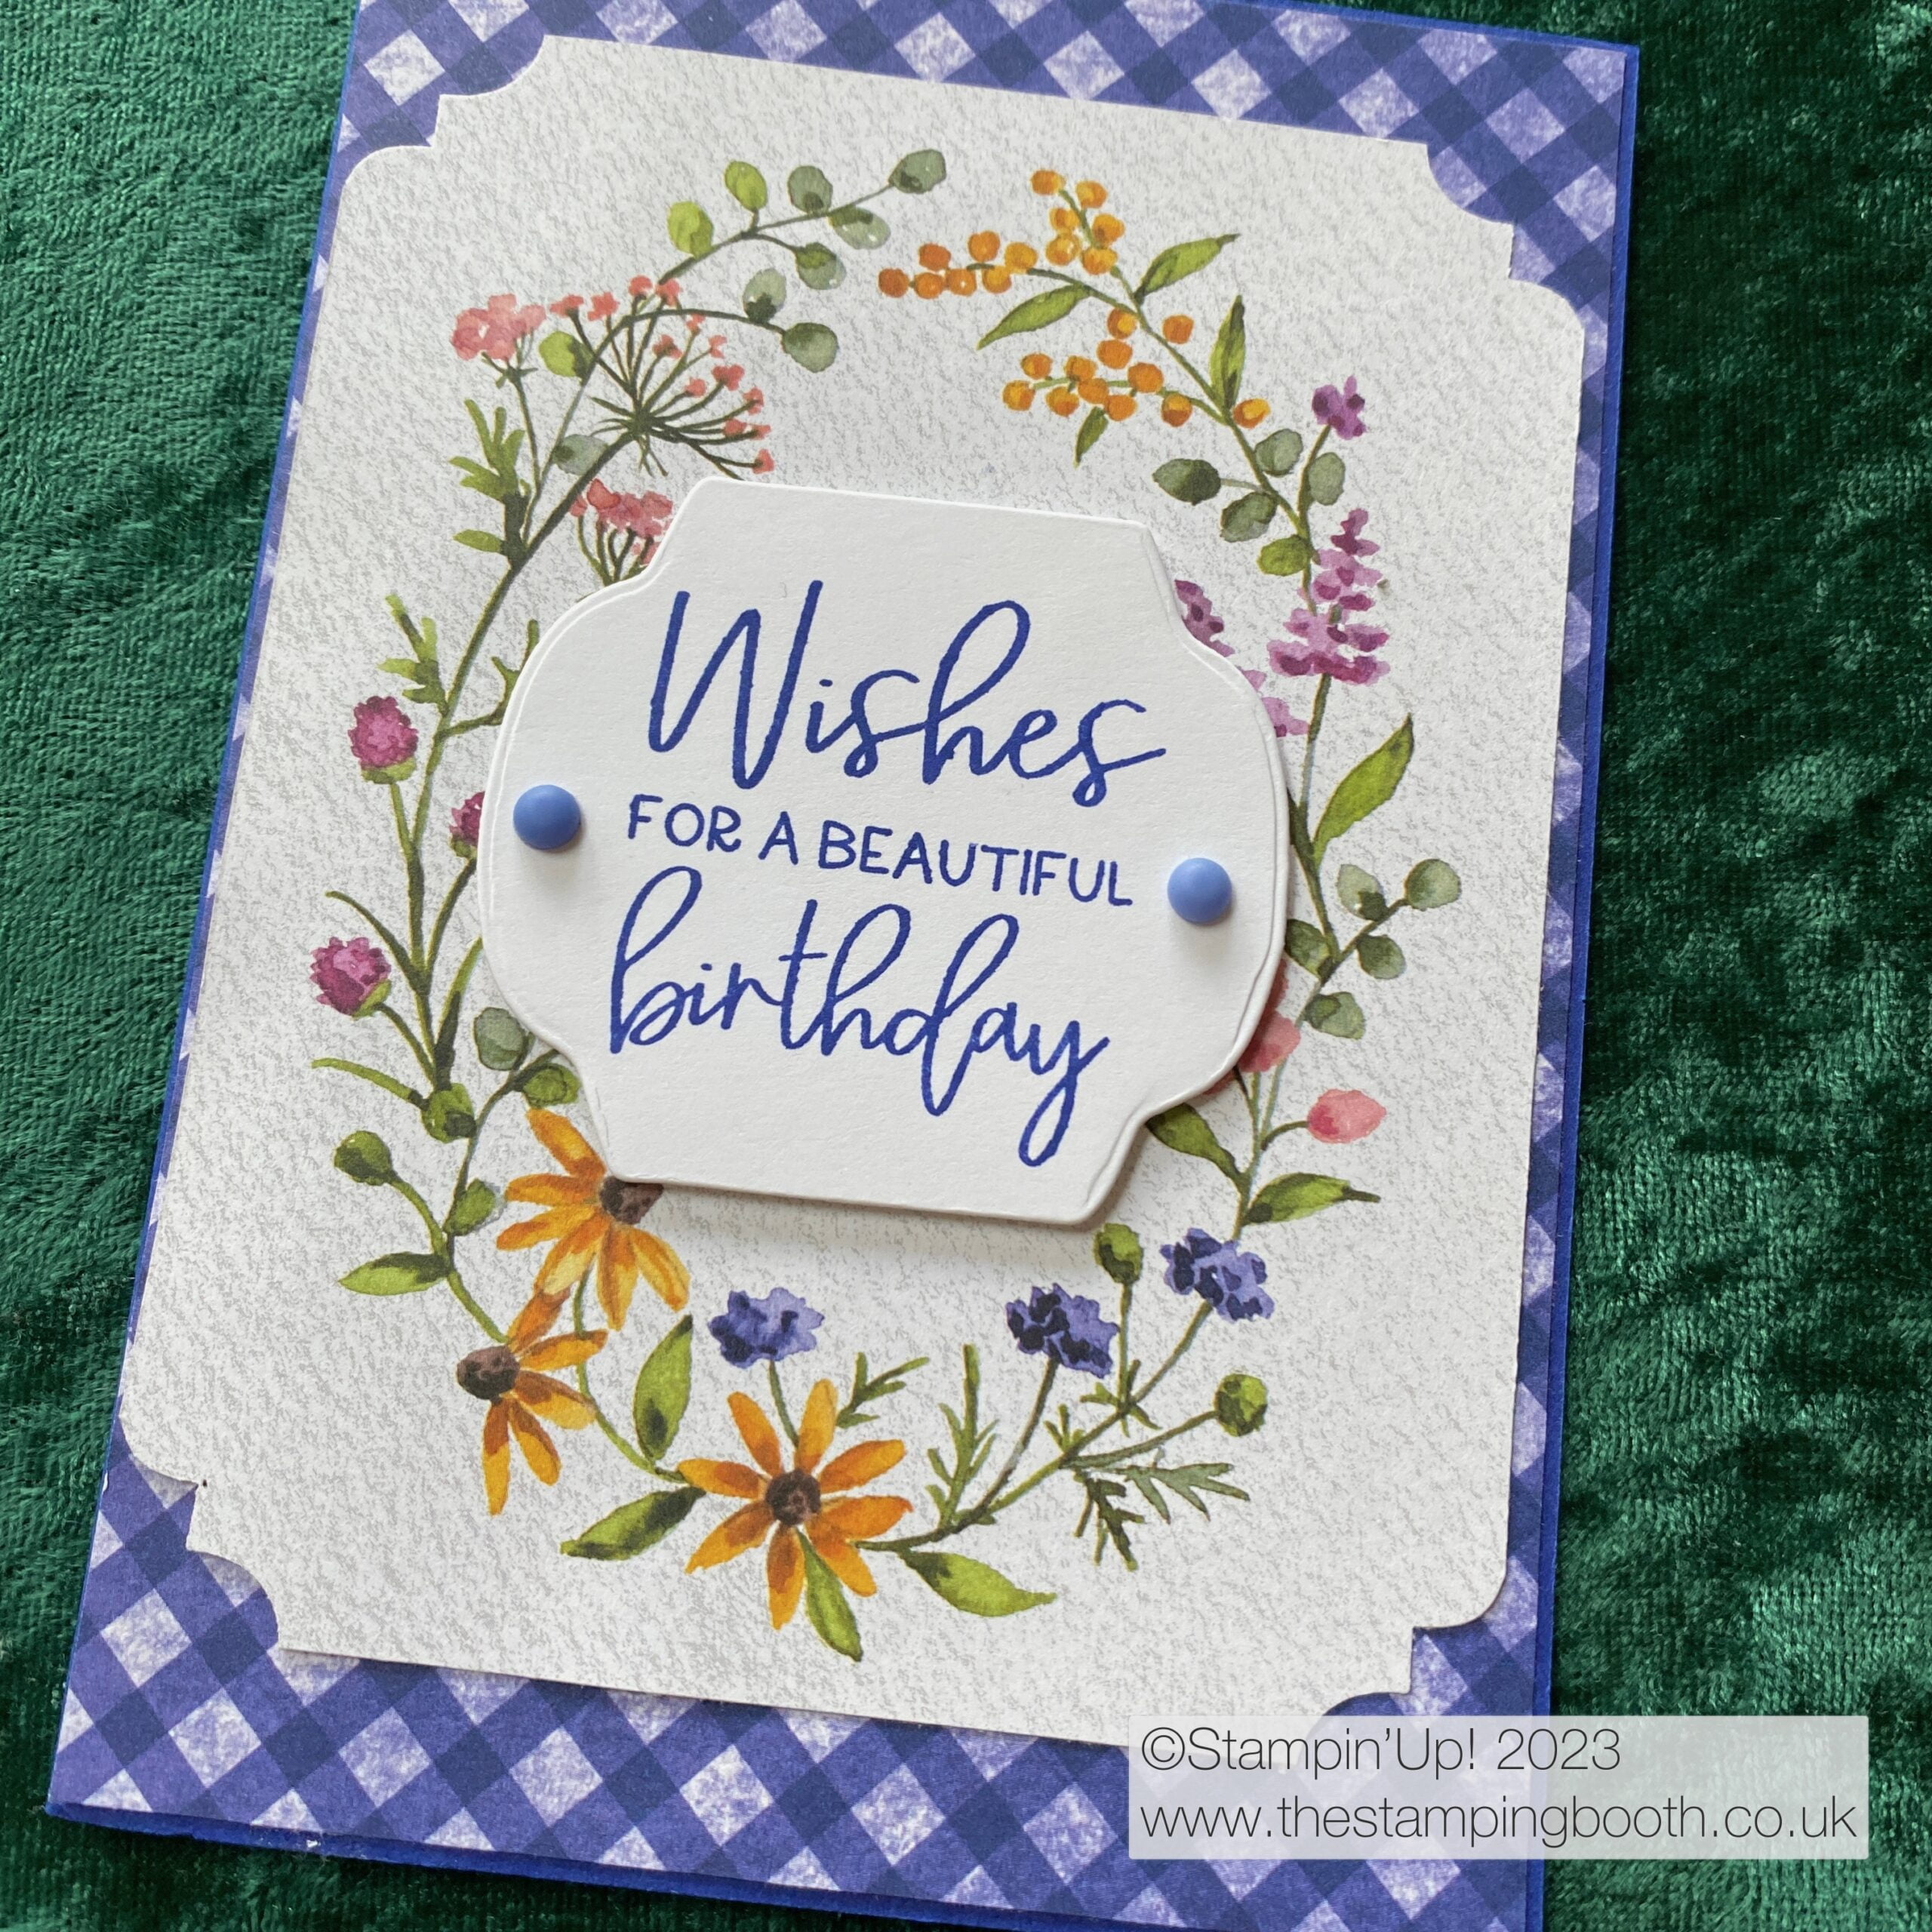
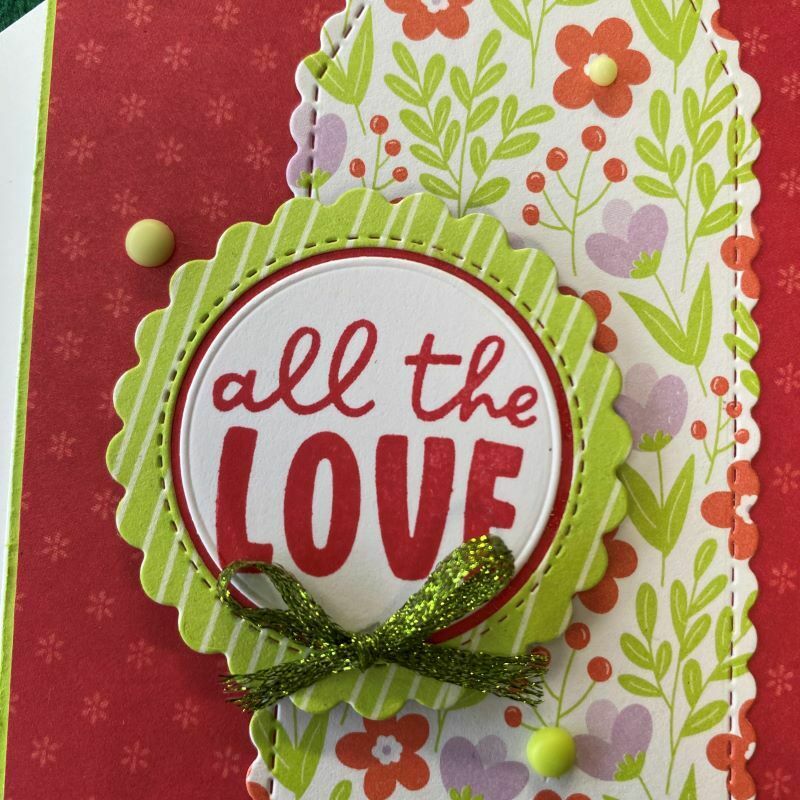
This card was designed for my Coffee and Card group using the FREE Sale-a-bration designer series paper ‘Dainty Flowers’ to make a Dainty Flowers Birthday card.
They coordinate with a bundle from the January to June mini catalogue called Dainty Delight. I don’t have the bundle, but honestly…I didn’t need it! The papers do all the work for you.They really are so pretty!
I made this sample card to show the group what we were making and used papers from the Tea Boutique collection as my background paper. However, if I’d looked more carefully there was a coordinating paper I could have used from the Dainty Flowers paper selection.
I used the retired triple punch to shape the corners of the oval flower paper and also the white inner.
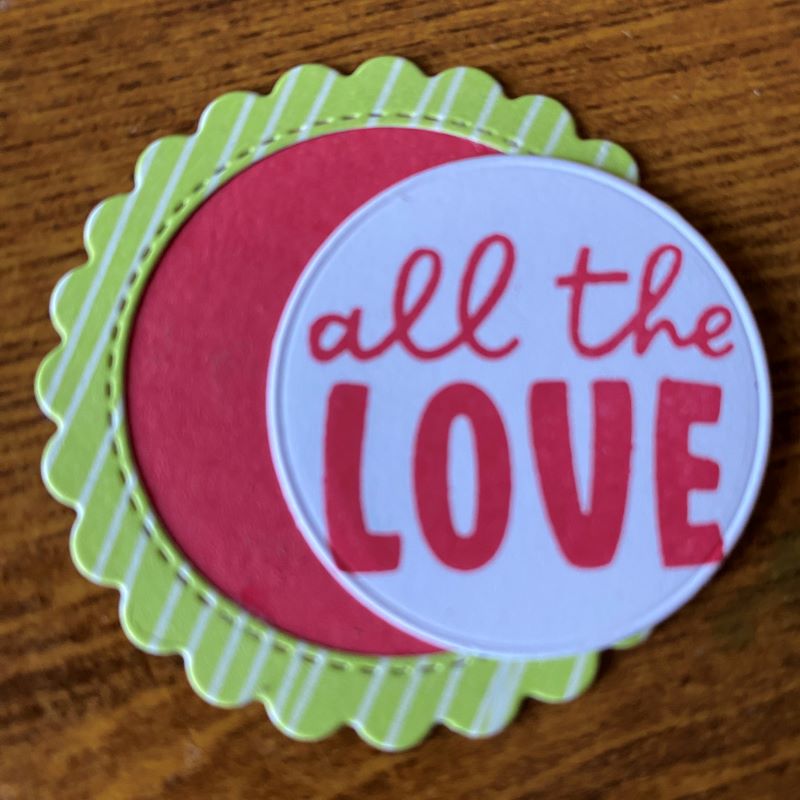
The sentiment was from Framed Florets stamp set and this was die cut using a die from the retired Seasonal labels dies.
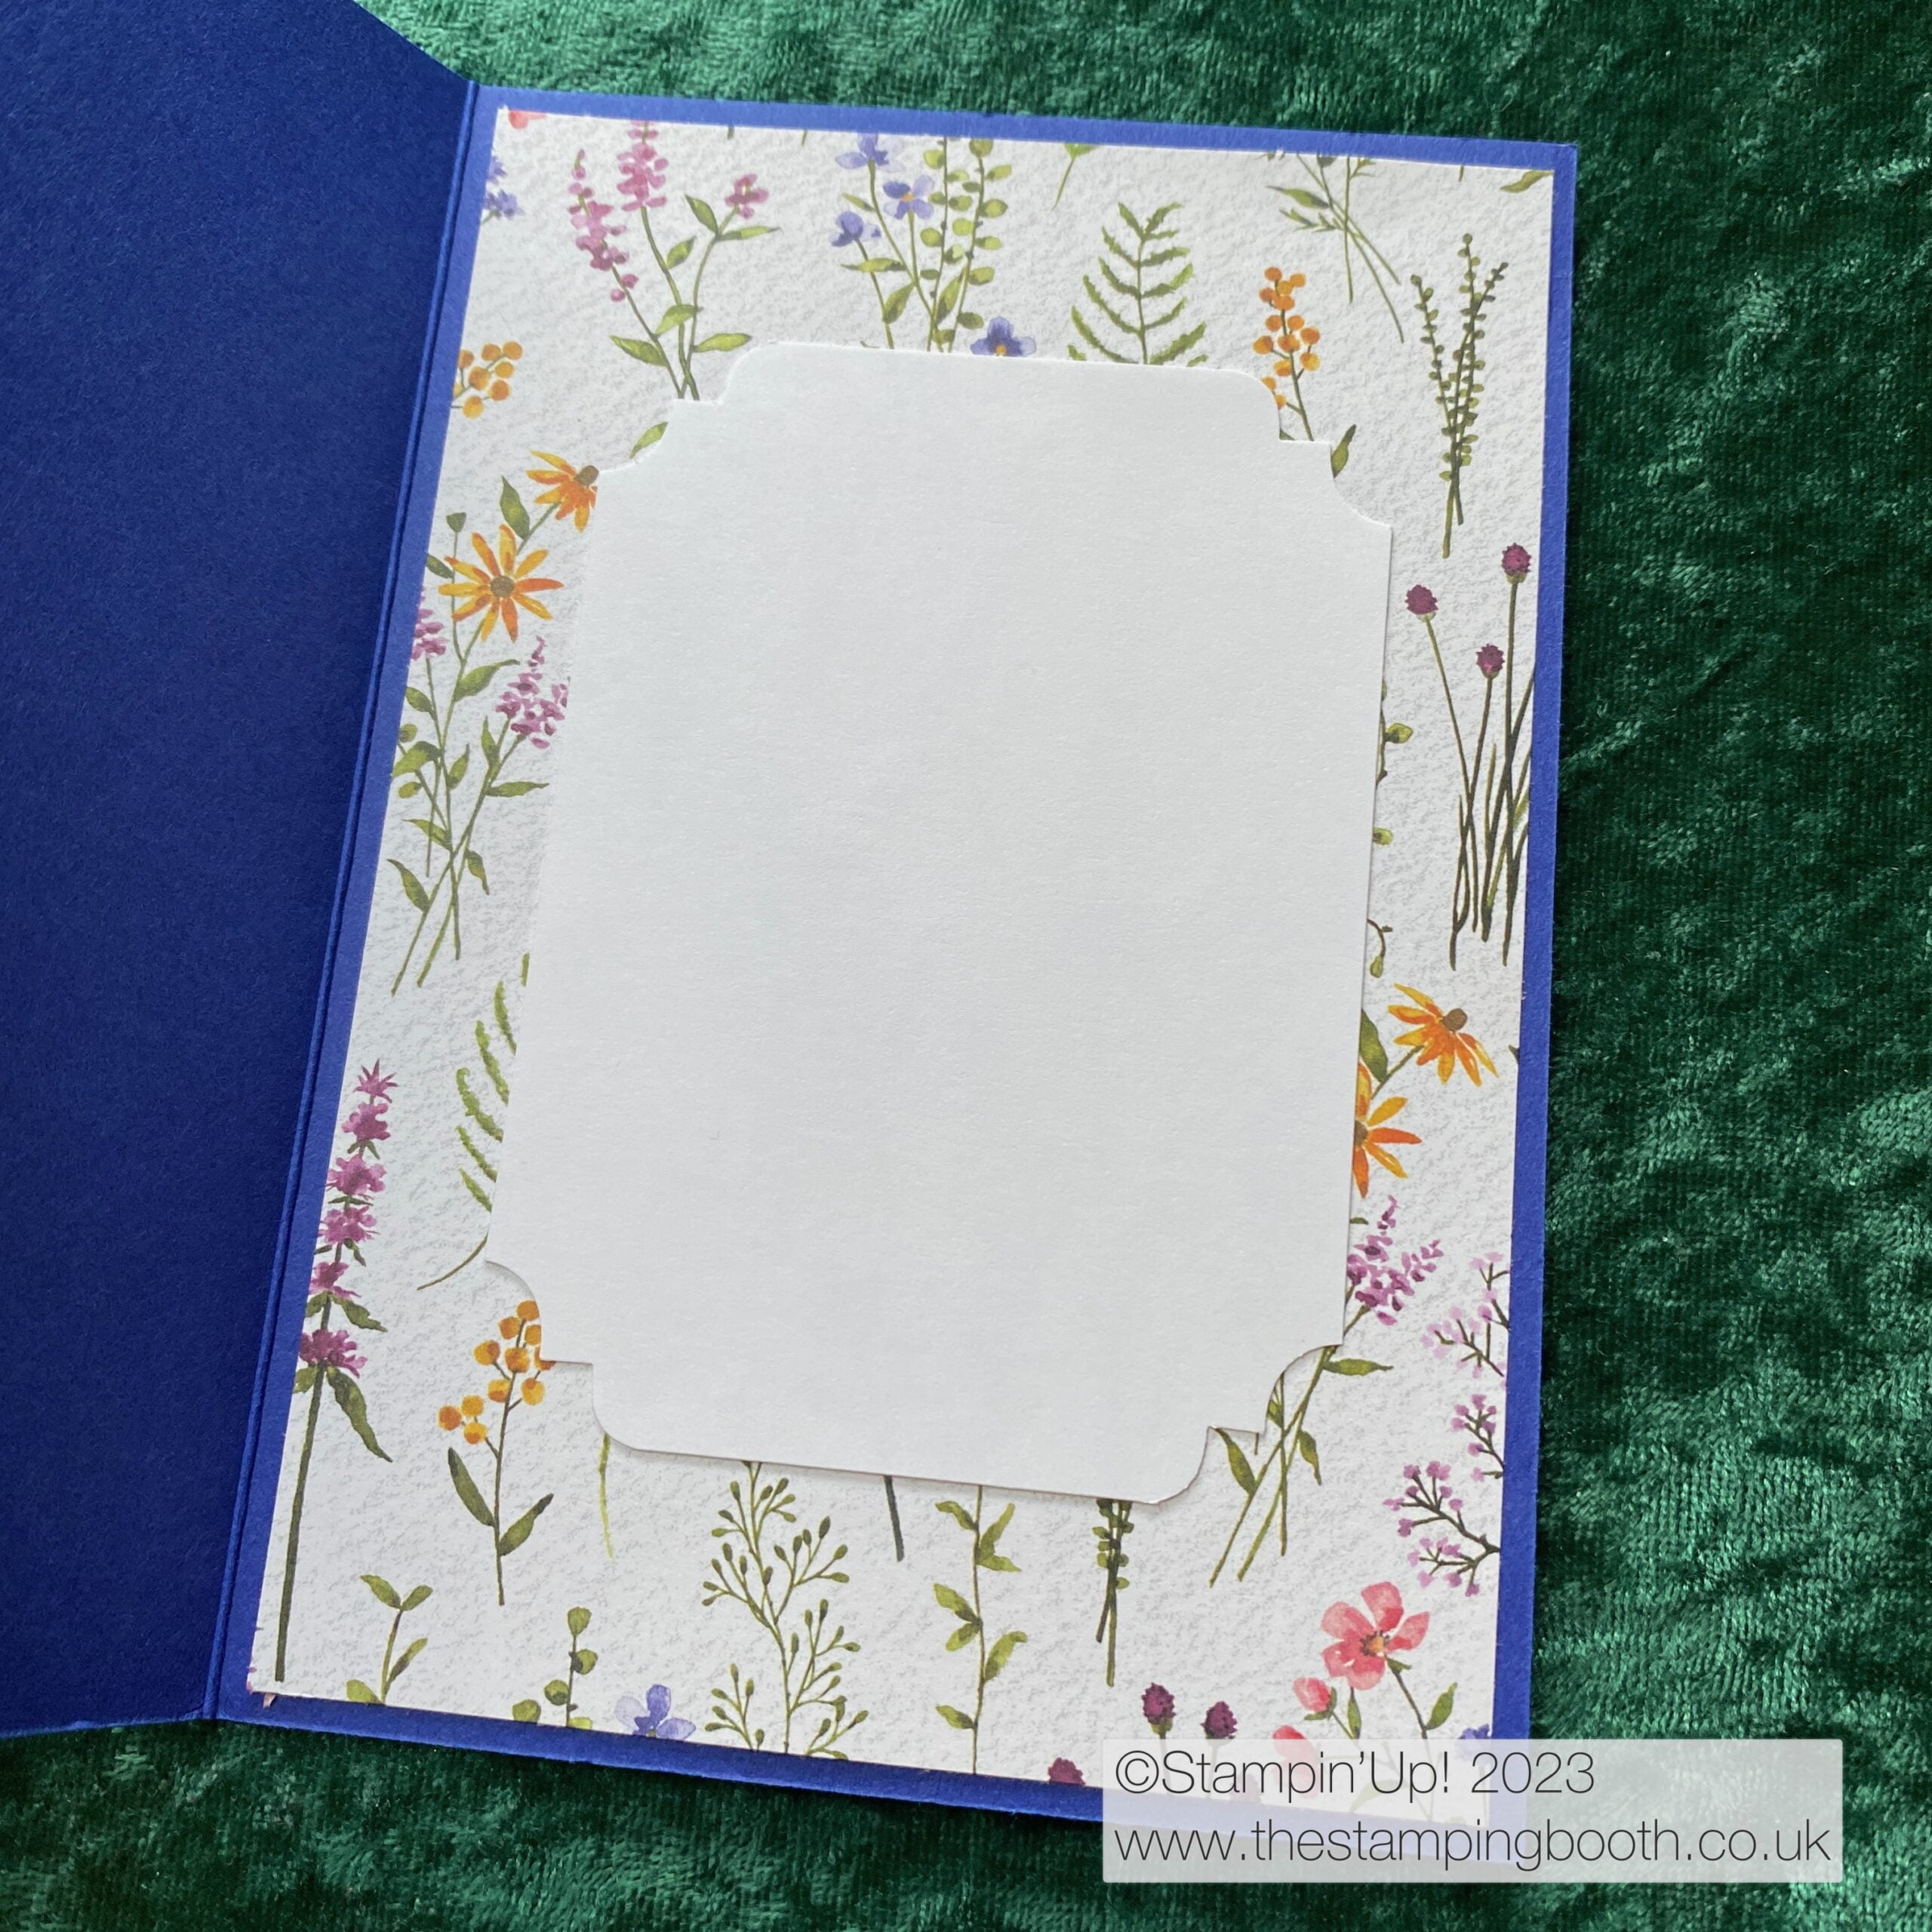
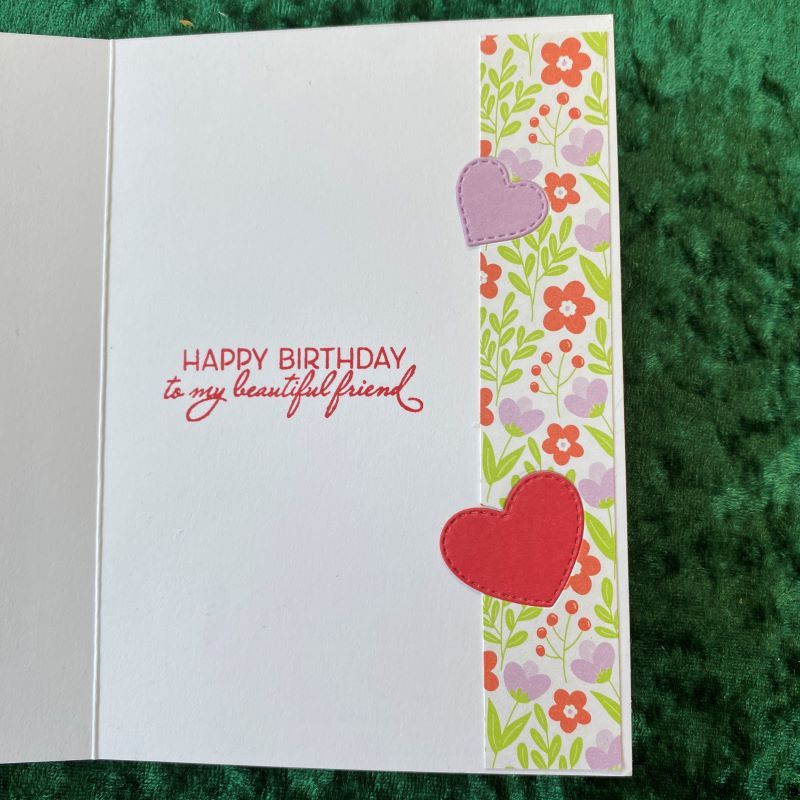
Sentiment from Framed Florets stamp setInner of card
Thanks a Bunch
As we make 2 cards each week at the Coffee and Card group, I thought I’d also show you the other card we made;
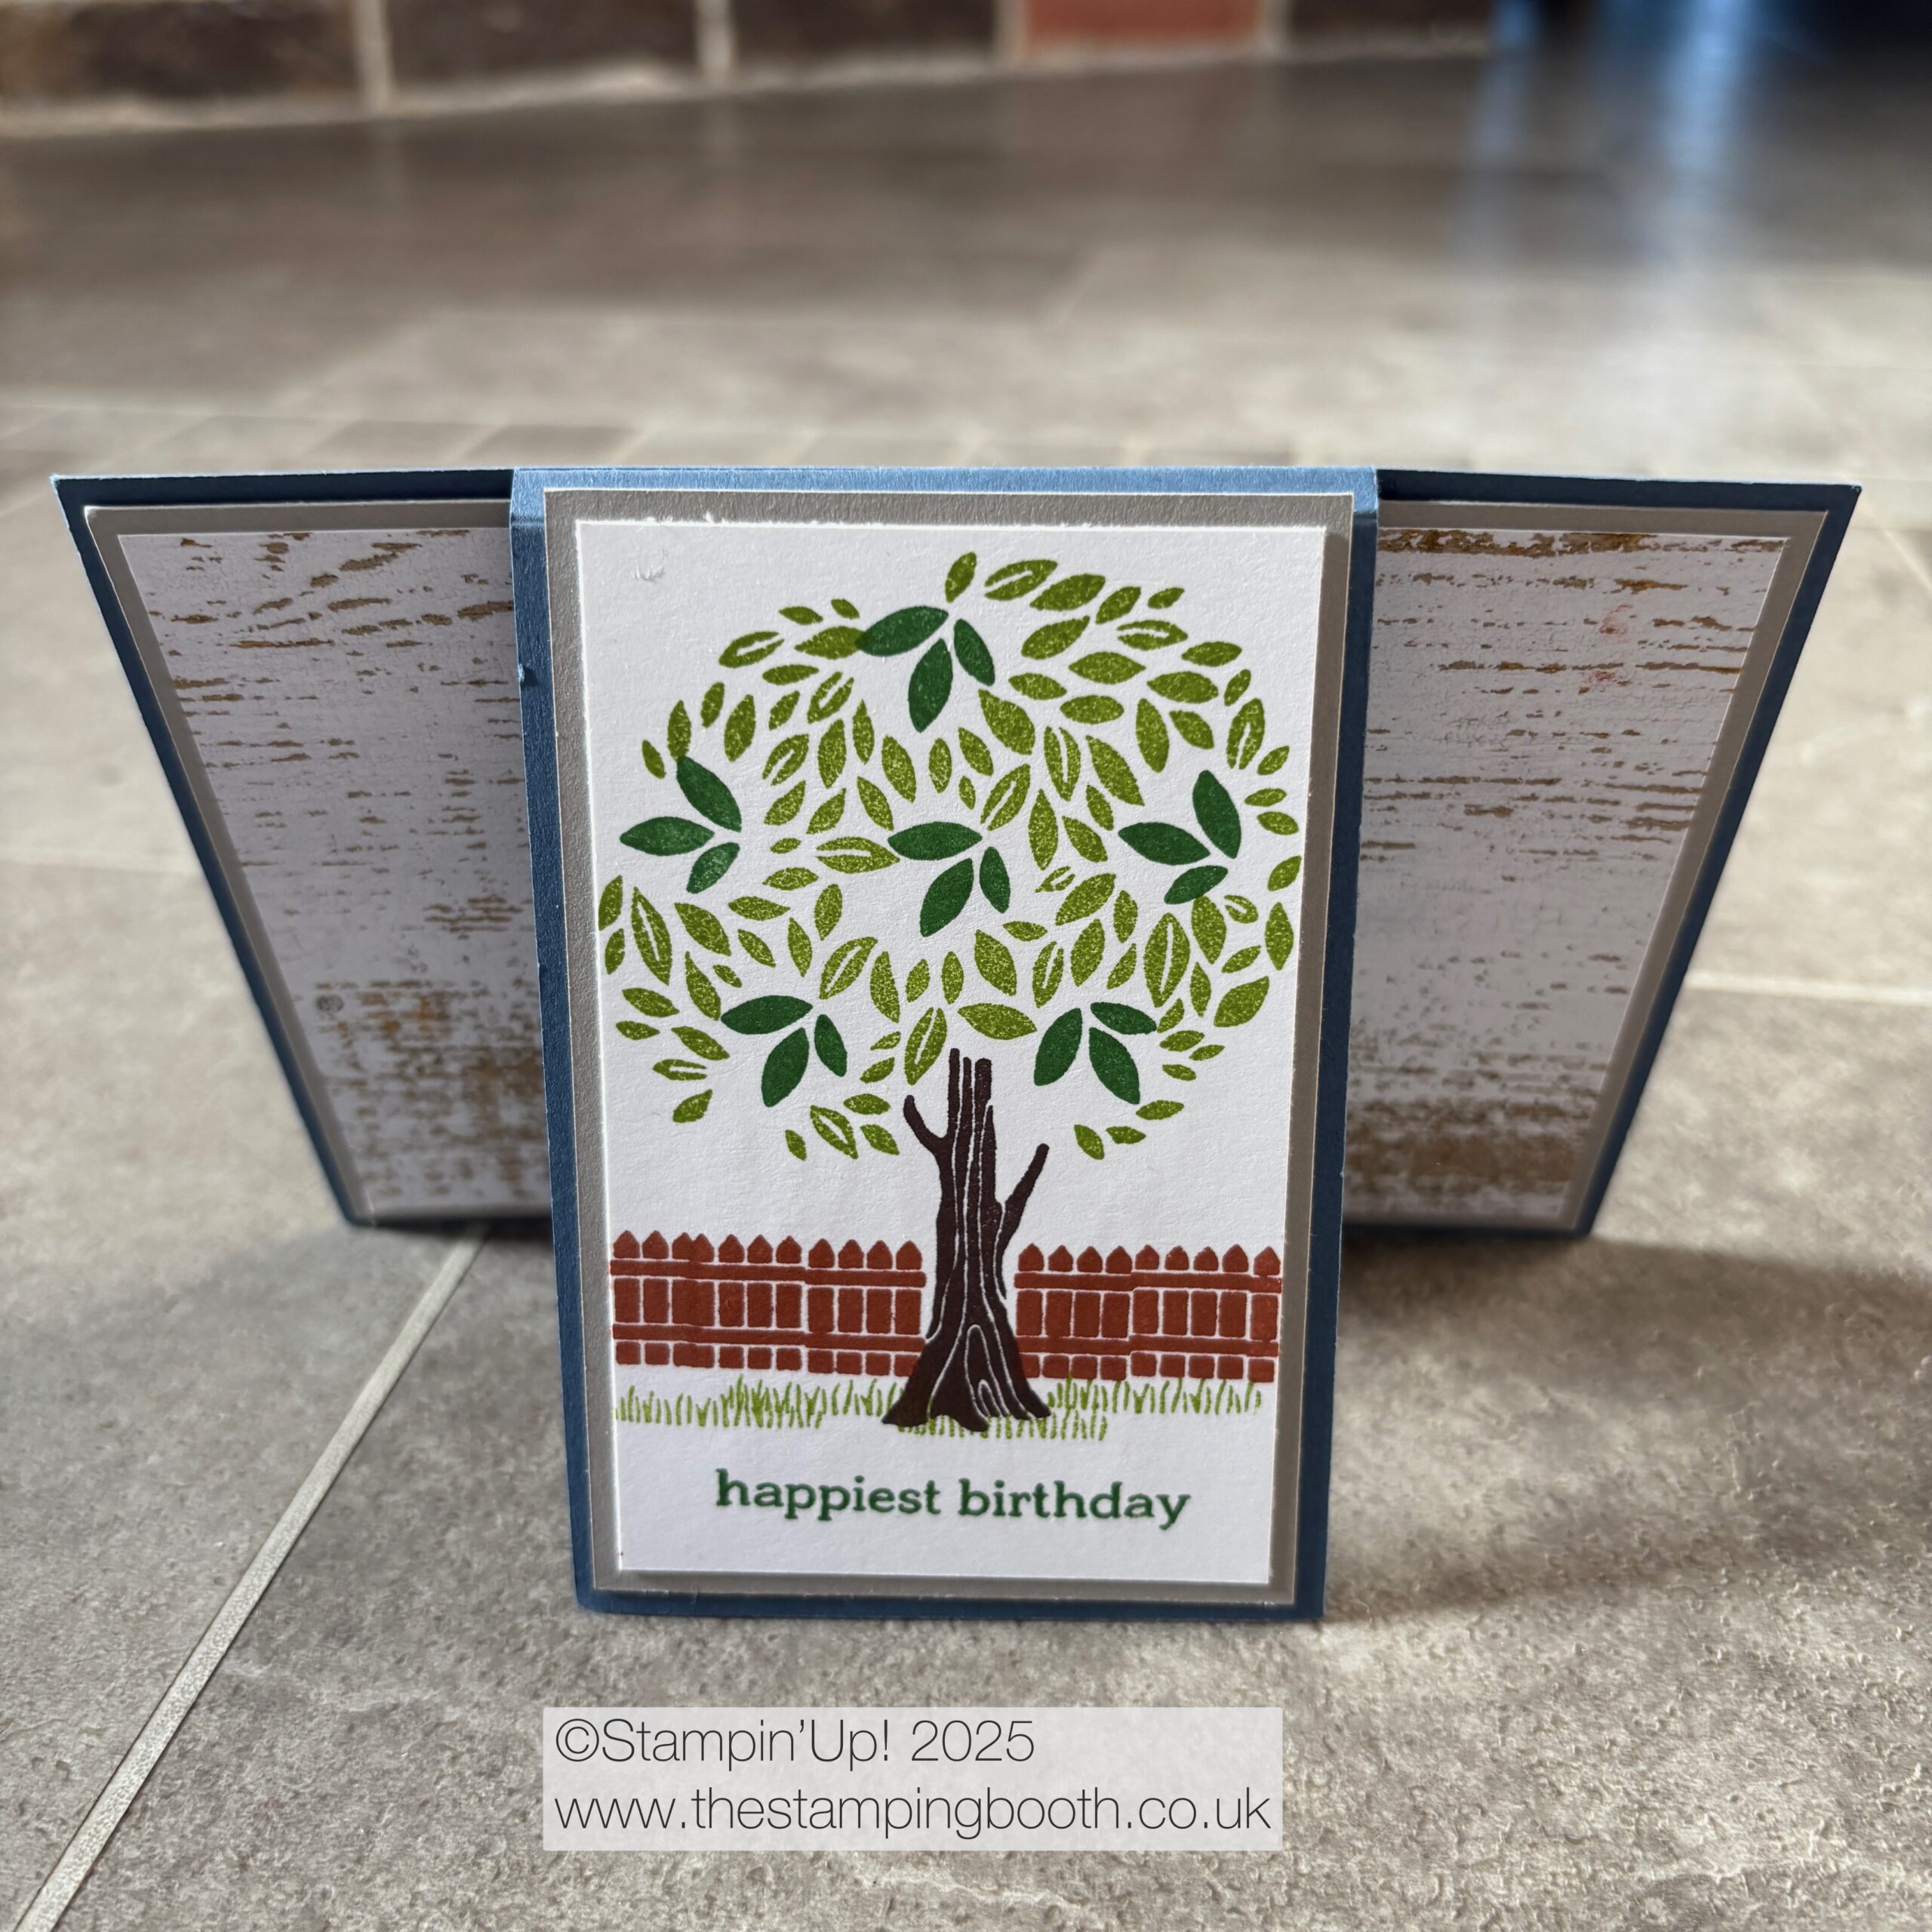
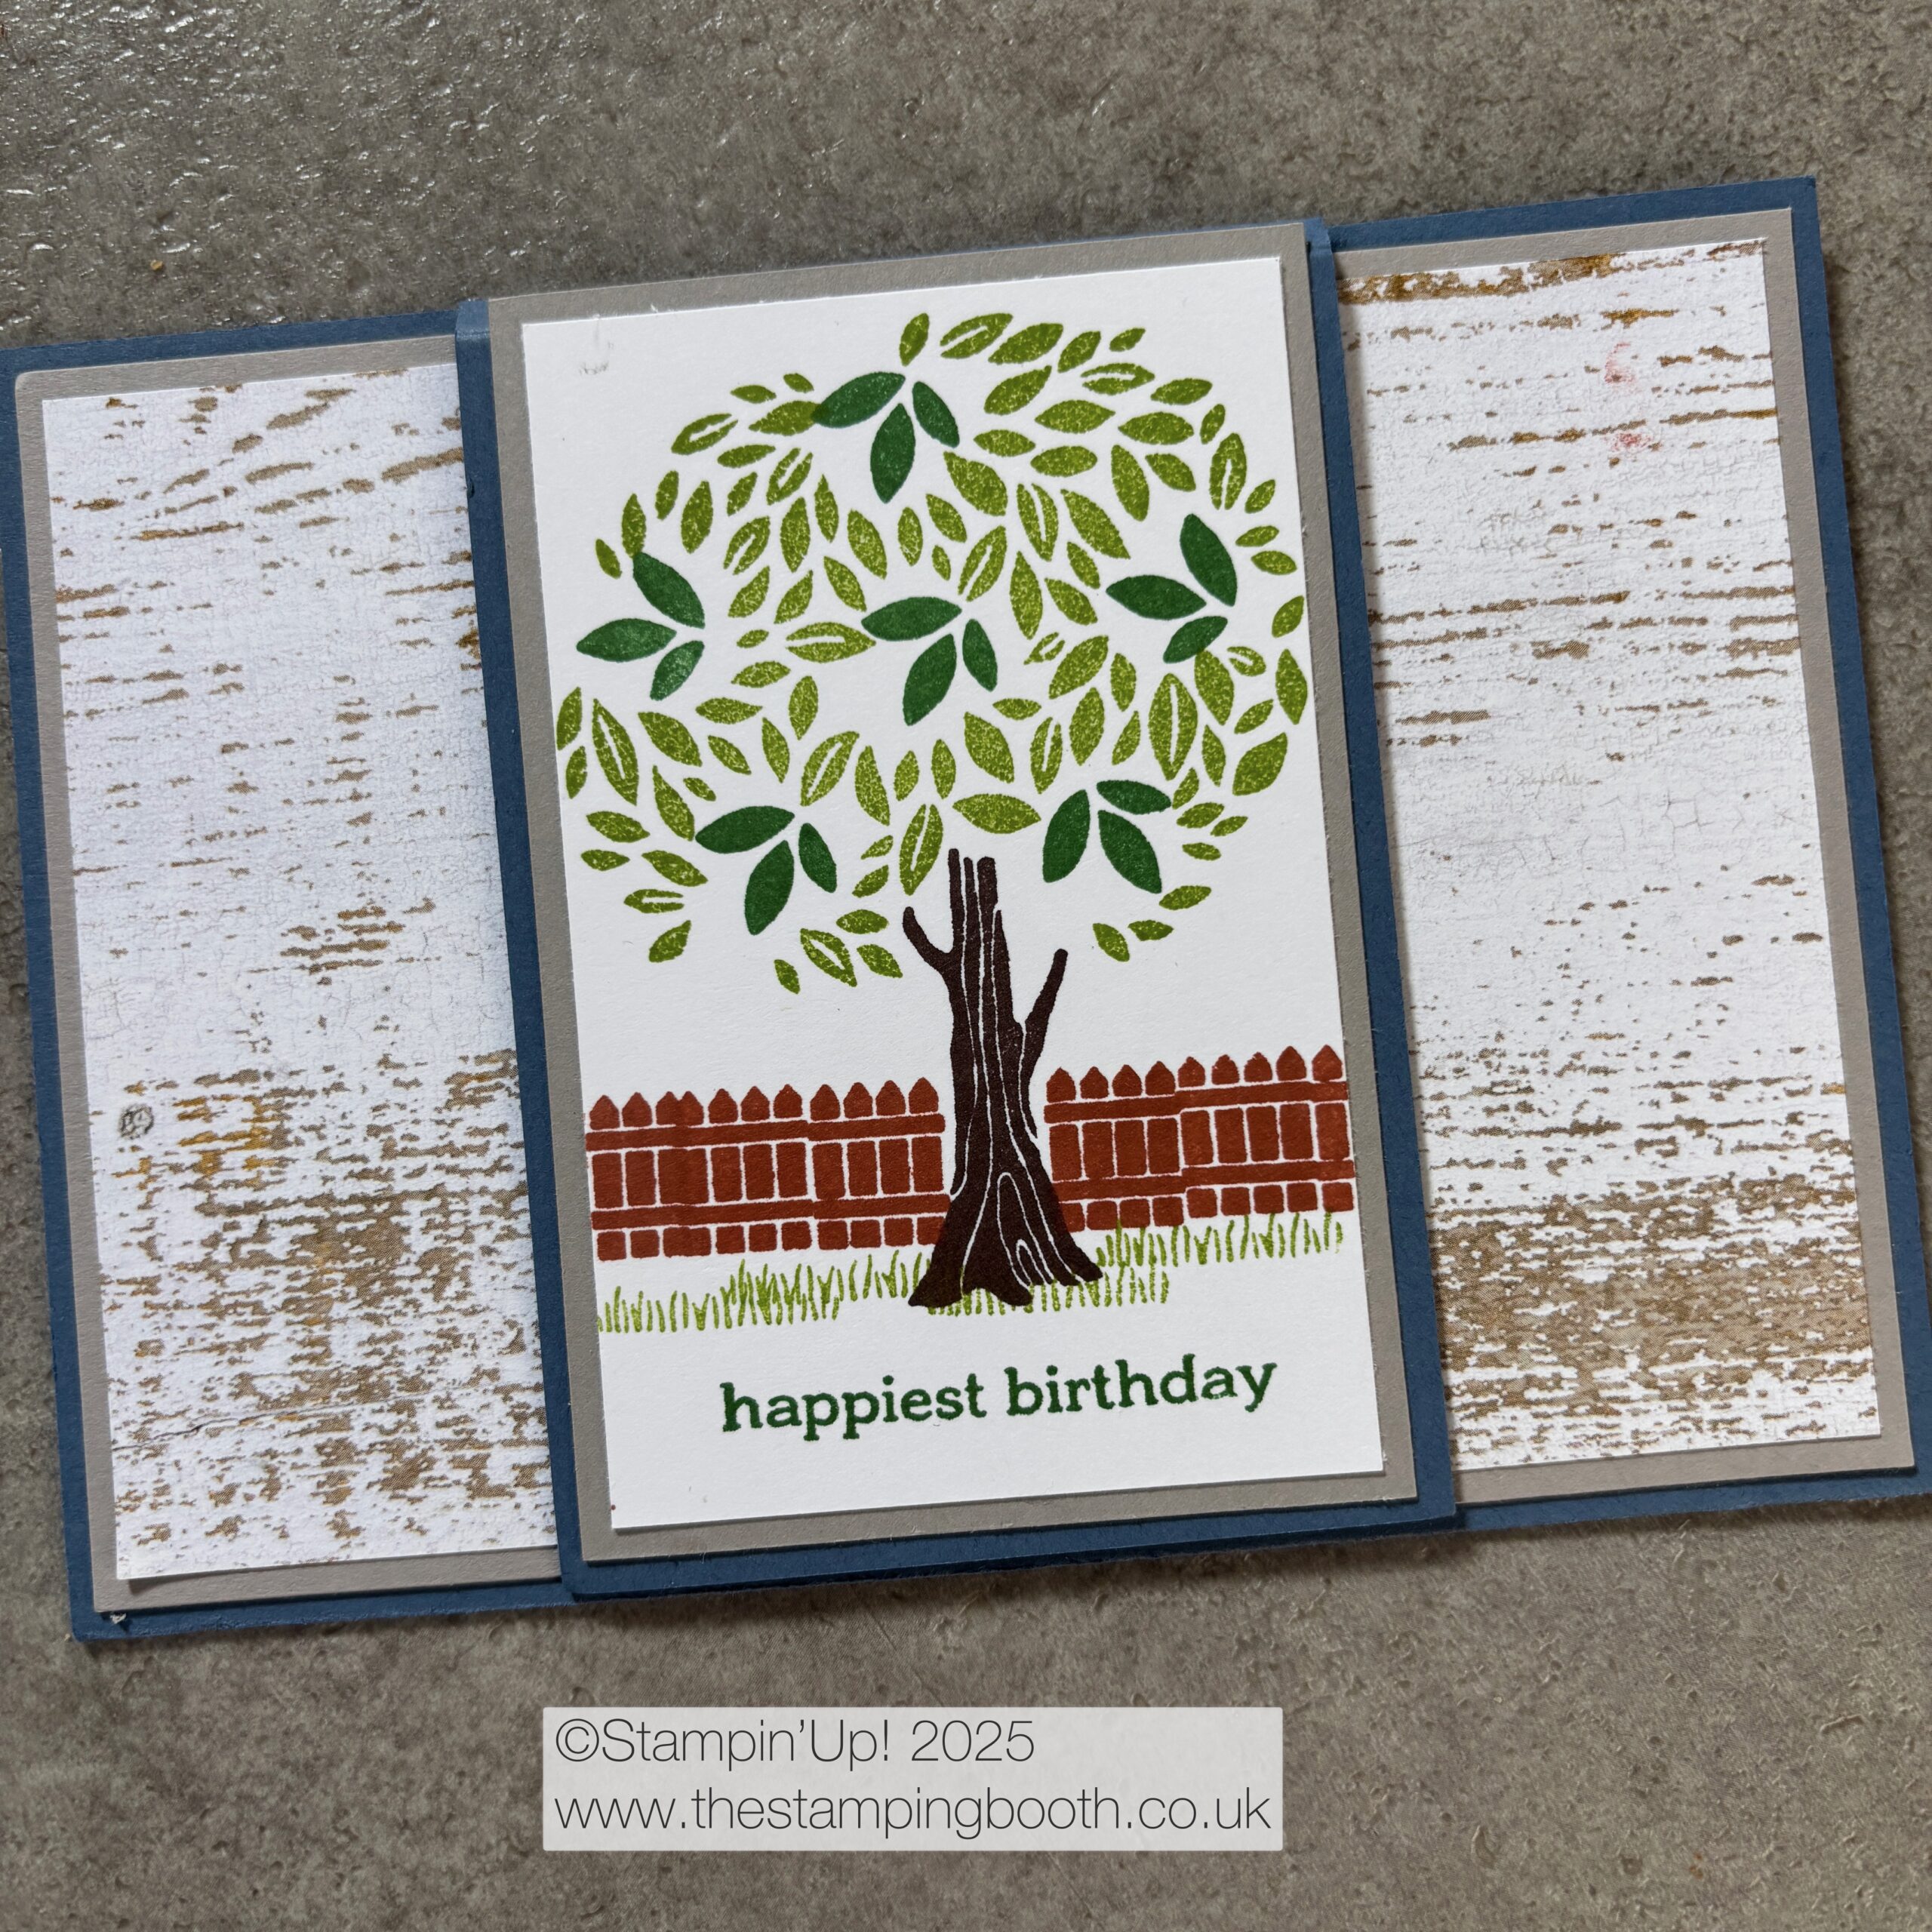
Thanks a bunch Thank you card
I had seen a similar card to the one pictured above by EMKcreations on pinterest and decided that I just had to case the idea .
The background papers are from my (far too big) retired collection of papers that I am trying to use up.
The upside down carrots make fabulous trees. These were stamped in Evening Evergreen (first and second generation stamping) and Garden Green (first and second generation stamping). I used the ‘A dark’ skin tone for the trunks of the trees, and the grass is Pear Pizzazz.
If you live local to me in Boston, Lincolnshire, you would be very welcome to join our very relaxed Coffee and Card group, which meets most Monday at 11am at The Mallard, Westwood Lakes, PE21 7JA. Check out my calendar here
If you wish to order via my online shop, then please use the Monthly host code shown below.
February’s HOST CODE IS
YMYDKAXC
Thanks for stopping by and reading my blog. I would really appreciate you leaving a comment.
Want to know more about Stampin’ Up!….email or call me (07979500779)
Each month a lovely group of talented Stampin’Up! take part in a themed bloghop….its a great way to share our creativity with lots of people and hope you will follow the ‘hop’ by clicking on the links below. Some months I join in, but not always…..depending on other committments.
The theme for this months Bloghop is Love
I used the sentiment from Best Butterflies stamps and dies from the Give it a Whirl set for my card, and the colour palette of Sweet Sorbet and Parakeet Party. There is a full list of products that I used at the bottom of this post.
My card is inspired by my lovely friend, who is always bright and colourful and loves her ‘bling’.
The central panel is die cut using one of the Basic Border dies on a 5 1/2cm panel of designer series paper (DSP), from the Butterfly Kisses paper selection.
The back layer is using DSP from The Tea Boutique and the gorgeous Sweet Sorbet colour which I also used for the stamping on the front, inside and on the back panel.
I also added a panel of DSP to the inside of the card, but before adhering in place, I die cut 2 hearts from the edge of the panel, and then die cut a large heart in Sweet Sorbet and a smaller heart in Fresh Freesia and once the panel was stuck in place, I inlaid these hearts into the pre-cut ‘gaps’.
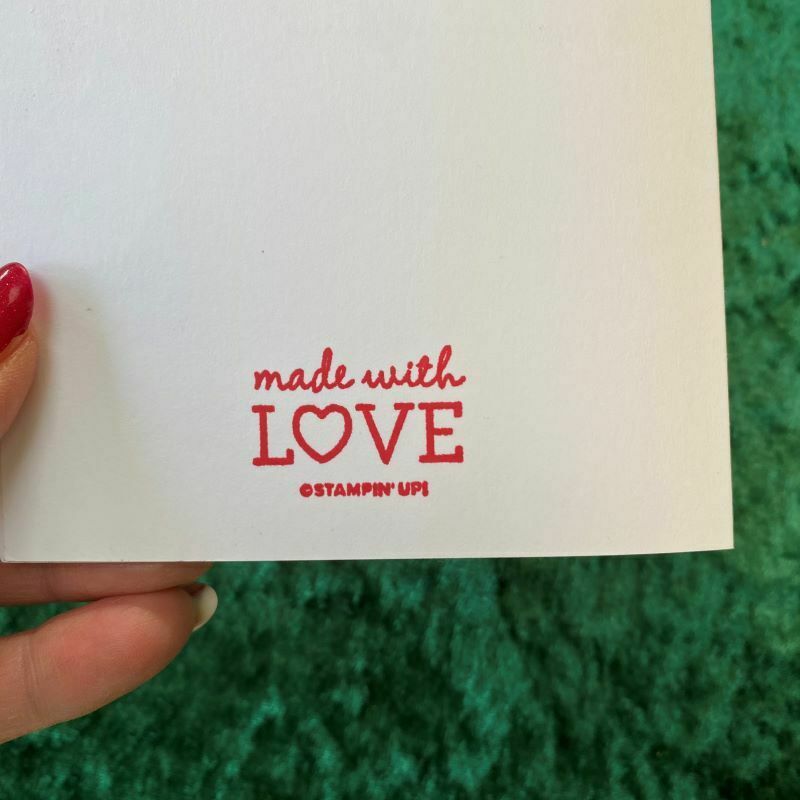
I die cut more hearts to embellish the front of the envelope, and then stamped on the back of the card with one of Stampin’ Up!s copyright stamped images. ‘Made with Love’ was very apt!!¬
I do love this years In colors and in particular, the lovely vivid Parakeet Party green and Sweet Sorbet. I used some of the Parakeet Party Metallic woven ribbon to embellish with a bow. I also added some Incolor Matte dots,
I do hope you enjoyed looking at my creation and it would be great if you could leave a comment – I love to read them! Don’t forget to support other demo’s by hopping over to their blogs using the links below;
Love the products that you’ve seen me use? You can order from me here or alternatively by clicking on any of the products that I’ve used that are listed below.
We use cookies on our website to give you the most relevant experience by remembering your preferences and repeat visits. By clicking “Accept All”, you consent to the use of ALL the cookies. However, you may visit "Cookie Settings" to provide a controlled consent.
This website uses cookies to improve your experience while you navigate through the website. Out of these, the cookies that are categorized as necessary are stored on your browser as they are essential for the working of basic functionalities of the website. We also use third-party cookies that help us analyze and understand how you use this website. These cookies will be stored in your browser only with your consent. You also have the option to opt-out of these cookies. But opting out of some of these cookies may affect your browsing experience.
Necessary cookies are absolutely essential for the website to function properly. These cookies ensure basic functionalities and security features of the website, anonymously.
Cookie
Duration
Description
cookielawinfo-checkbox-analytics
11 months
This cookie is set by GDPR Cookie Consent plugin. The cookie is used to store the user consent for the cookies in the category "Analytics".
cookielawinfo-checkbox-functional
11 months
The cookie is set by GDPR cookie consent to record the user consent for the cookies in the category "Functional".
cookielawinfo-checkbox-necessary
11 months
This cookie is set by GDPR Cookie Consent plugin. The cookies is used to store the user consent for the cookies in the category "Necessary".
cookielawinfo-checkbox-others
11 months
This cookie is set by GDPR Cookie Consent plugin. The cookie is used to store the user consent for the cookies in the category "Other.
cookielawinfo-checkbox-performance
11 months
This cookie is set by GDPR Cookie Consent plugin. The cookie is used to store the user consent for the cookies in the category "Performance".
viewed_cookie_policy
11 months
The cookie is set by the GDPR Cookie Consent plugin and is used to store whether or not user has consented to the use of cookies. It does not store any personal data.
Functional cookies help to perform certain functionalities like sharing the content of the website on social media platforms, collect feedbacks, and other third-party features.
Performance cookies are used to understand and analyze the key performance indexes of the website which helps in delivering a better user experience for the visitors.
Analytical cookies are used to understand how visitors interact with the website. These cookies help provide information on metrics the number of visitors, bounce rate, traffic source, etc.
Advertisement cookies are used to provide visitors with relevant ads and marketing campaigns. These cookies track visitors across websites and collect information to provide customized ads.


")

")


 Designer Series Paper")
 Designer Series Paper")


 Metallic Woven Ribbon")


