Earlier in the summer, I ran a workshop using the lovely Hand-Penned Petals Memories & More card pack. If you haven’t seen or used memory & More packs, they are great for some quick and easy cards as well as for using for scrapbooking and using in the scrap book pockets – a quick and easy way to scrapbook!
To Purchase the Memories and More card pack , click here
You get so much…
50 printed card elements – 36 3”x4”, and 14 4”x6”.
4 sheets of stickers
And then you can get co-ordinating cards and envelopes;
You get 20 cards and co ordinating envelopes in this pack
To purchase The Hand Penned Petals Memories and More card blanks and Co-ordinating envelopes – this pack, click here
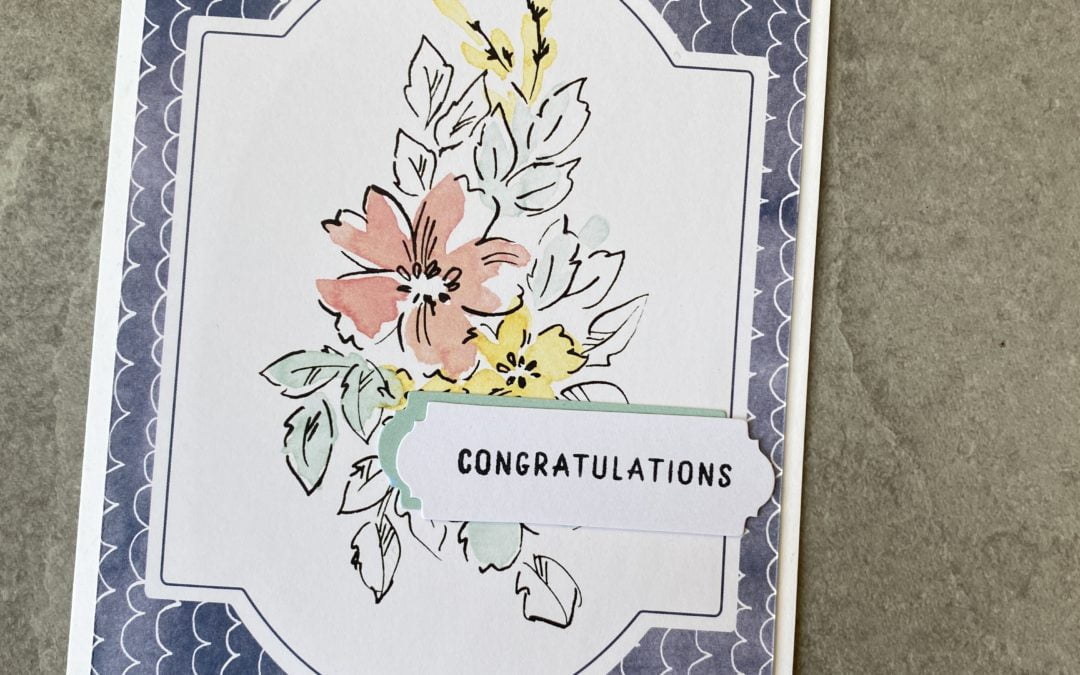
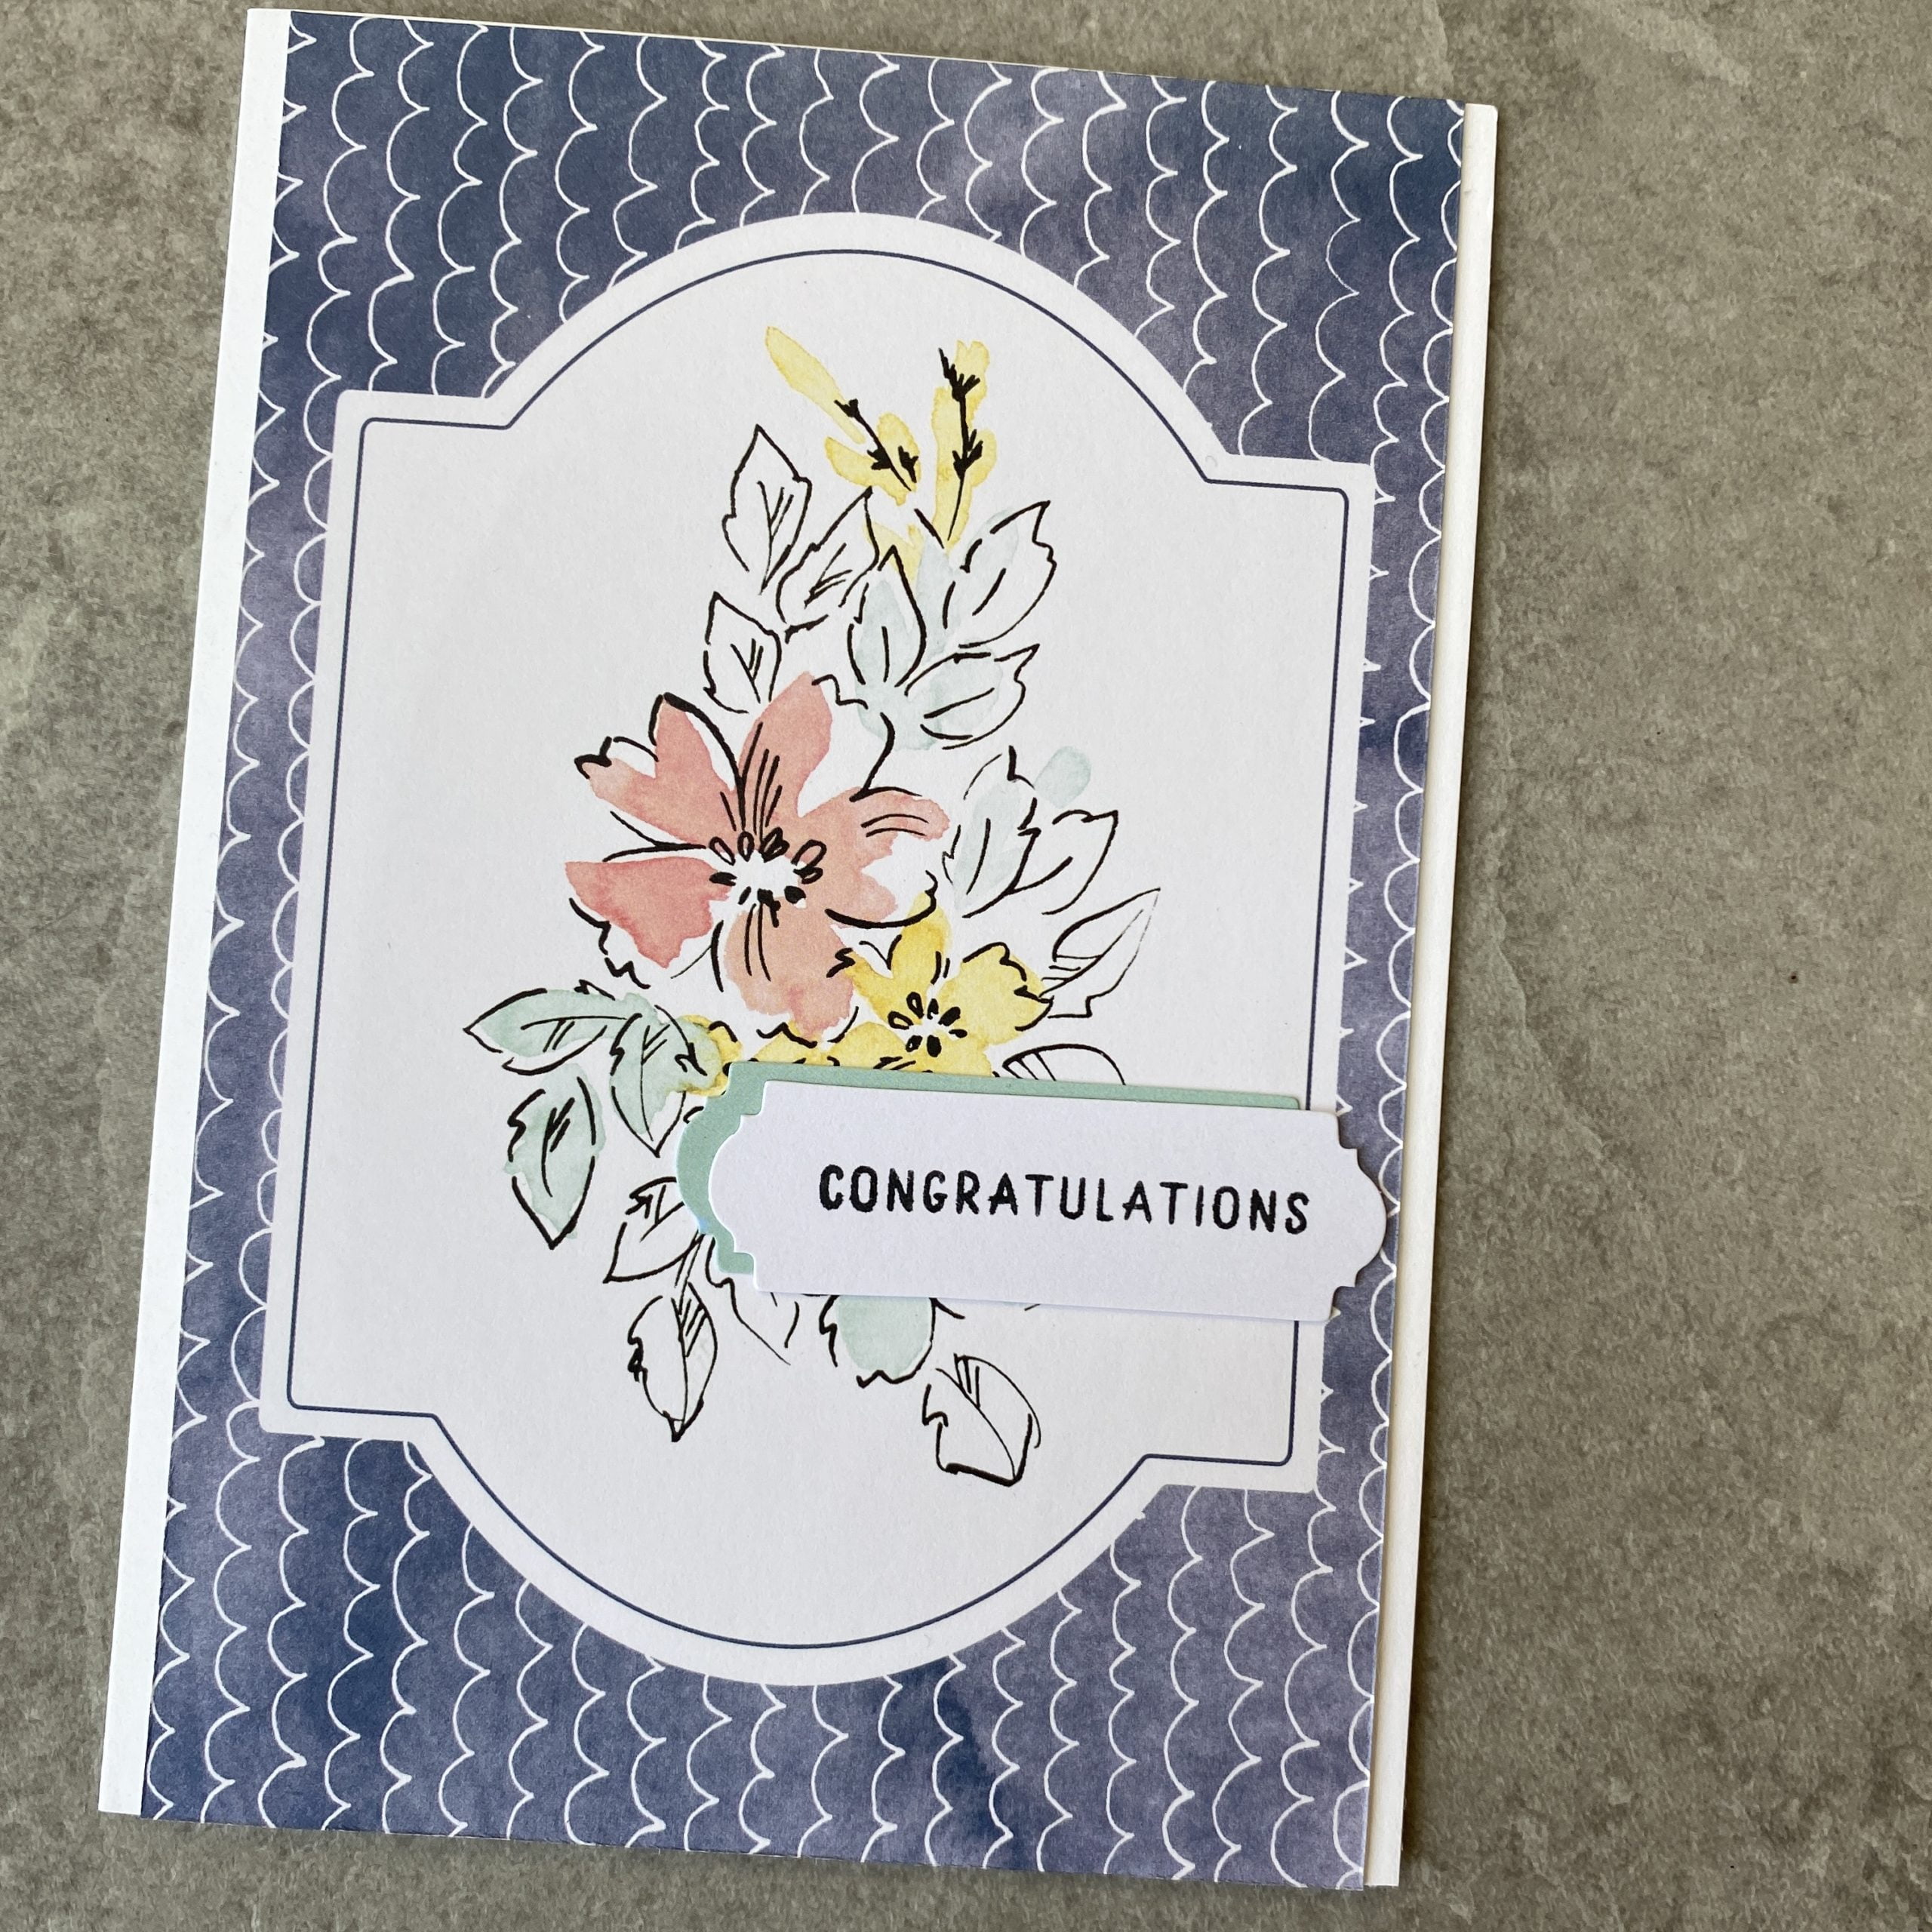
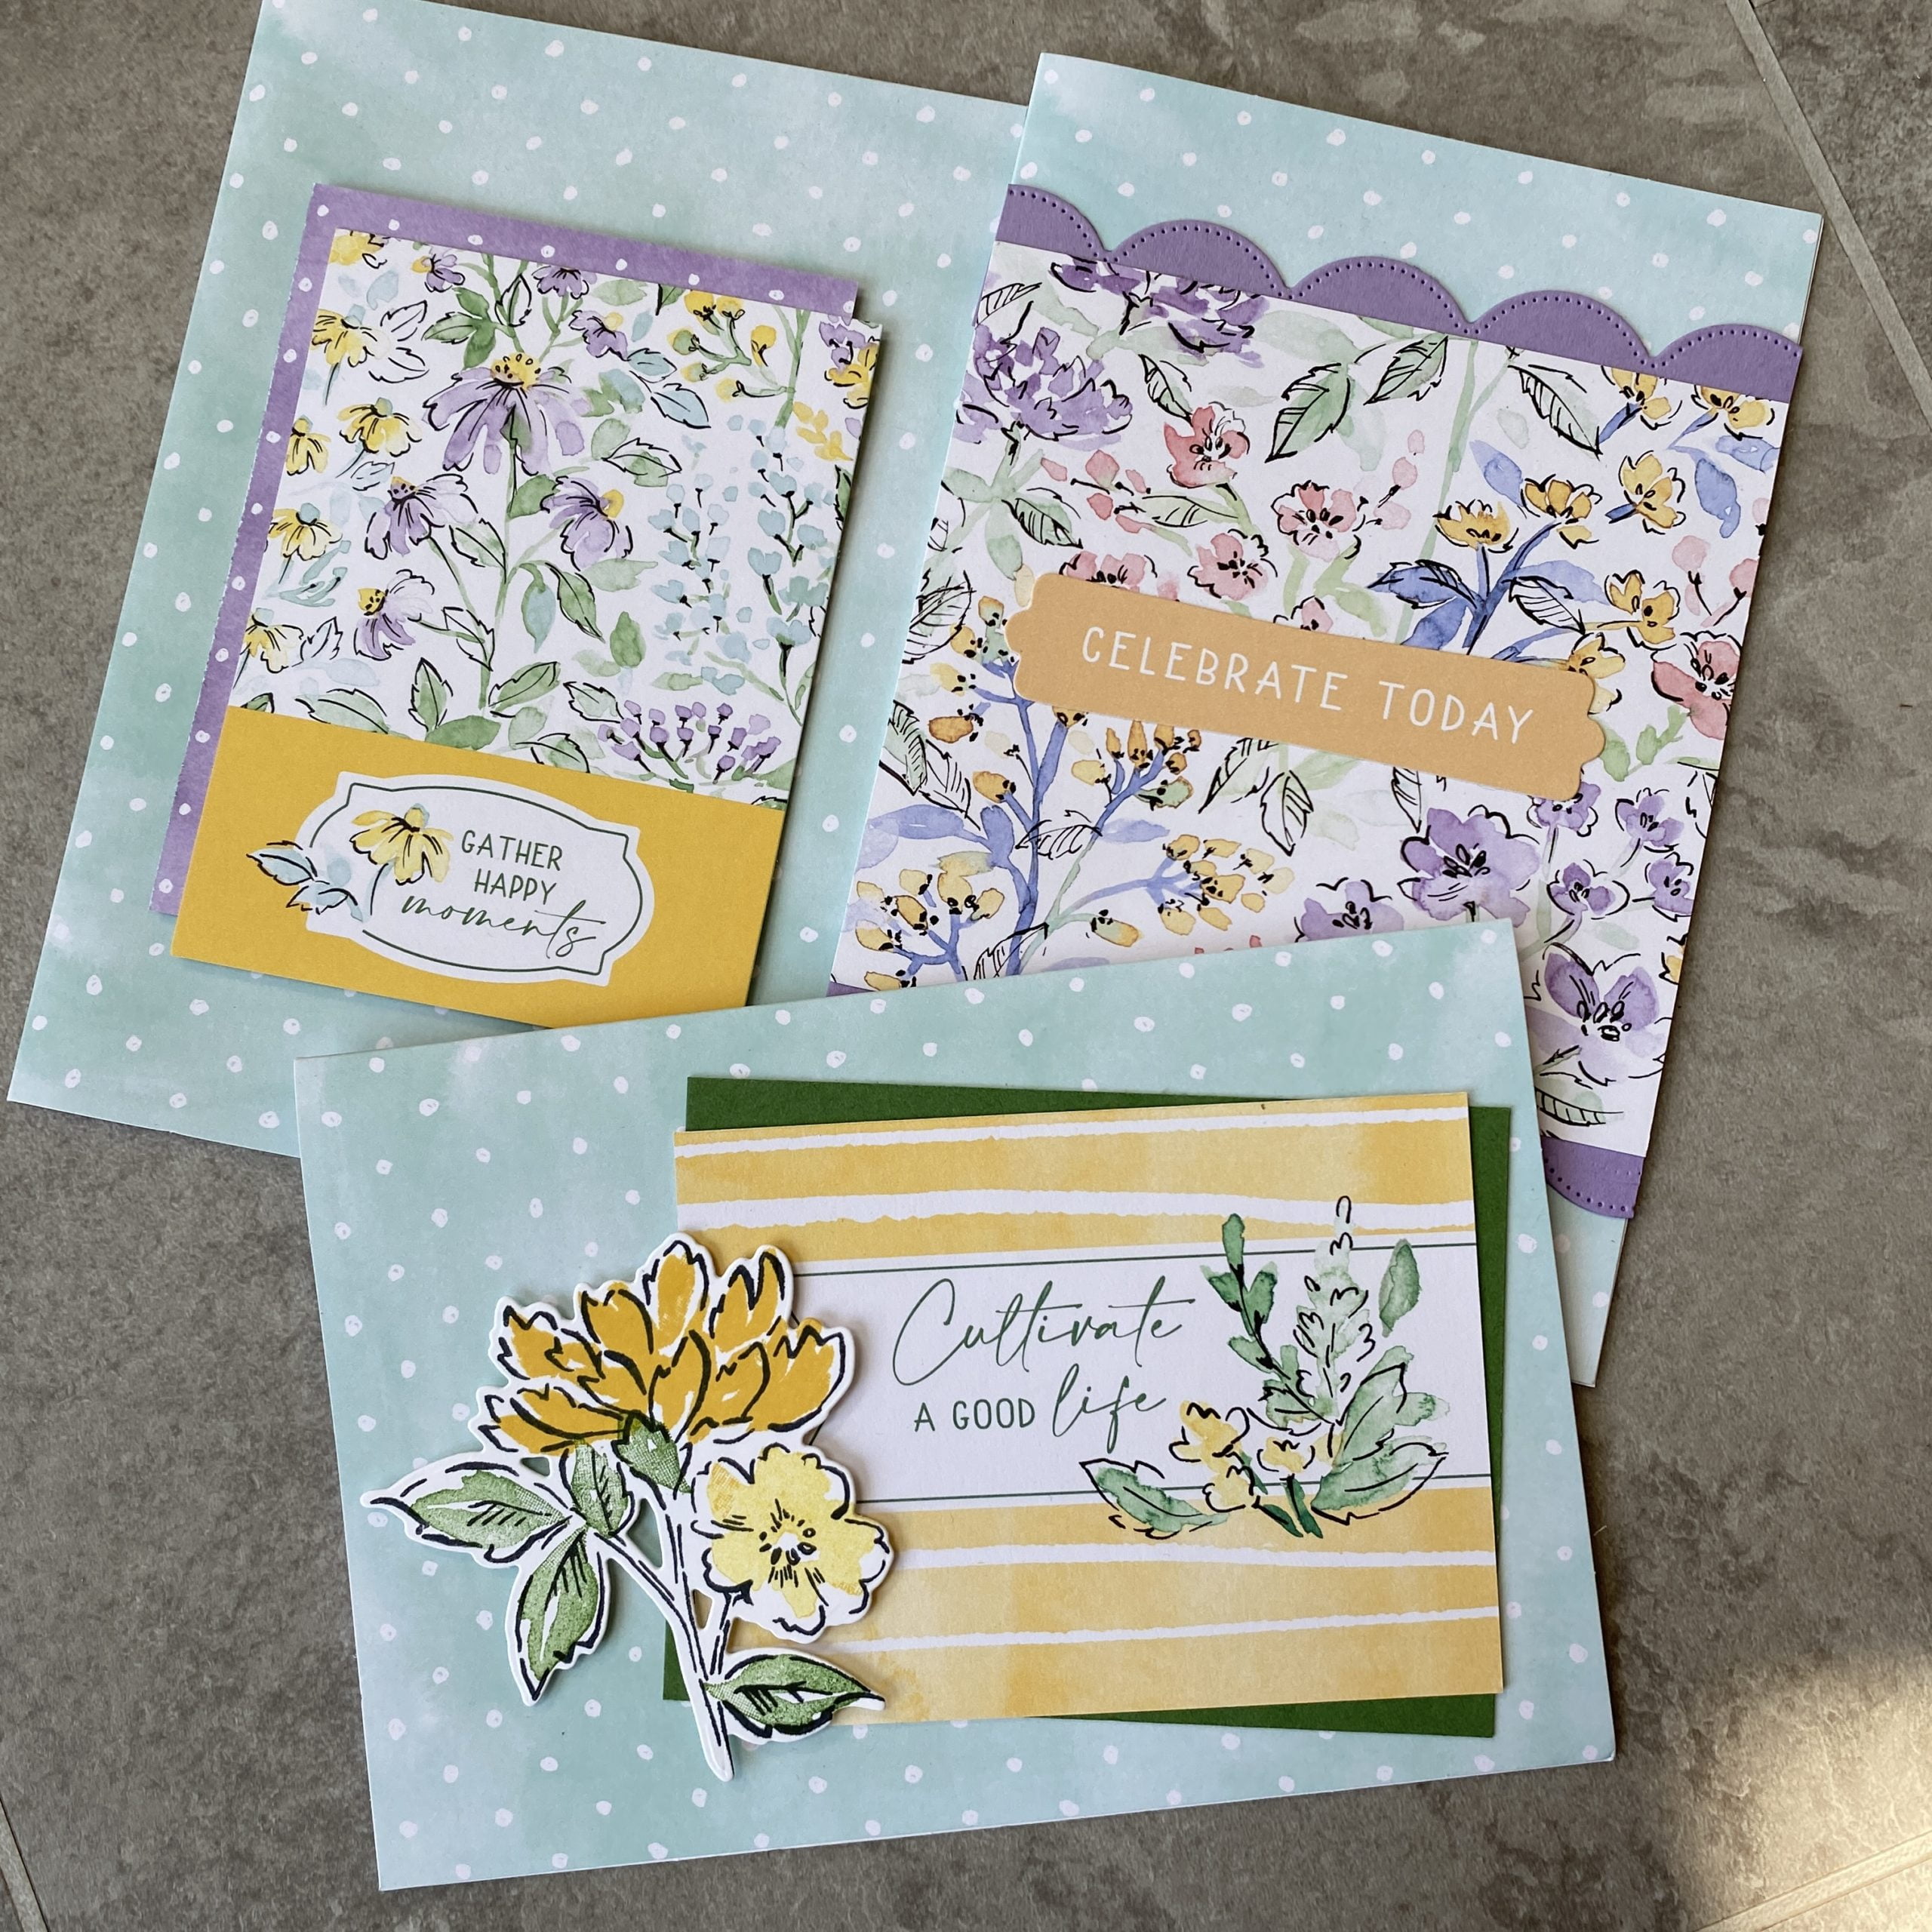
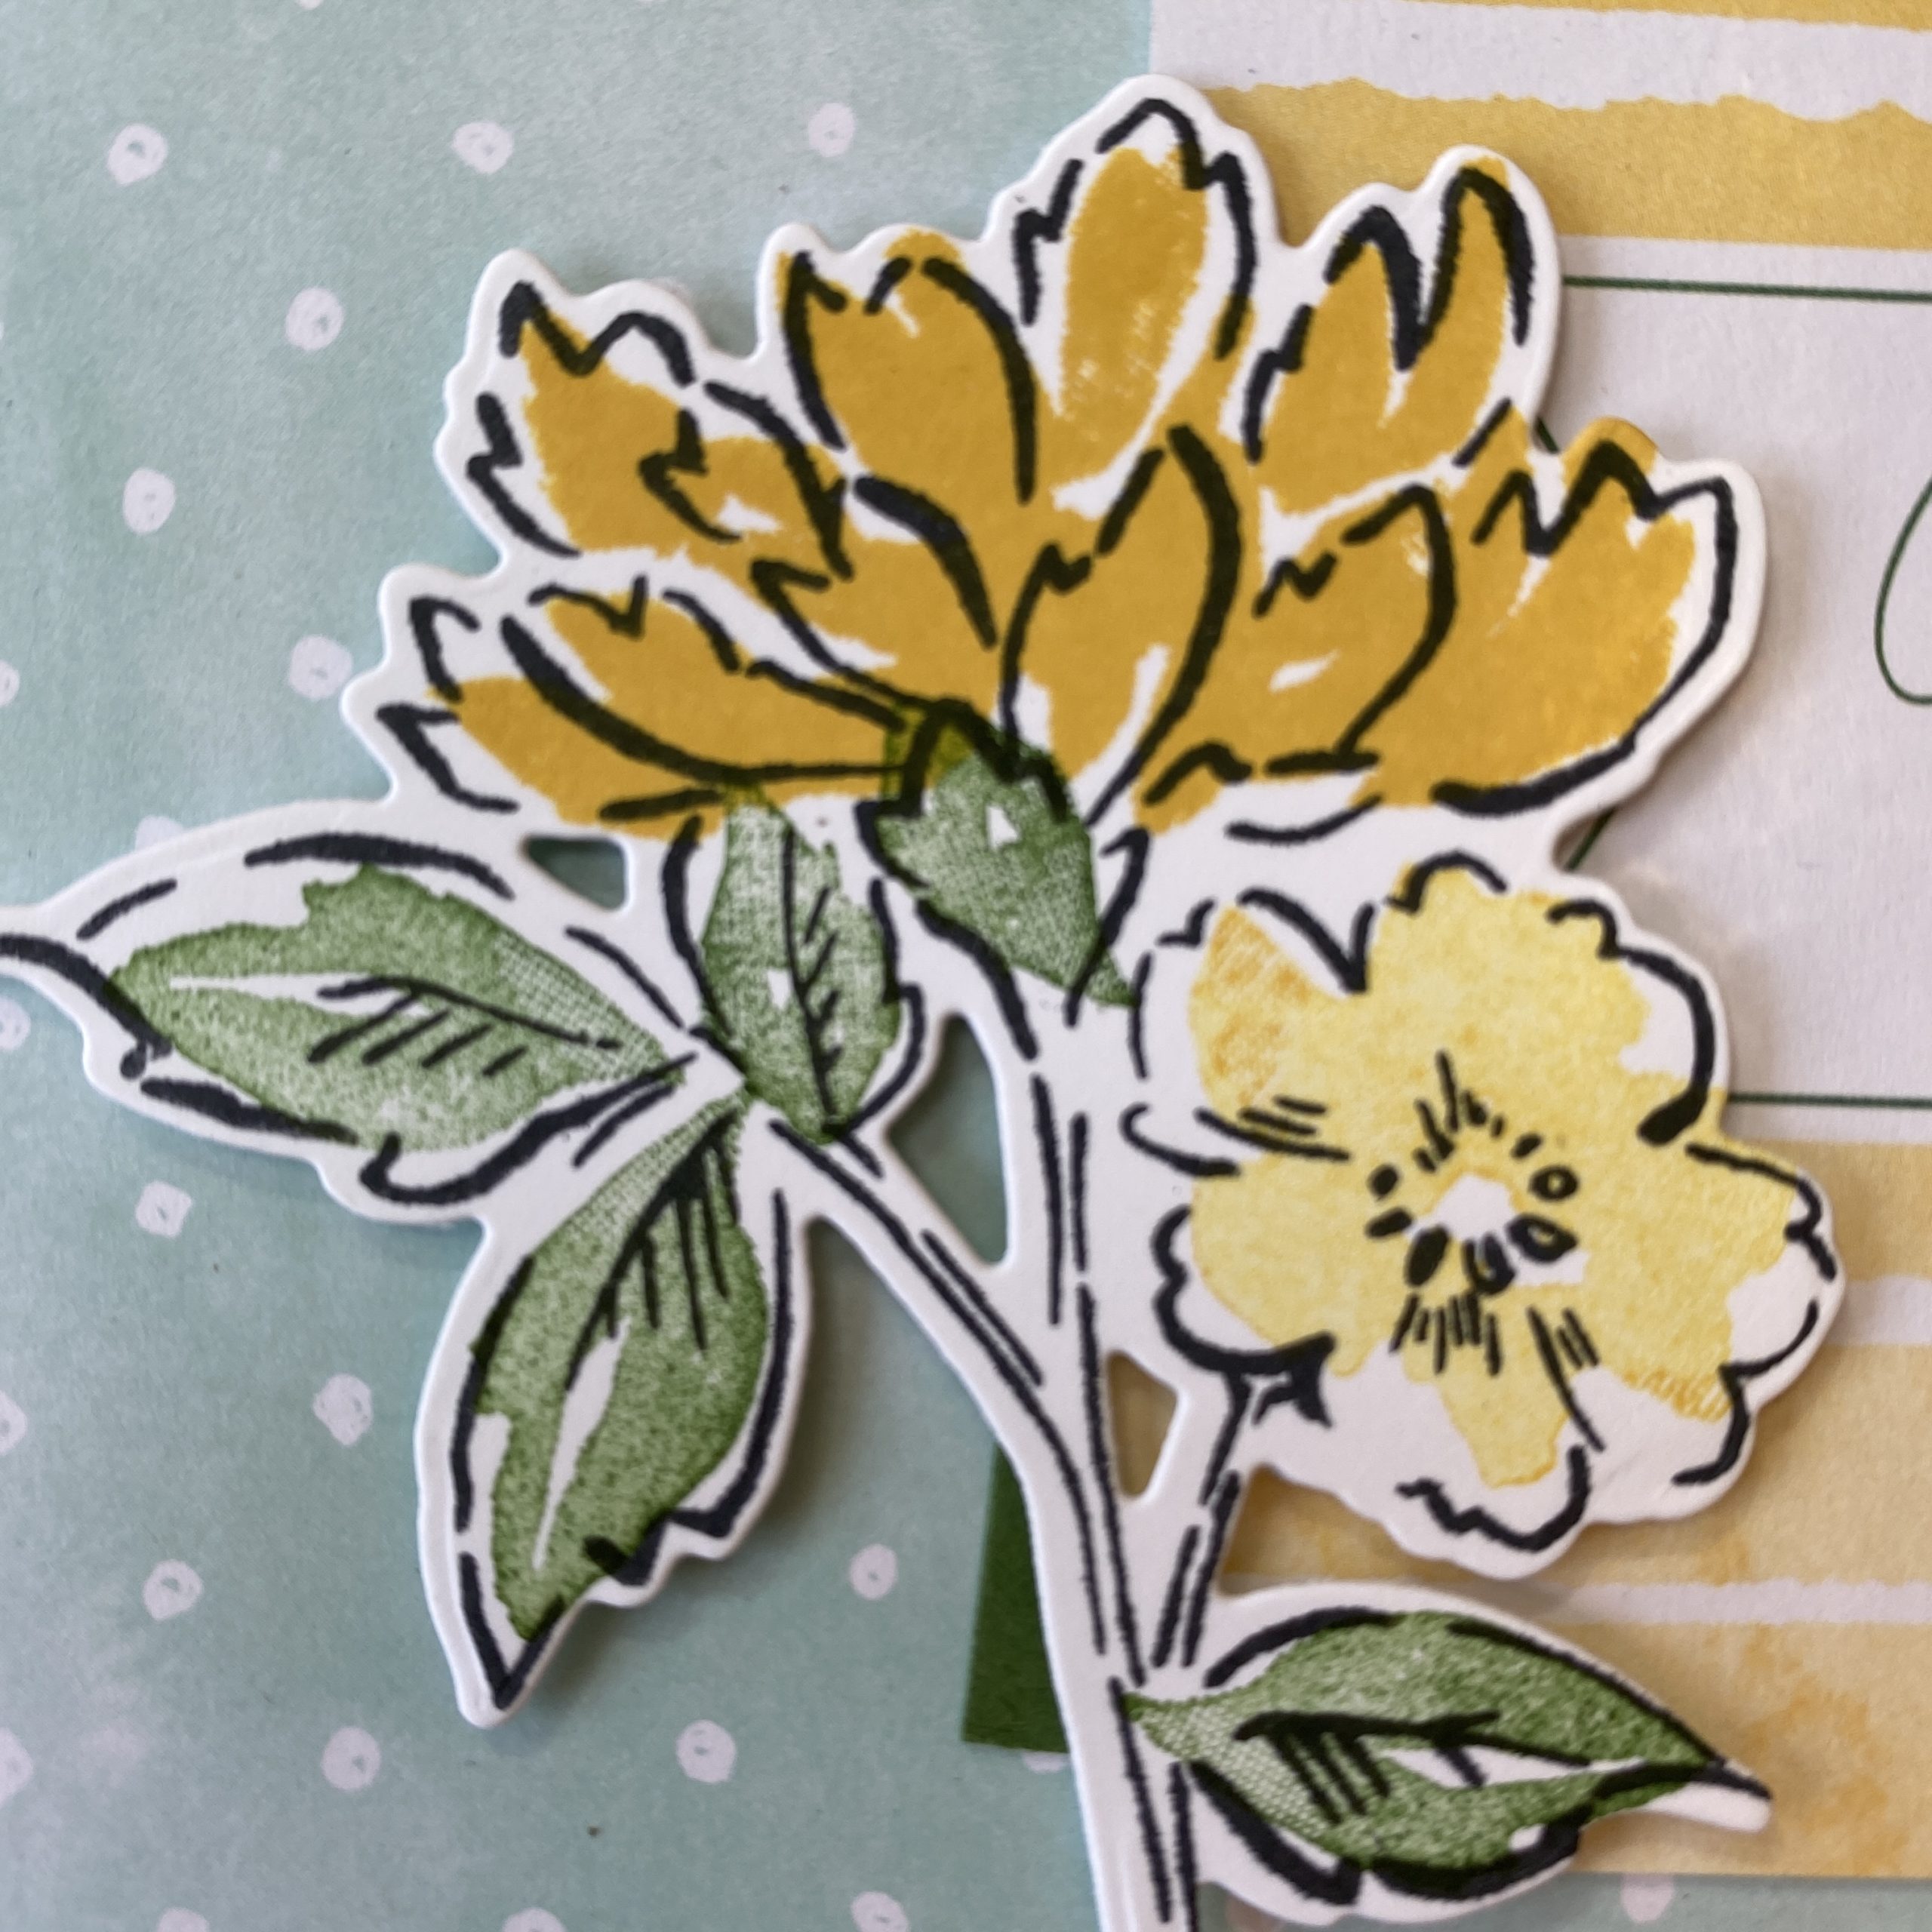
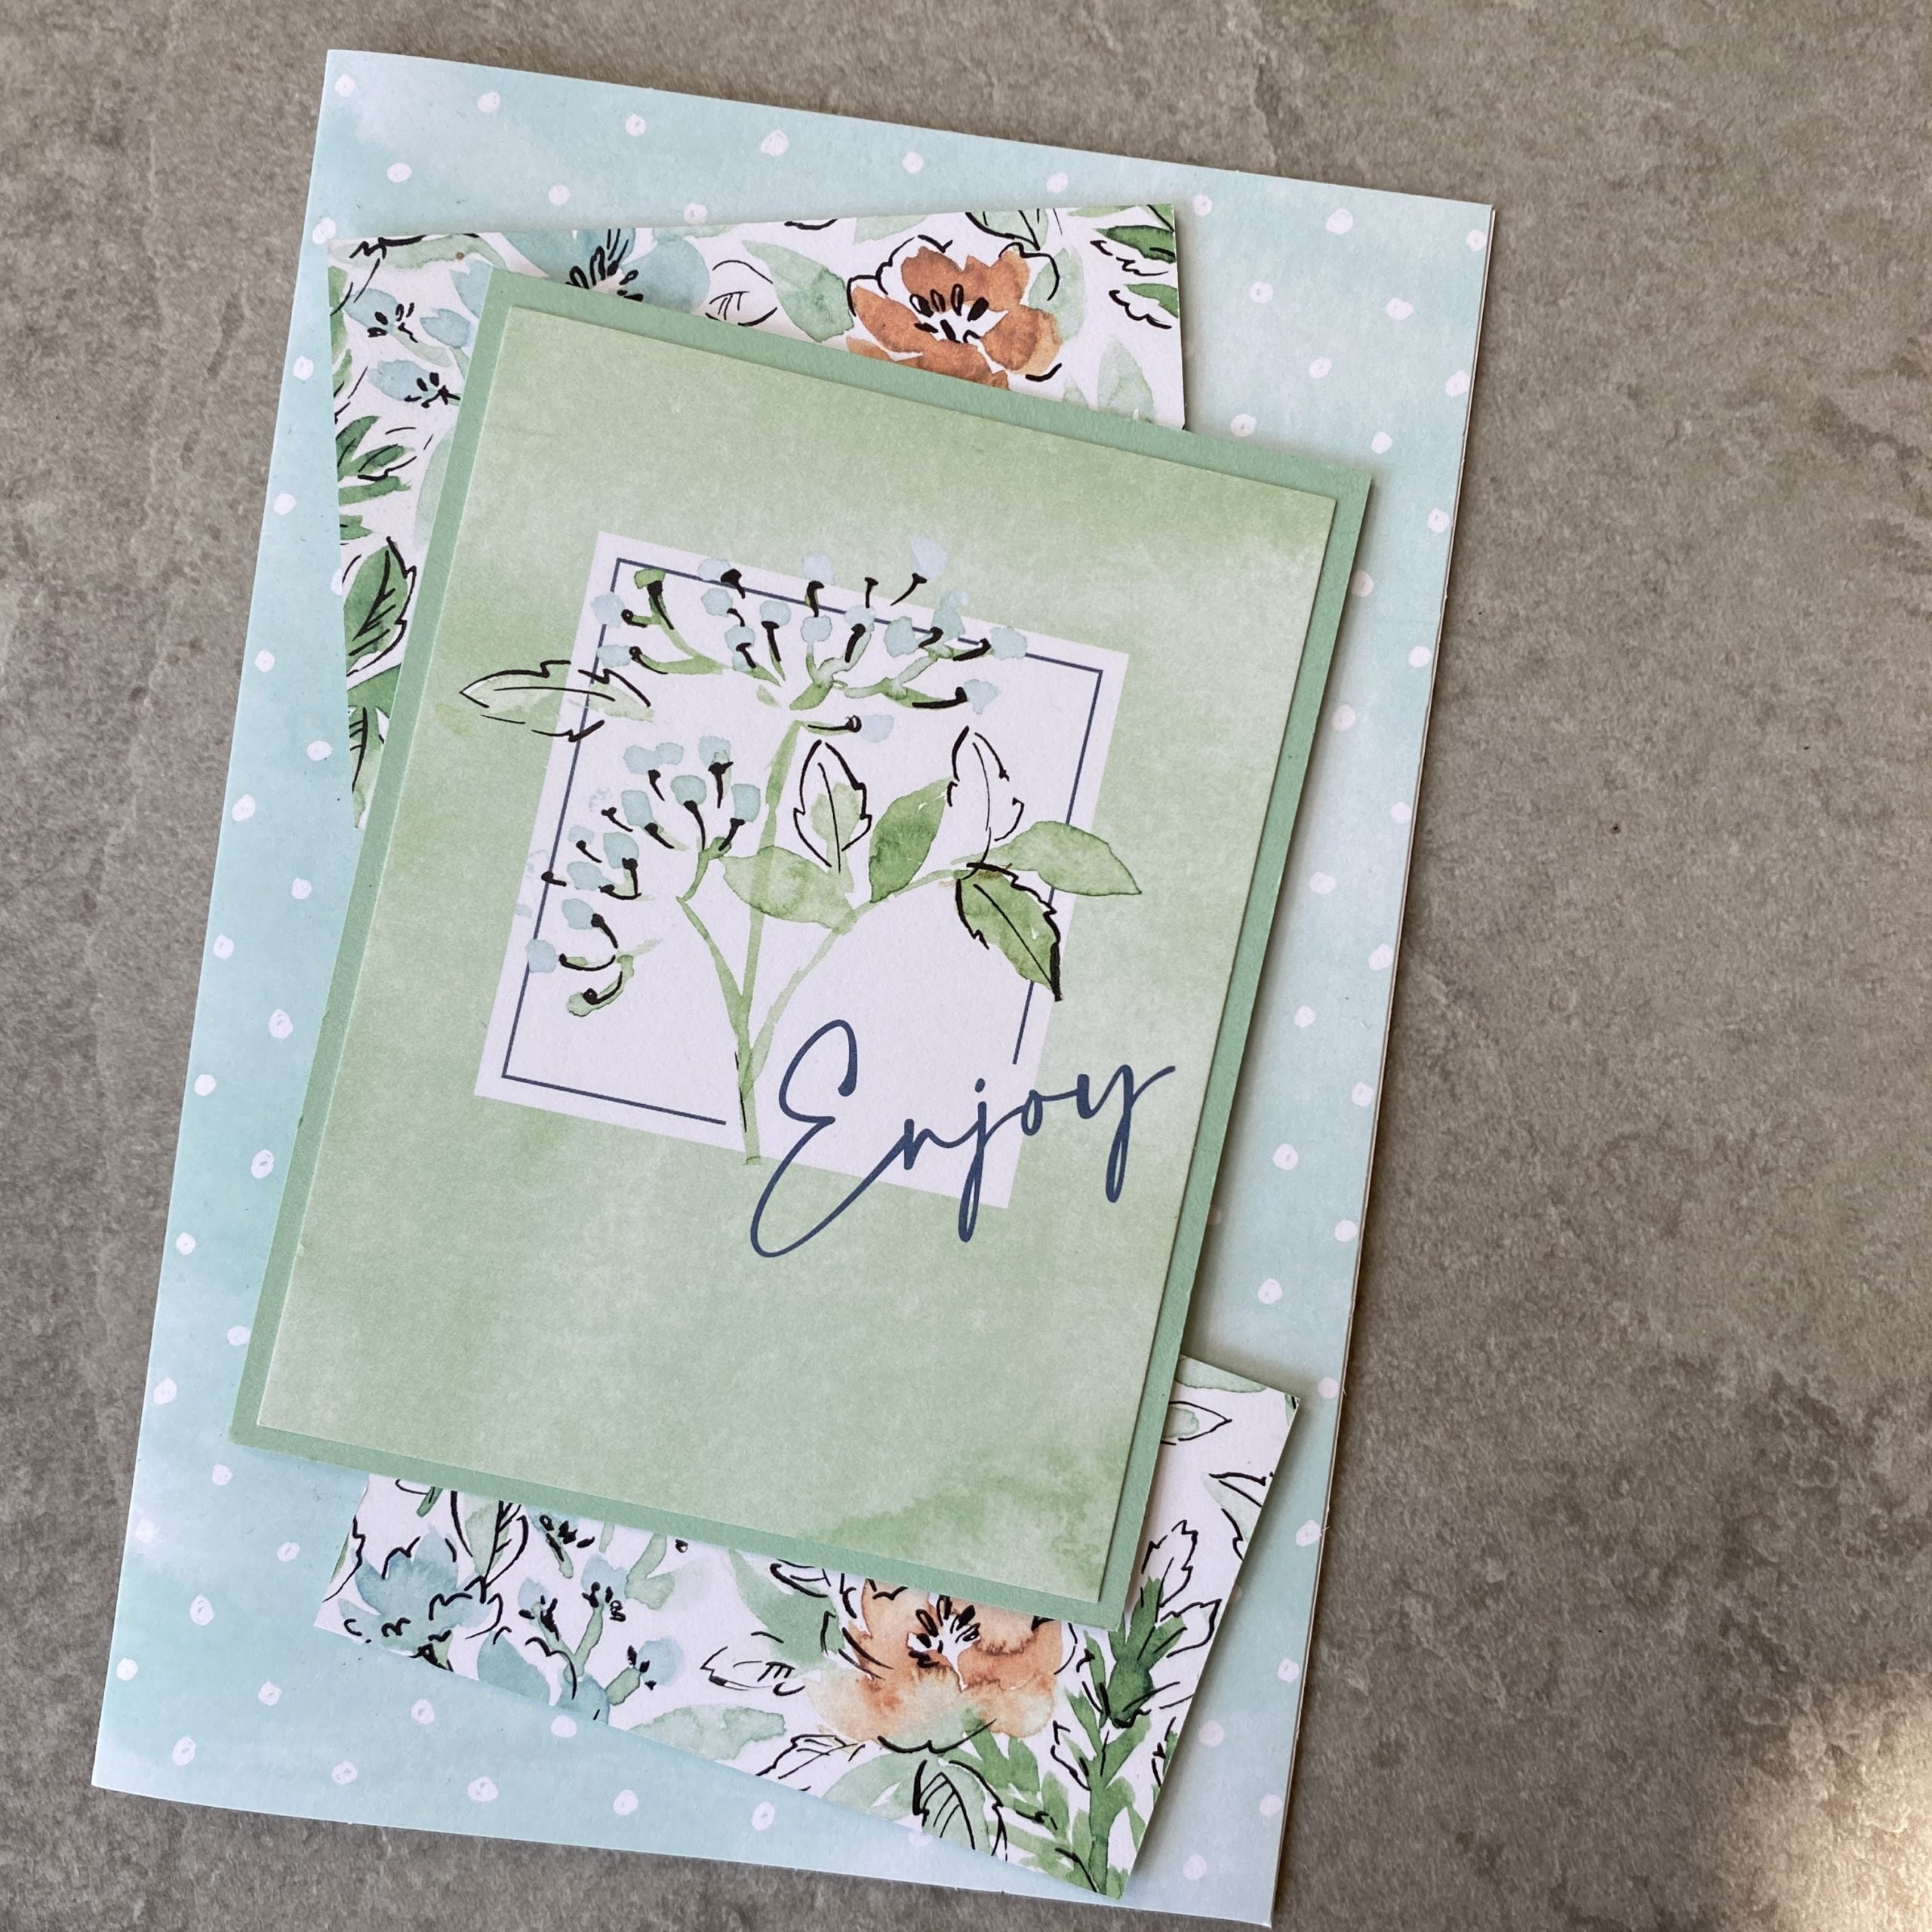
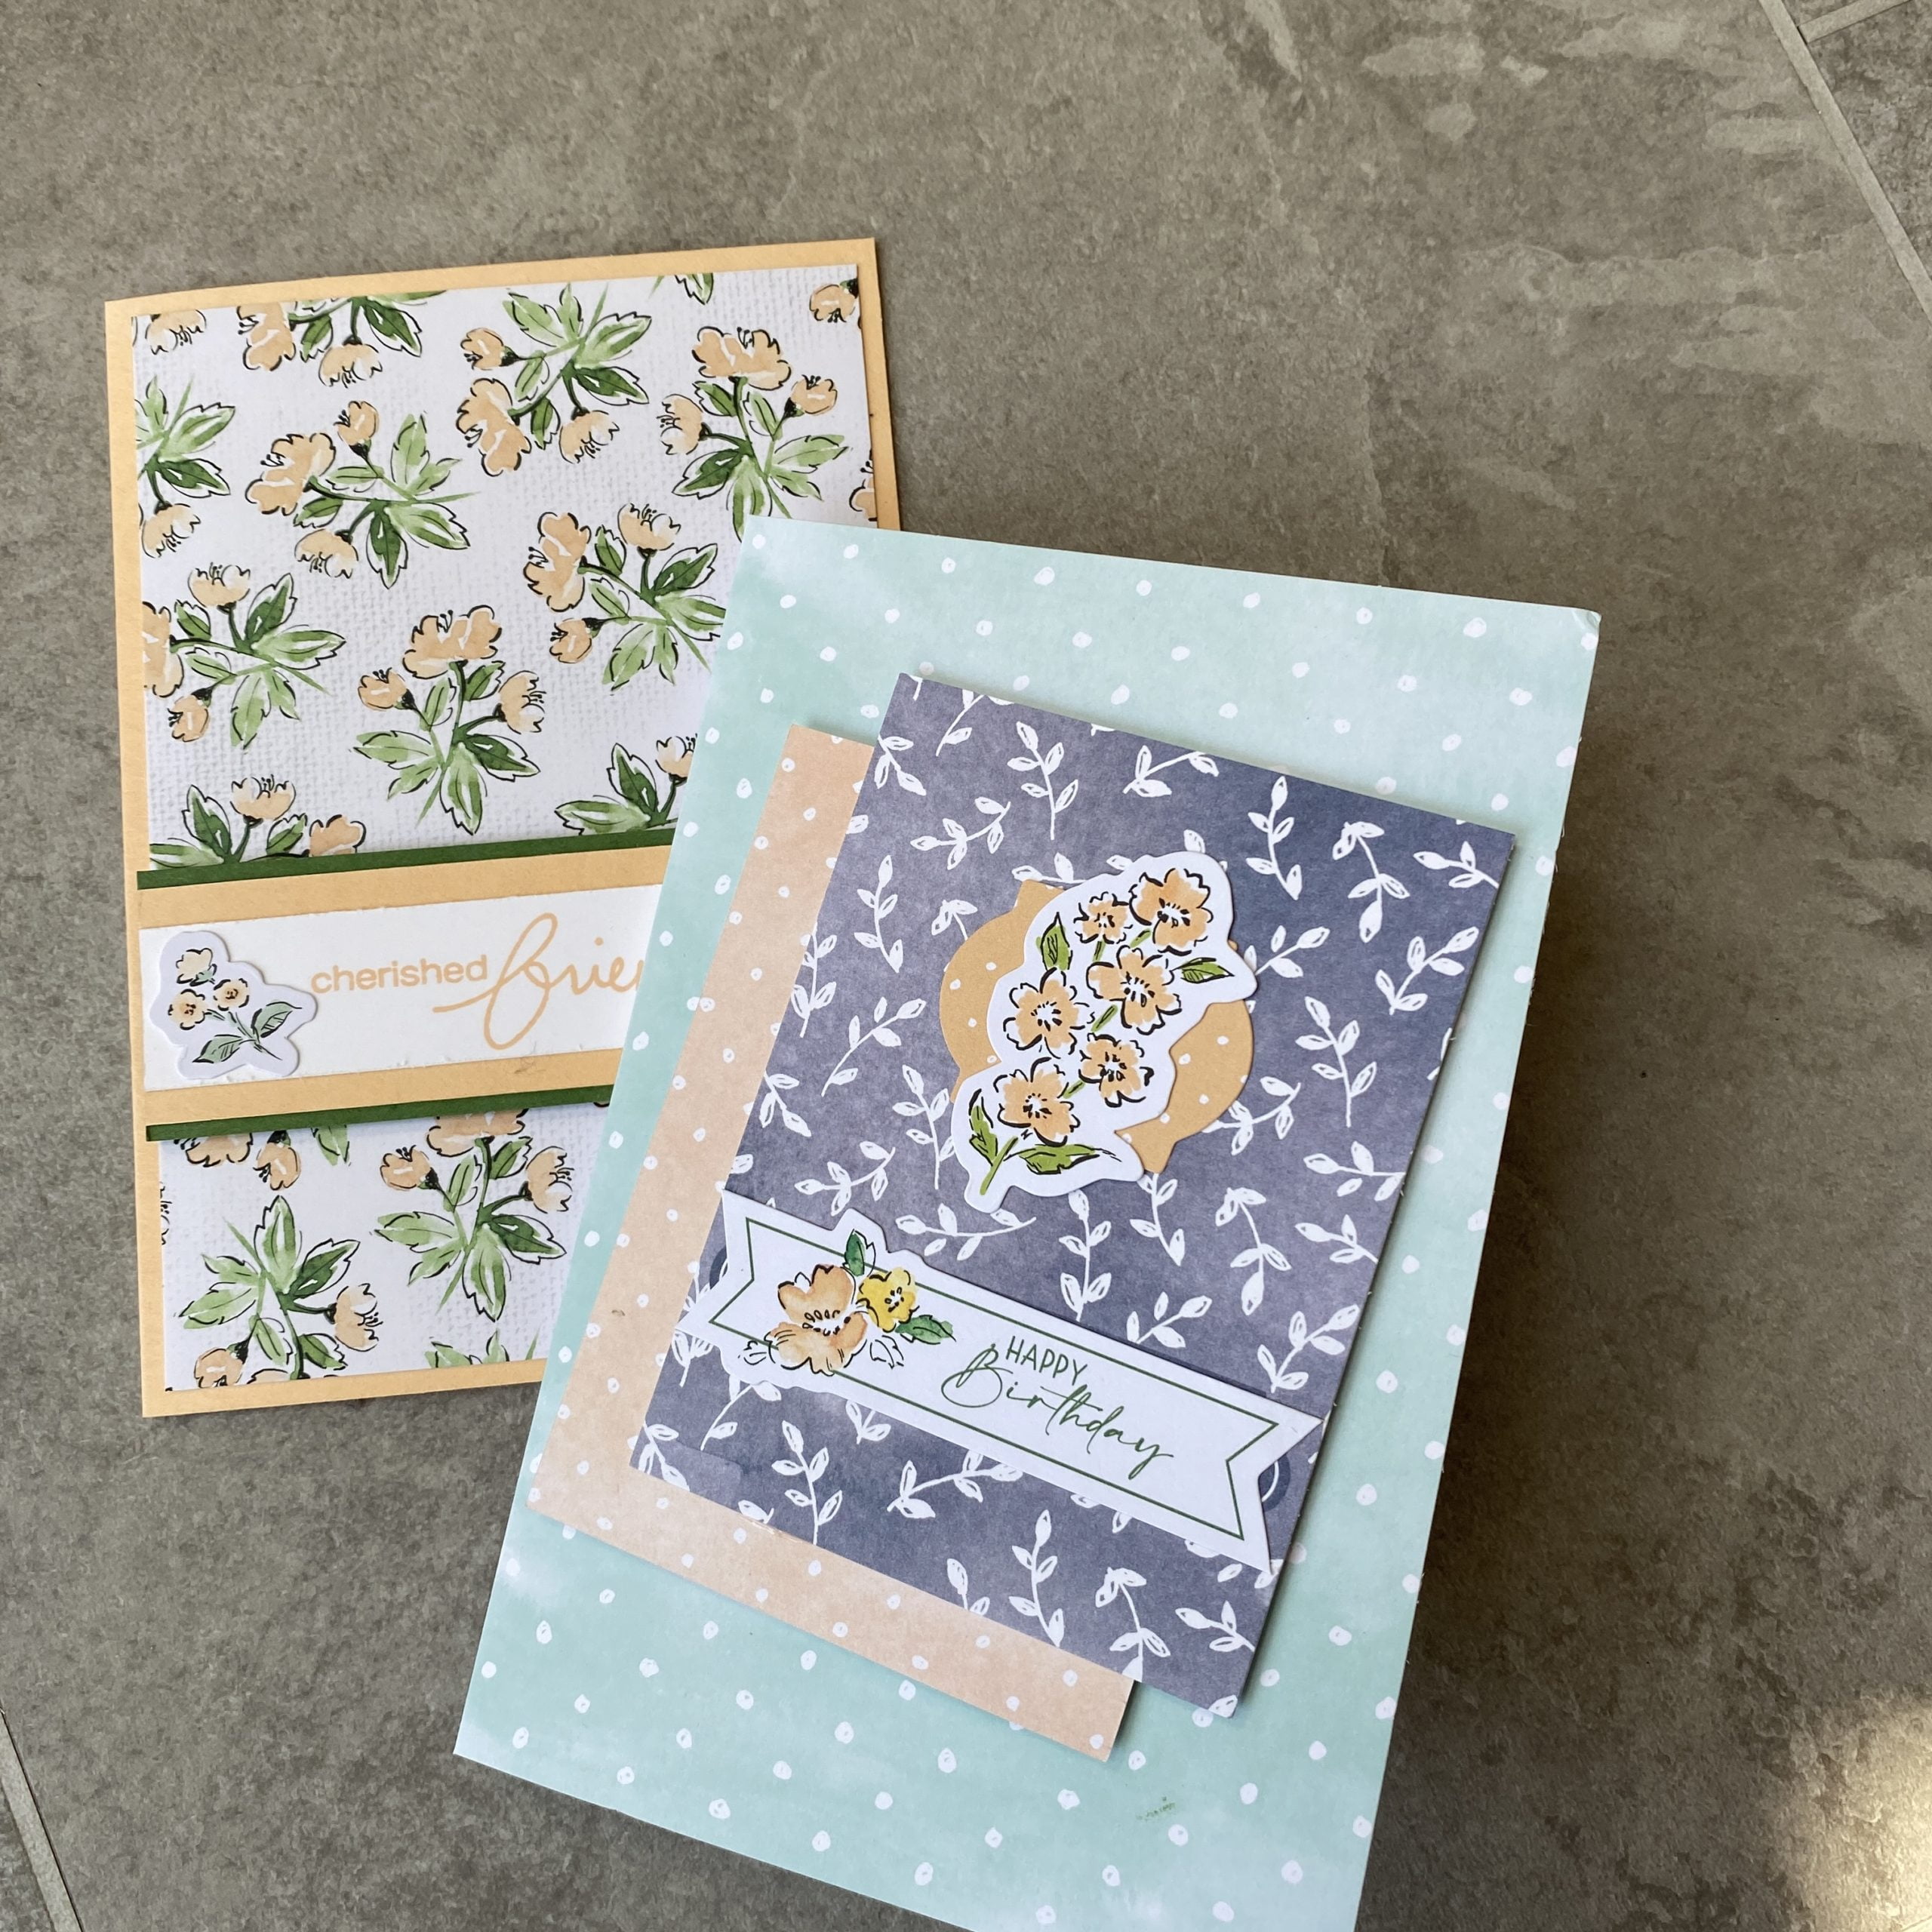
Anyhow, we had lots of fun and made our own cards using the supplies from these kits.
Here is a selection of some of the cards, and I still have loads more cards left over so can make plenty more!
Memories and More card packs were originally designed as an easy way to scrap book….Album, pre made photo pockets, and a variety of card packs to individualise as you wish. This is a great way of recording those precious memories, be it from a new arrival, a holiday or just for the fun of it. Below are some of what is available right now. Click on any of them to be taken straight to my shop!
You only have to look around the shops to know its ‘that time of year’ approaching!
The summer has flown by with holidays, grandchildren and the dreaded Covid, and also the redesigning of my website, but now a sort of normality is happening.
Craft groups are restarting, my Coffee and a Card group starts next Monday (contact me for more info), and today i’m working on upcoming workshops and thought it was time to share a Christmas card to get you all in the mood! So it was time to get playing with some of the new products I got back in July!
I’ve used the Whimsical Trees and co-ordinating Whimsy and Wonder papers, all available in the July to December mini catalogue. (Don’t have a copy? contact me – to get one sent out, UK only).
I heat embossed the snowflakes from the Penguin Place stamp set in silver to add more sparkle to the sentiment.
This is such a pretty set. Love the non traditional colours of the papers, some sheets are foiled (this one is but don’t think it shows too well in the photos, and that ribbon….Glittered Organdy ribbon, has beautiful shimmery tiny sequins embedded…it is gorgeous.
I am doing a ribbon share, so if you would like 1 metre of each of the 9 ribbons in the July-December mini catalogue, then get in touch…..they are not all Christmassy.
Would you like some pretty ribbon to add to your stash?
I am offering a 1 metre ribbon share… that’s 1 metre of all the ribbons from the July to December Mini Catalogue, so 9 metres in total for just £7.40 excluding postage.
I put my website into ‘maintenance back in May, and where has time gone? I’ve still been crafting – well, until I went on holiday mid June, but then I’ve had technical issues with the upgrade of my website, along with catching Covid which knocked me off my feet for a few days. So, these are actually cards I made prior to my holiday to Cornwall and some I have demonstrated on my Facebook page.
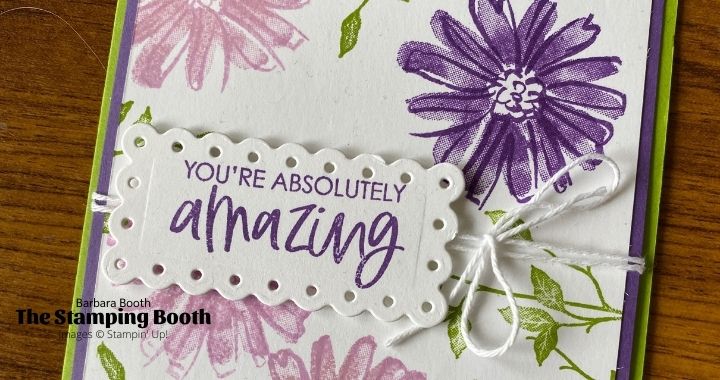
Color & Contour meets Very Versailles
I know…its flowers again! But, I love this set…so simple to use and so many colours possible…you can never make 2 cards the same!
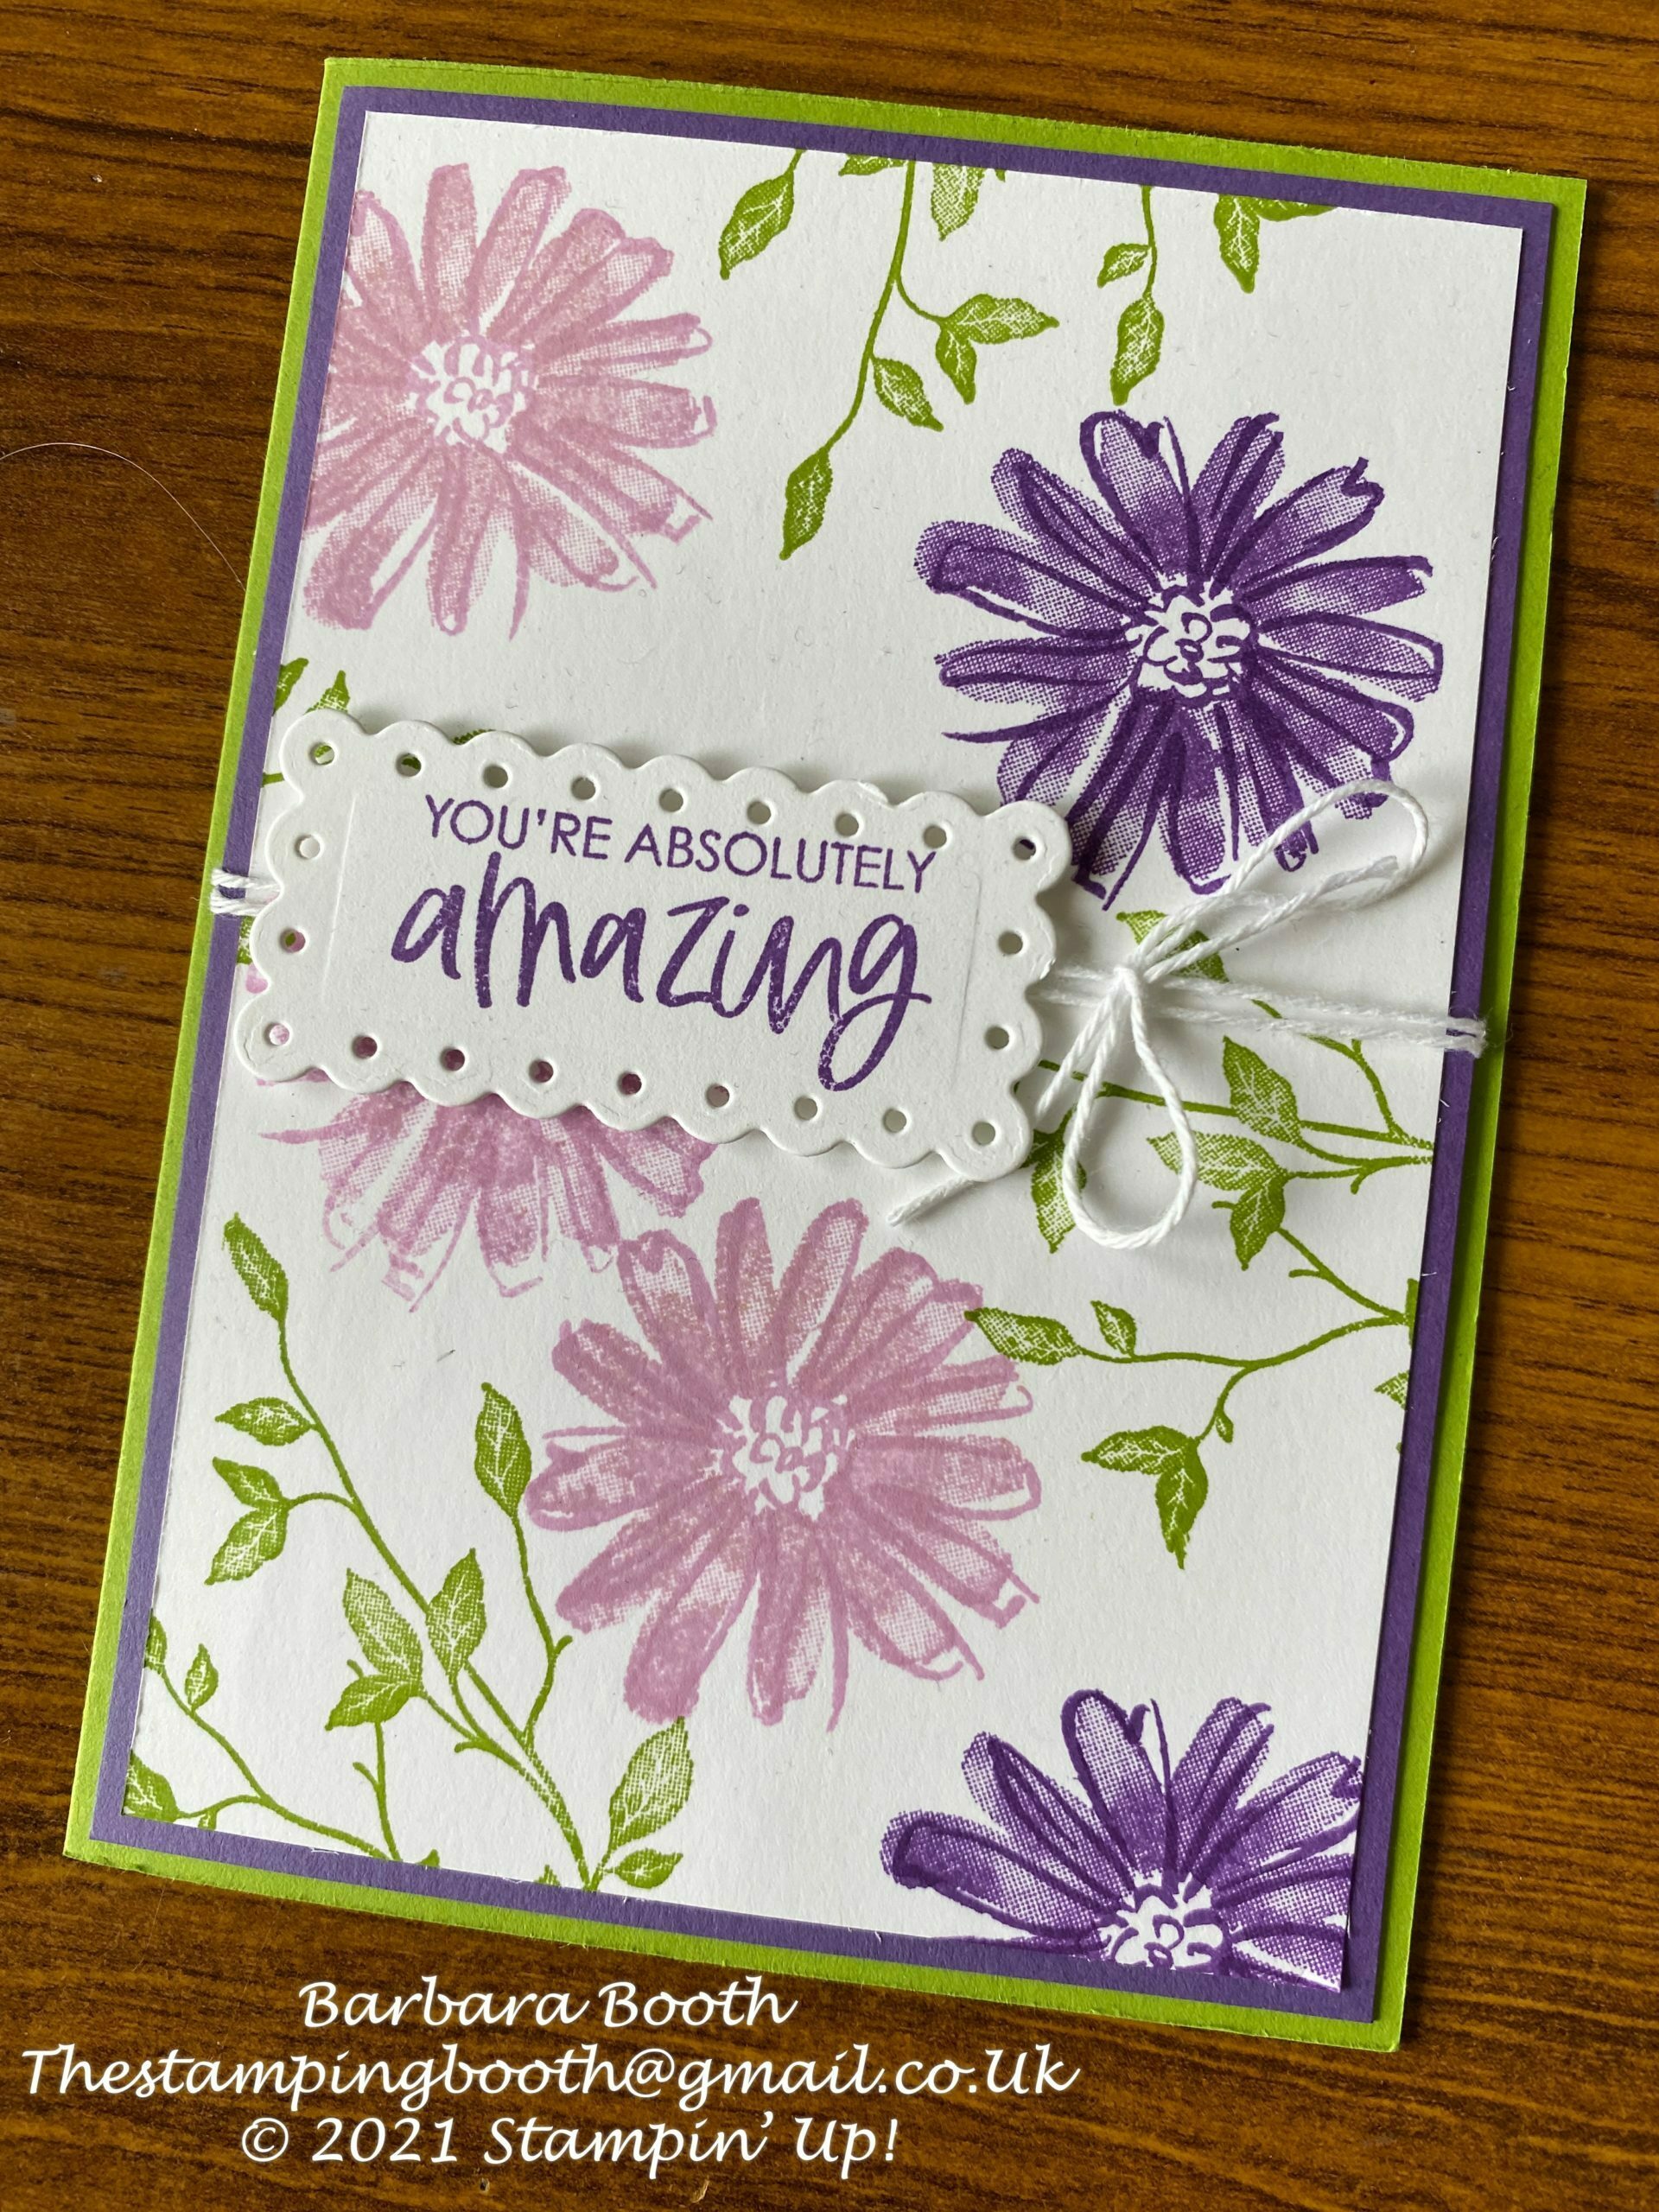
This card used a base of Granny Apple Green, a layer of Gorgeous Grape and then stamping onto Whisper White – yes I’m not onto my basic white stock yet!!
I stamped the cards in Fresh Freesia and Gorgeous Grape and then used Granny Apple Green for the ‘vines which were from the Very Versailles set
I die cut the smallest Scalloped Contour die in white and stamped the sentiment from the Color & Contour set. After sticking the top two layers together, i wound some white bakers twine around before attaching the sentiment.
To finish off, I added a stamped image to the inside on a layer of white.
I love how these colours go together and give the card a real’pop, what do you think?
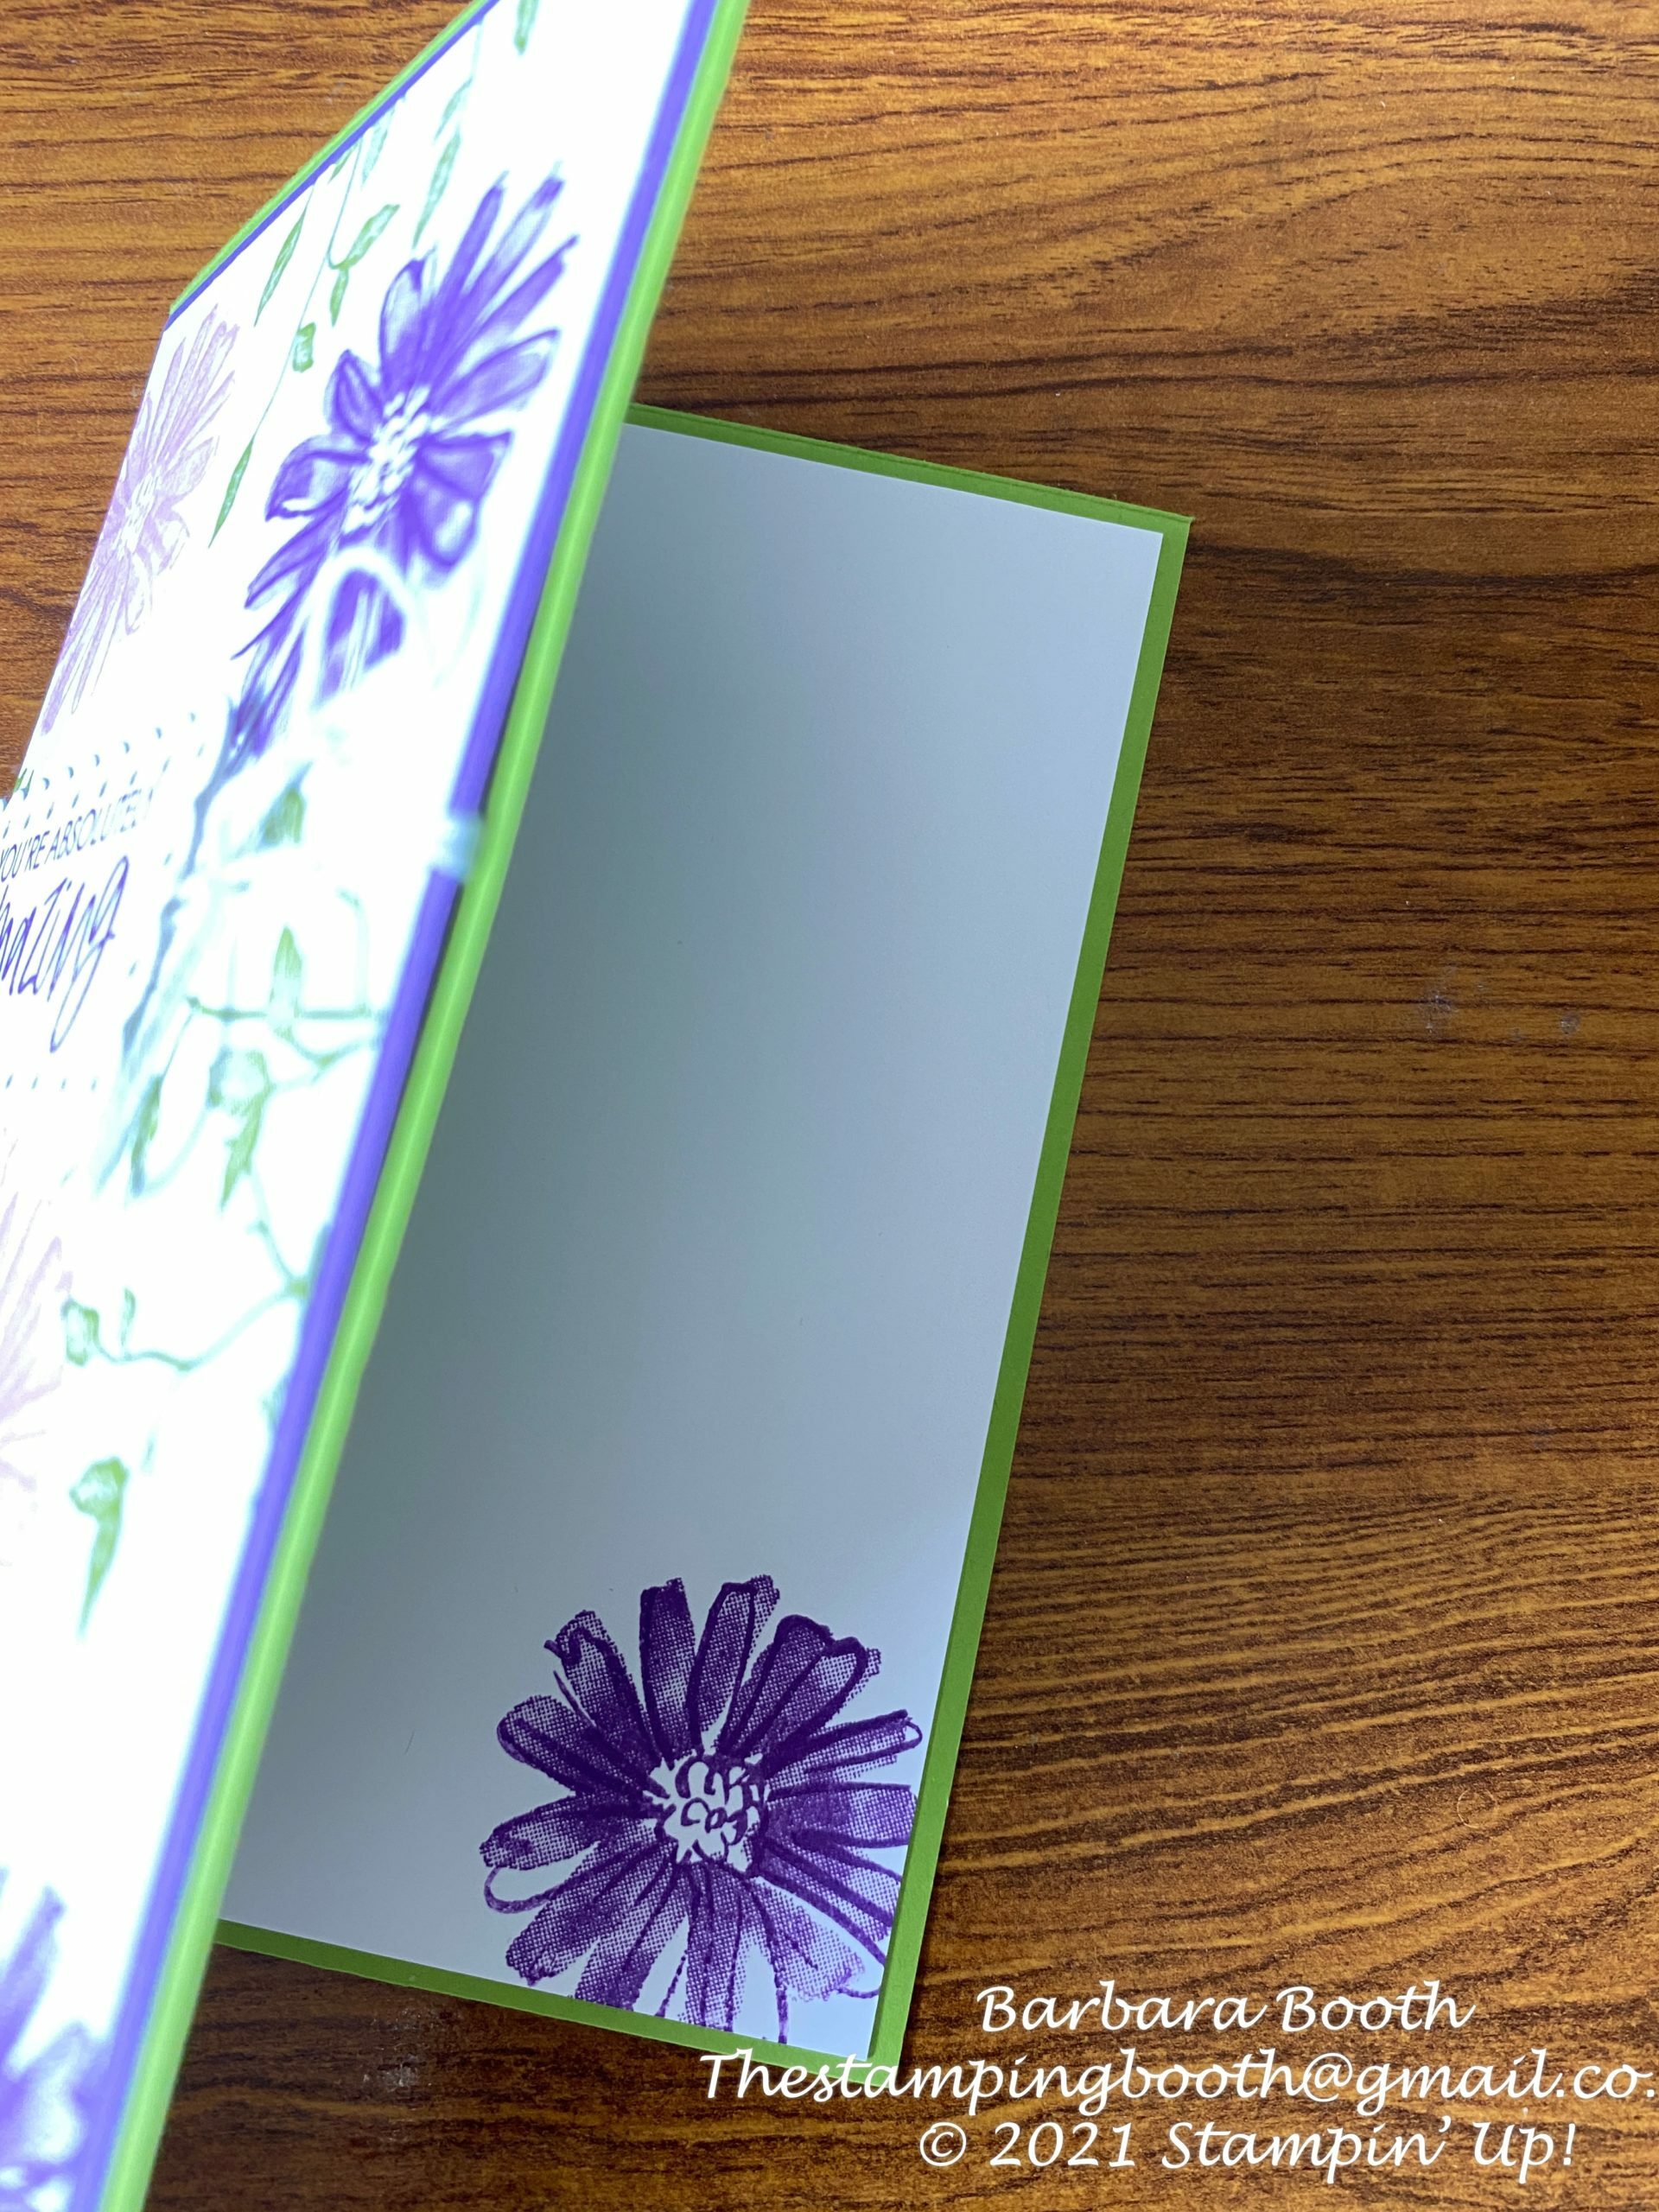
My lovely upline, Zoe Tant, showed a group of us (her) team members how to make this next card.
Its far easier than it looks, and is a bit like sticking a card within a card!
You will need;
Card base 23cm x 10.8cm scored at 14cm
Coloured card 22.8cm x 10.8cm scored at 14cm
Coloured card (layer) 10.5cm x 8.5cm
DSP (patterned paper) 10.2 x 8.2
additional dies cuts to embellish
To make;
Adhere the back of the largest piece of coloured card to the back of the base card at the hinge, leaving the front section ‘hanging.
Attach the DSP onto the layer, and then fasten to front of card.
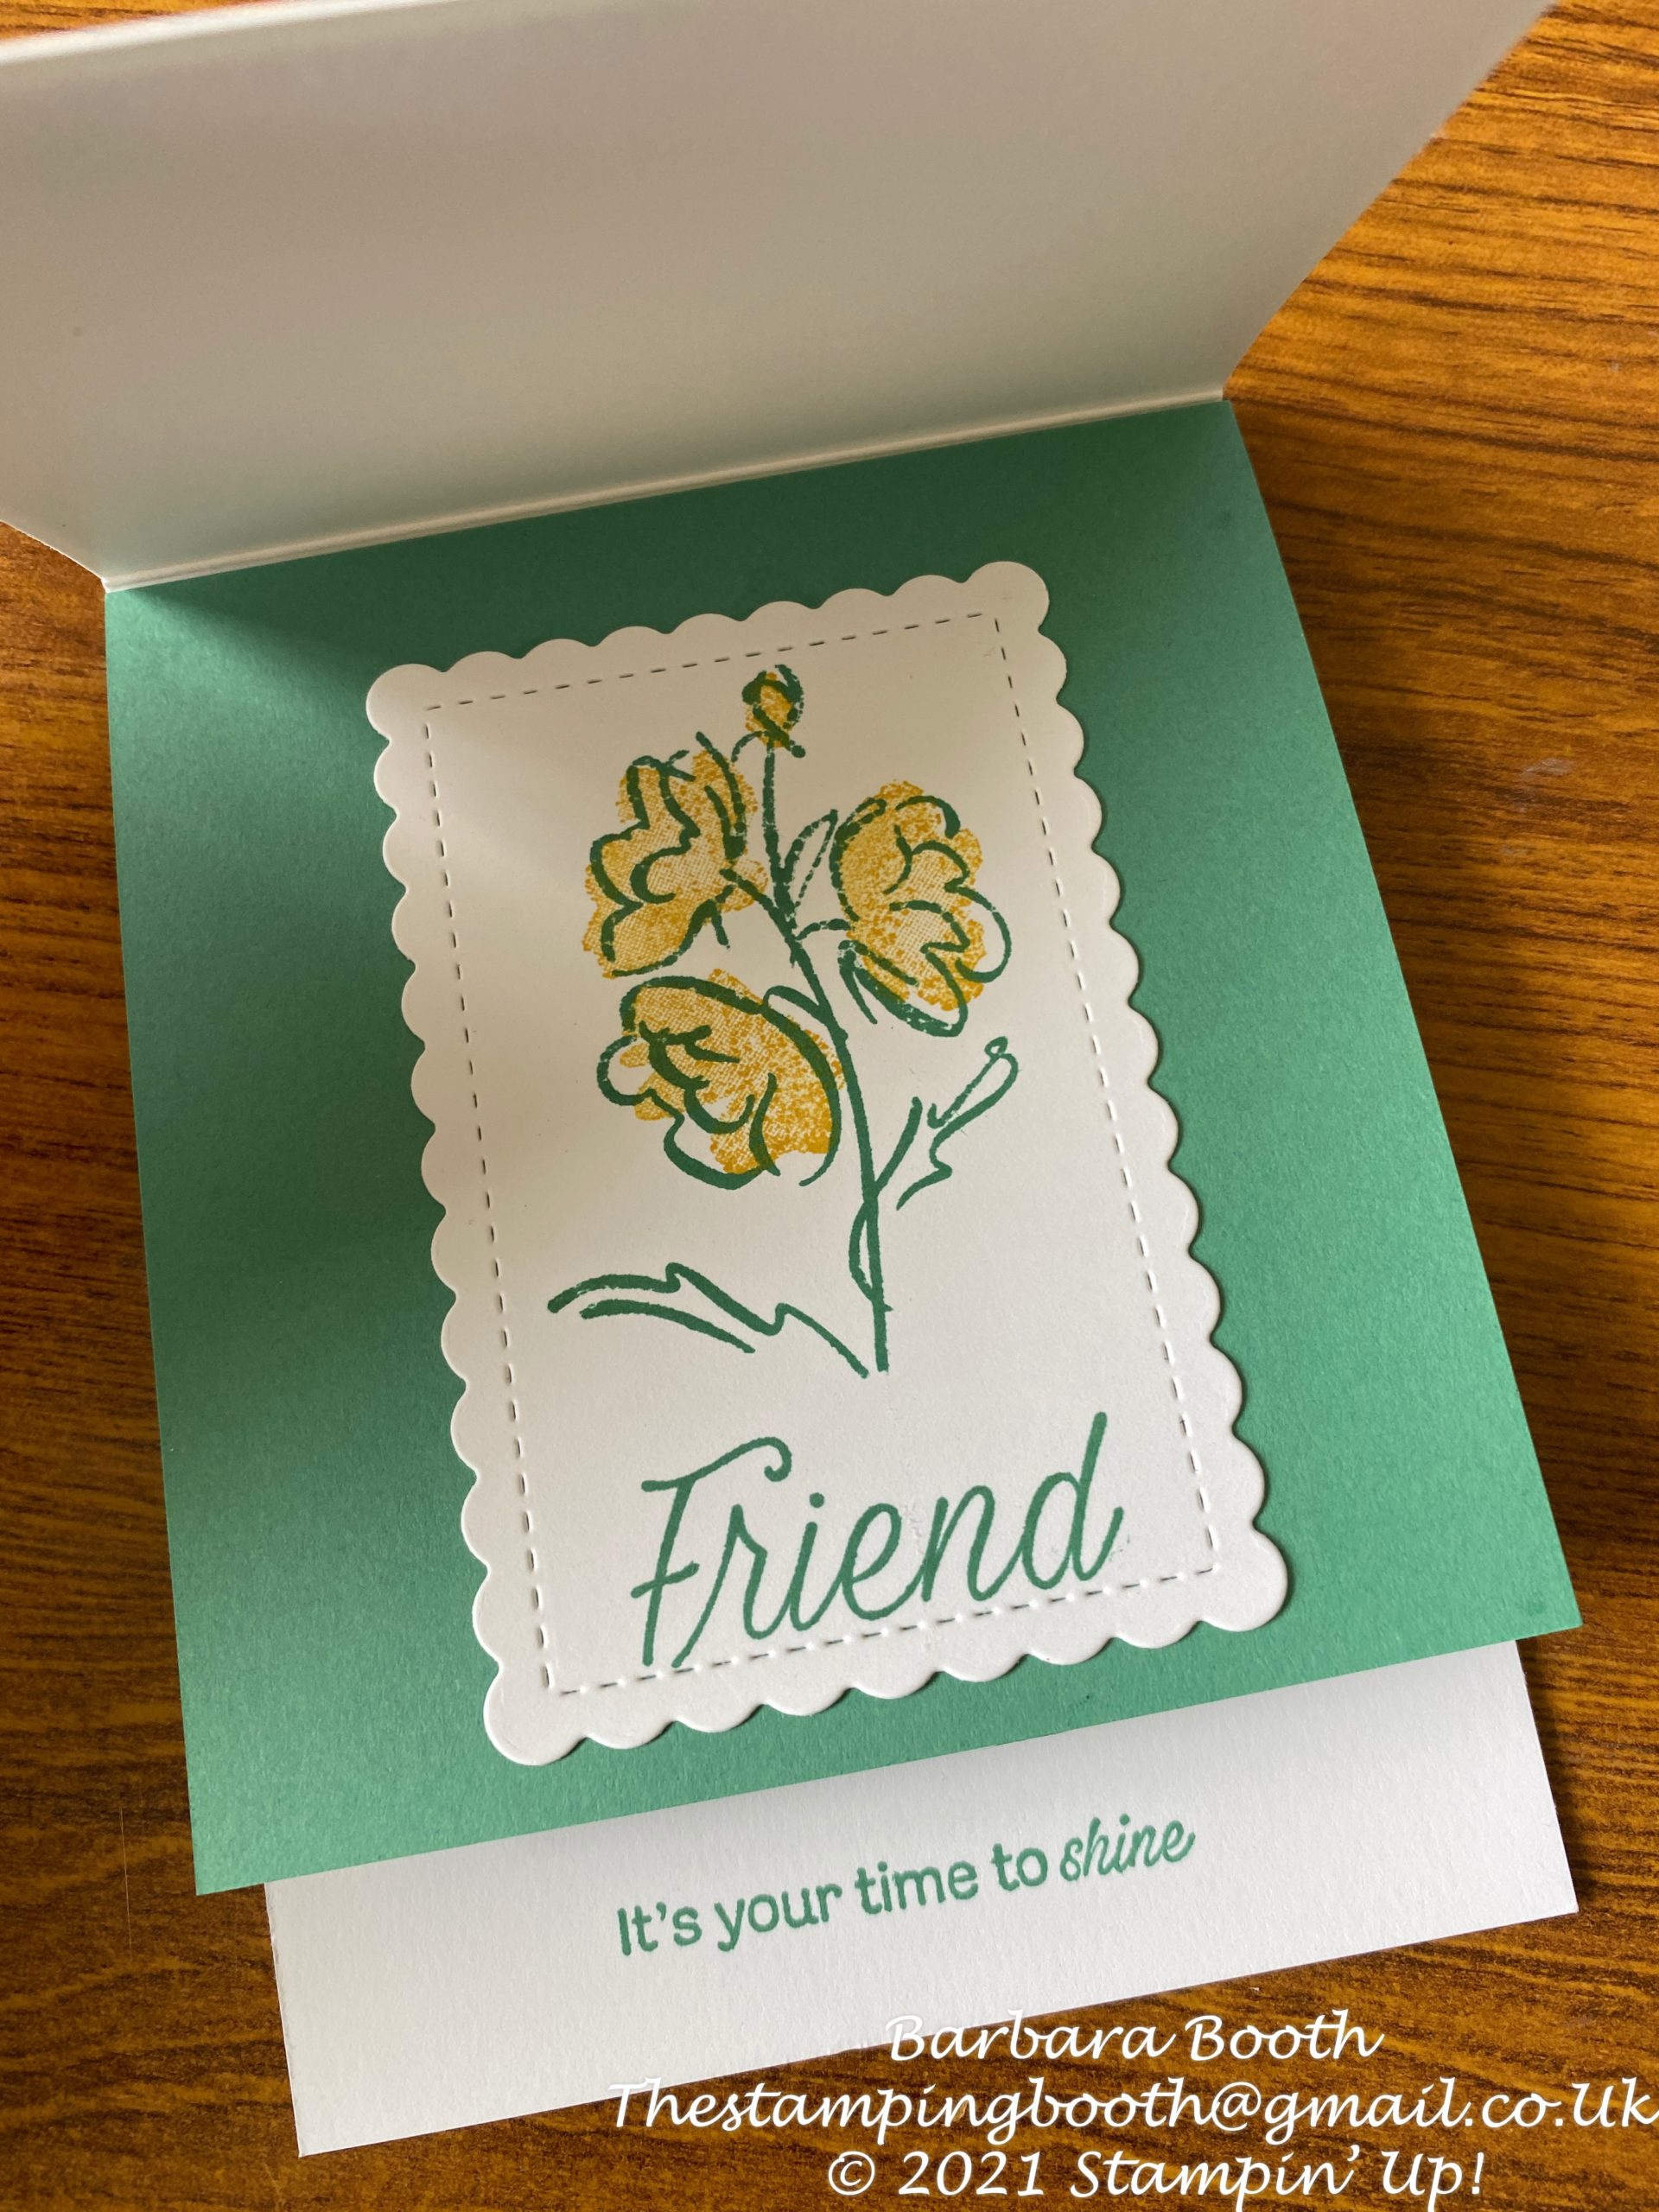
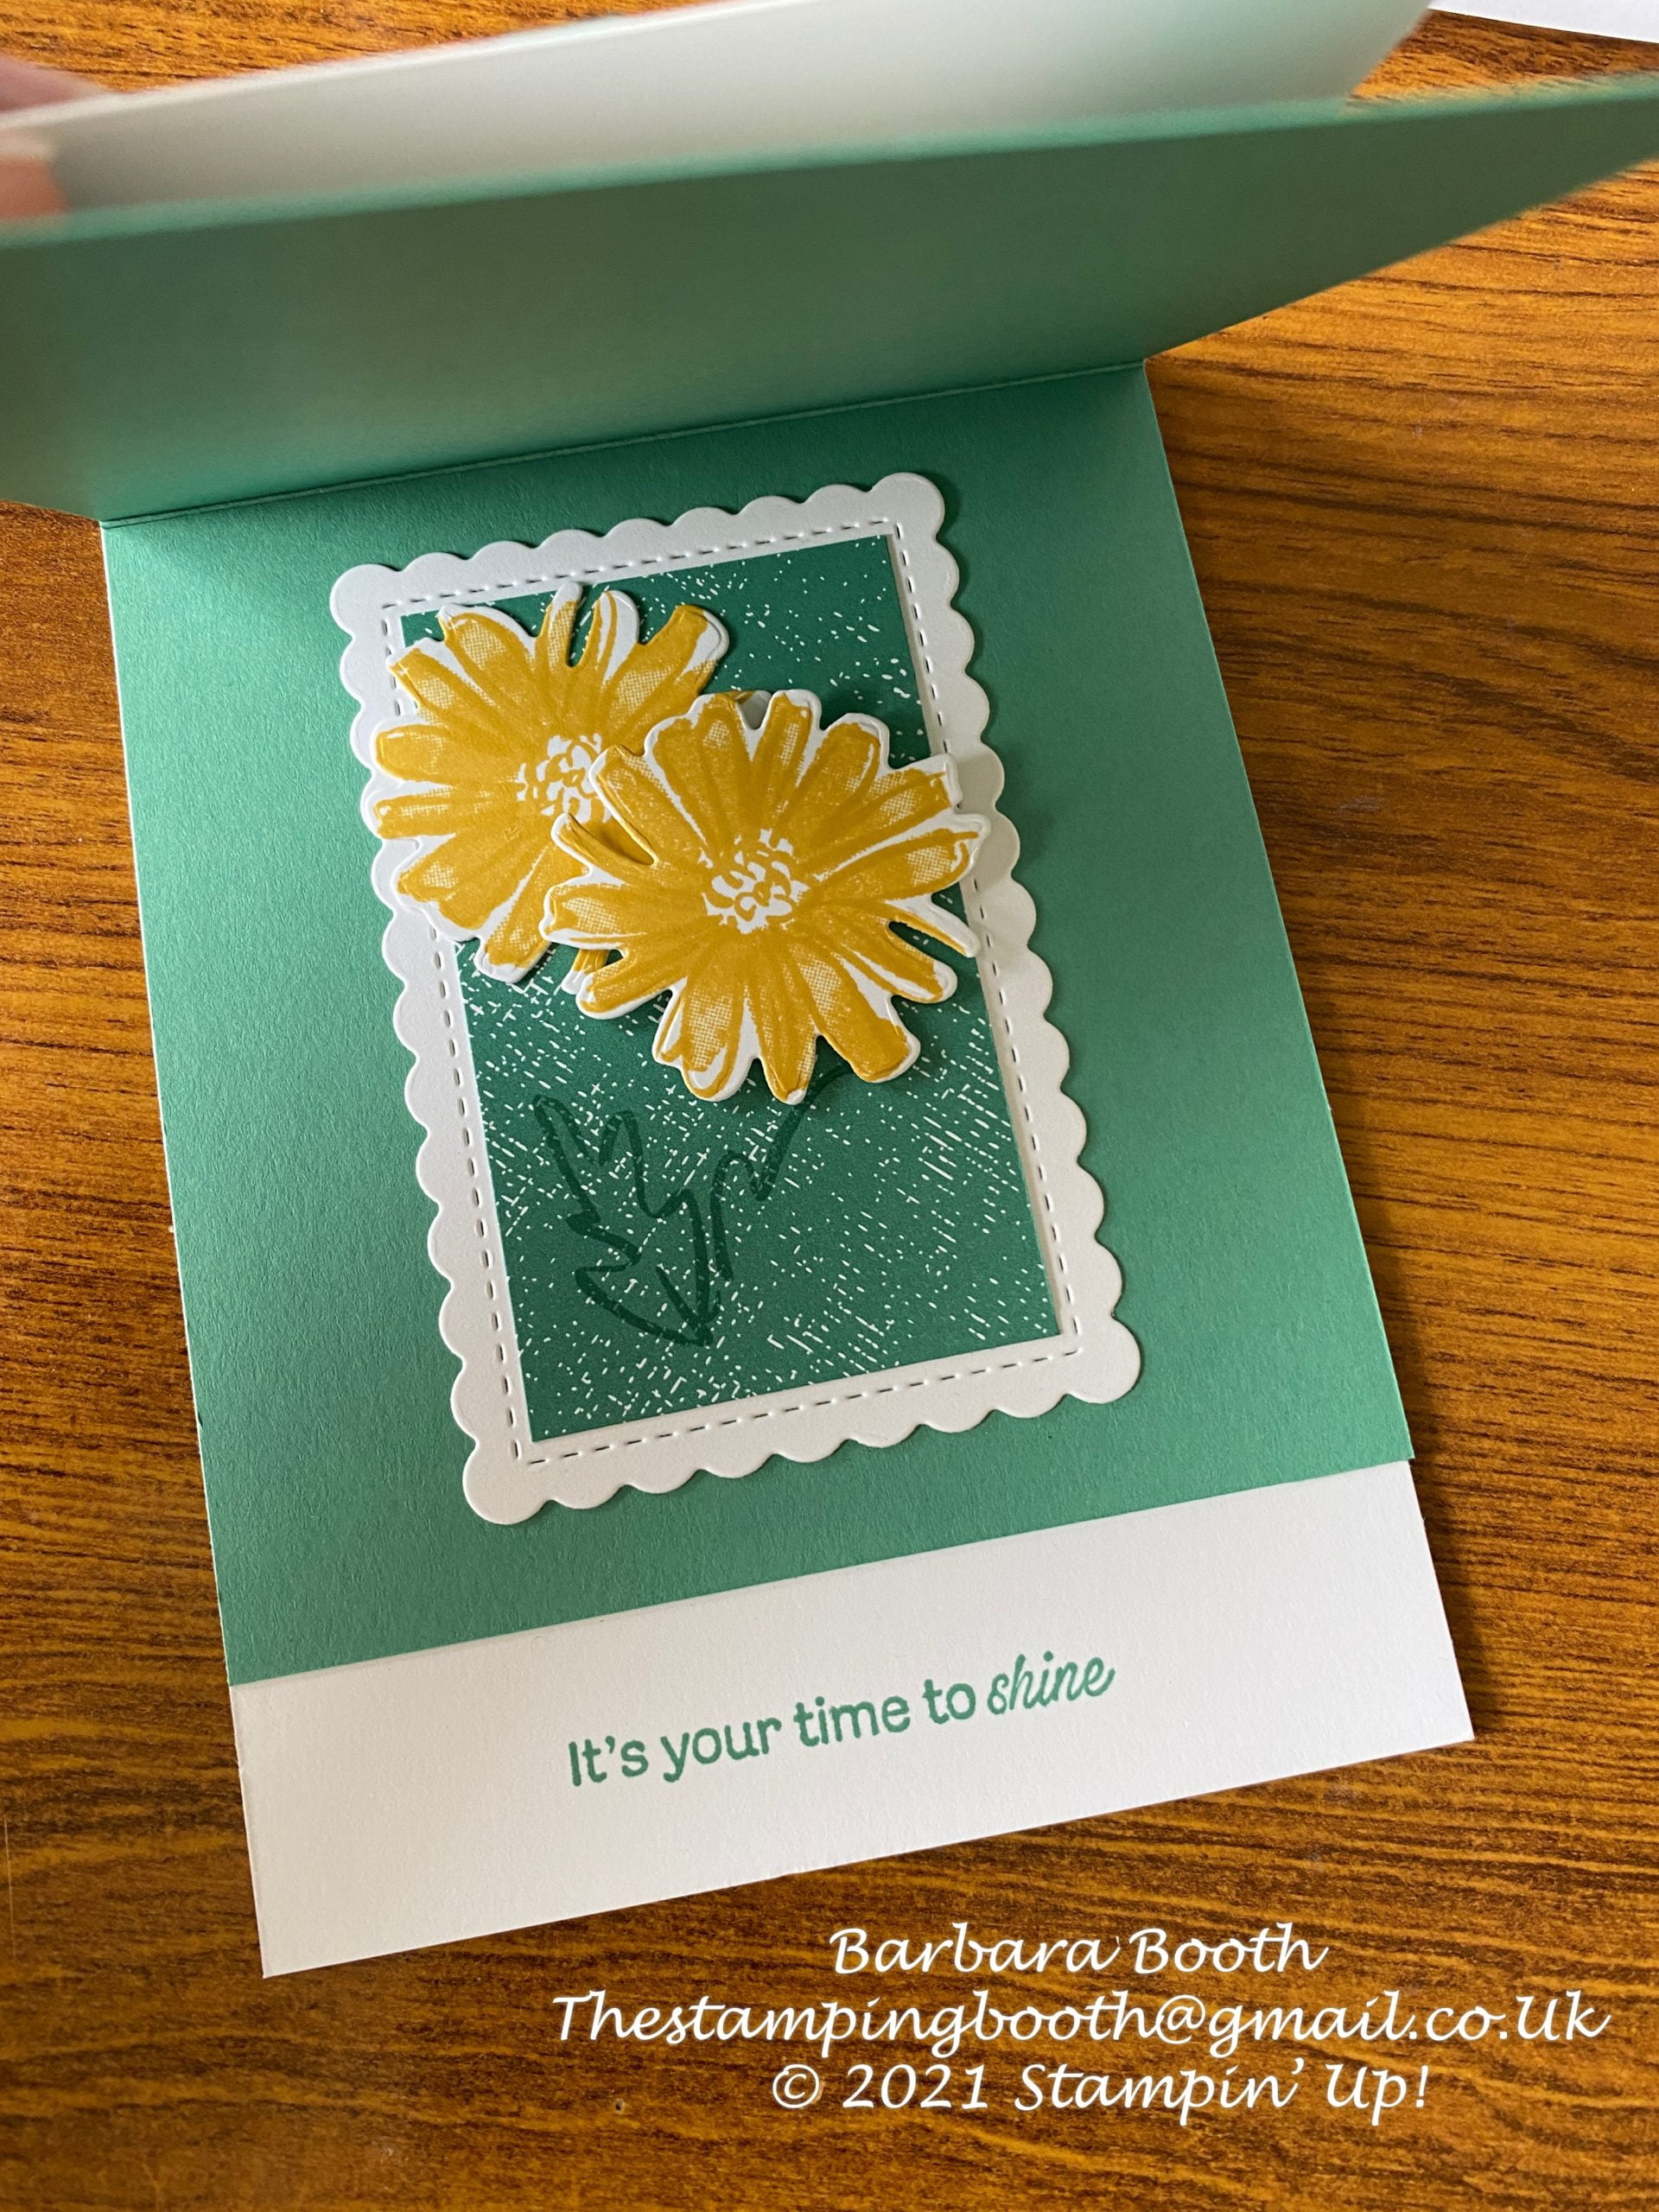
Add your stamped and die cut images, remembering that the middle layer and back layer hang below the front, so what ever is placed in the centre or back may show. (I carefully stamped ‘friend’ so I knew you could see it fully from the front.
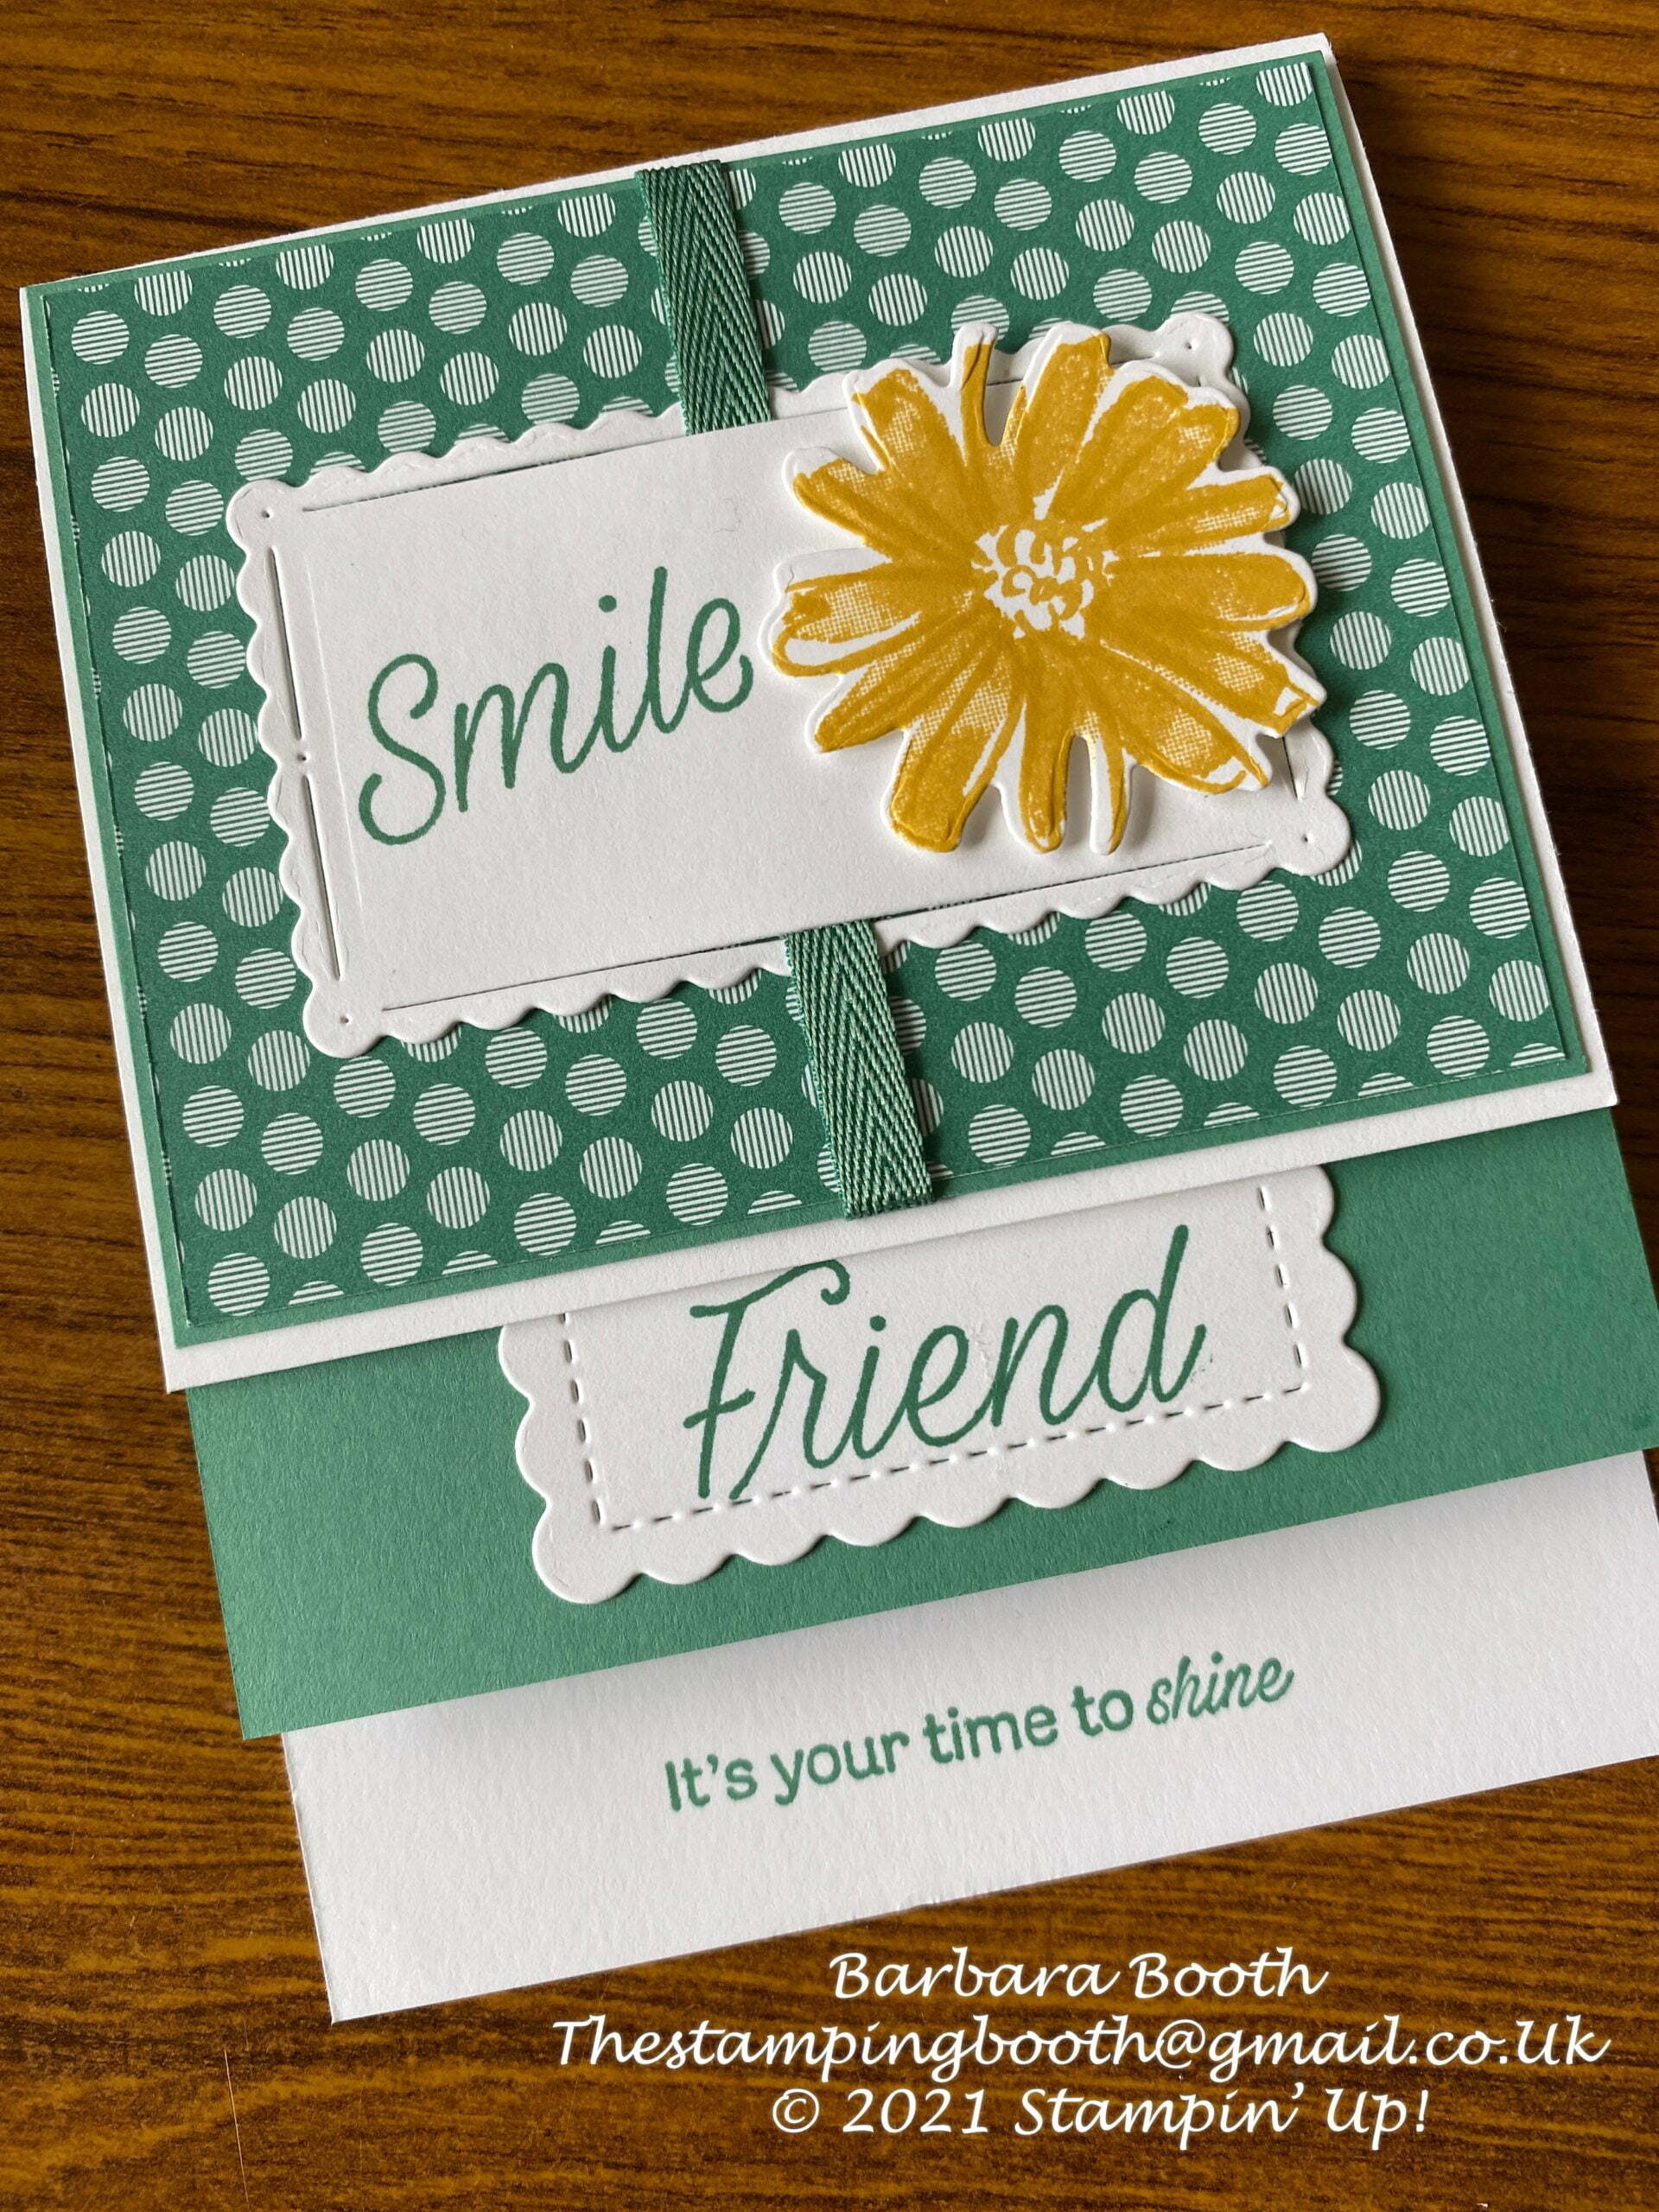
I used sentiments from Daisy Lane stamp set
This card works equally as well orientated on its side….why not have a go?
We use cookies on our website to give you the most relevant experience by remembering your preferences and repeat visits. By clicking “Accept All”, you consent to the use of ALL the cookies. However, you may visit "Cookie Settings" to provide a controlled consent.
This website uses cookies to improve your experience while you navigate through the website. Out of these, the cookies that are categorized as necessary are stored on your browser as they are essential for the working of basic functionalities of the website. We also use third-party cookies that help us analyze and understand how you use this website. These cookies will be stored in your browser only with your consent. You also have the option to opt-out of these cookies. But opting out of some of these cookies may affect your browsing experience.
Necessary cookies are absolutely essential for the website to function properly. These cookies ensure basic functionalities and security features of the website, anonymously.
Cookie
Duration
Description
cookielawinfo-checkbox-analytics
11 months
This cookie is set by GDPR Cookie Consent plugin. The cookie is used to store the user consent for the cookies in the category "Analytics".
cookielawinfo-checkbox-functional
11 months
The cookie is set by GDPR cookie consent to record the user consent for the cookies in the category "Functional".
cookielawinfo-checkbox-necessary
11 months
This cookie is set by GDPR Cookie Consent plugin. The cookies is used to store the user consent for the cookies in the category "Necessary".
cookielawinfo-checkbox-others
11 months
This cookie is set by GDPR Cookie Consent plugin. The cookie is used to store the user consent for the cookies in the category "Other.
cookielawinfo-checkbox-performance
11 months
This cookie is set by GDPR Cookie Consent plugin. The cookie is used to store the user consent for the cookies in the category "Performance".
viewed_cookie_policy
11 months
The cookie is set by the GDPR Cookie Consent plugin and is used to store whether or not user has consented to the use of cookies. It does not store any personal data.
Functional cookies help to perform certain functionalities like sharing the content of the website on social media platforms, collect feedbacks, and other third-party features.
Performance cookies are used to understand and analyze the key performance indexes of the website which helps in delivering a better user experience for the visitors.
Analytical cookies are used to understand how visitors interact with the website. These cookies help provide information on metrics the number of visitors, bounce rate, traffic source, etc.
Advertisement cookies are used to provide visitors with relevant ads and marketing campaigns. These cookies track visitors across websites and collect information to provide customized ads.


")


 Specialty Designer Series Paper")
")
 Glittered Organdy Ribbon")


 Mini Ruffled Ribbon")
 Metallic Ribbon")
 Frayed Grosgrain Ribbon")
 Sheer Ribbon")
 Striped Grosgrain Ribbon")
 Shimmer Ribbon")
 Gingham Ribbon")
 Diamond Weave Ribbon")


")
 2020–2022 In Color Ribbon")
 Designer Series Paper")


