A couple of weeks ago, a lovely lady called Zoe (Tantalizing Stampers) demonstrated to an online group of crafters, a fabulous folder to put your homemade cards in, which we all agreed would make a nice gift, particularly when people are not getting out as much.
So following her tutorial, I decided to use up some retired DSP (designer series papers), and make a fully co-ordinating set for a friend.
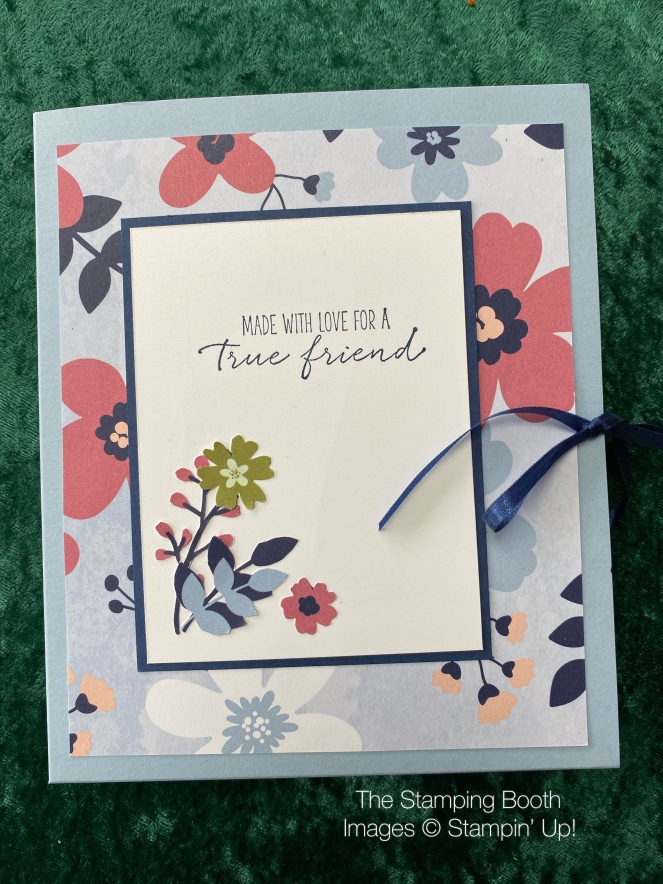
This is what I made;
I made it along with my online crafters this week in our weekly Craft and Chat, and it was lovely to see what you can make to use up all that paper you’ve been hoarding!
Here’s the instructions
To make the folder to put your cards in, you will need;
- A4 sheet of card
- Co ordinating papers measuring 12.6 x 15.5cm – 2 pieces for inside, 2 pieces for outside
- co ordinating paper 1.6×15.5cm for spine (use 2 pieces if you want to cover both inside and outside spine)
- Layer 9.0cm x 13.5cm
- Card to stamp on 8.5 x 13cm
- Ribbon
Score the card on the long edge at 3.5 and 4.5cm.
Rotate and score 13.8cm from EACH end
With the card landscape and the score lines at the bottom, cut up on either side of the vertical score lines and remove the complete central tab (all the way up to the 2nd score line).
Next measure from each of the bottom corners and mark at 3cm. Make a line from this point to the first score line and remove these corner pieces. It should end up looking like this;

Then its just a case of decorating with your pretty papers.
The first one of these that I made, I punched a hole to thread my ribbon through, but this time I wrapped ribbon all the way around before sticking my patterned papers on the outside and feel I got a much neater finish.
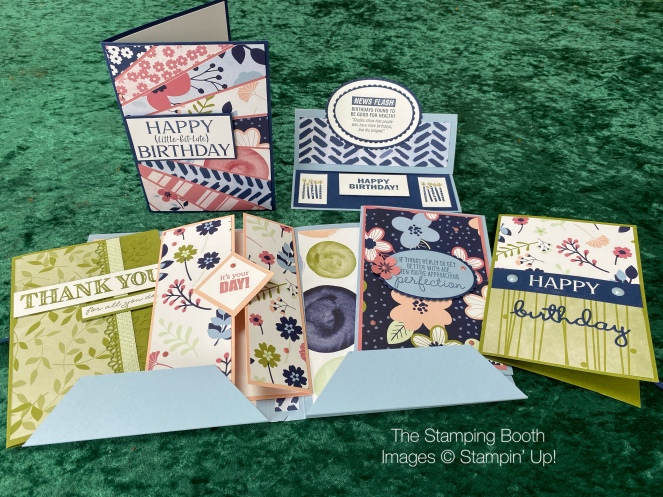
And lastly, I made 6 matching cards to place inside.
Hope you’ve enjoyed this little project and it encourages you to use some of that huge pile of papers up.
If you would like to join our weekly Craft and Chat (on Zoom), please use the contact me tab at the top of this page, and I will send you the details.
Happy Crafting xx


